
What’s Christmas without a batch of Christmas cookies? I love making Christmas cookies because the smell of cookies baking always makes the whole house smell amazing, no matter what kind you make. I’m going to make my tried and true sugar cookie recipe, but this year instead of just decorating them with sprinkles, I’m going to try my hand at using royal icing. I could (and do) spend hours watching cookie decorating videos! I’ve been picking up tips and tricks and decided to give it a shot! I know that everybody has their own preference on what sugar cookie recipe is the best, but this one is my personal favorite. The recipe comes from one of my mom’s cookbooks called Bake It! pictured below.

This book has so many delicious recipes in it, but I’m only going to focus on the sugar cookie recipe today, so without further ado, onto the cookies!
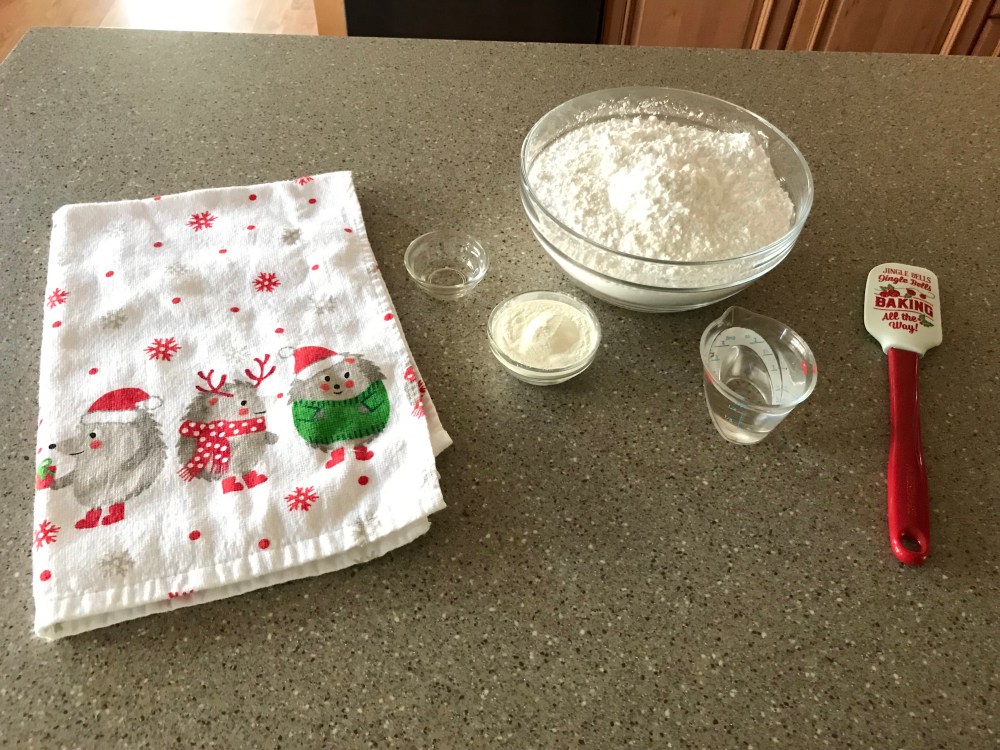
Ingredients:
- 2 sticks of butter, softened
- 1/2 cup sugar
- 1 egg
- 1 tbsp vanilla
- 3 cups flour
- 1/2 tsp baking powder

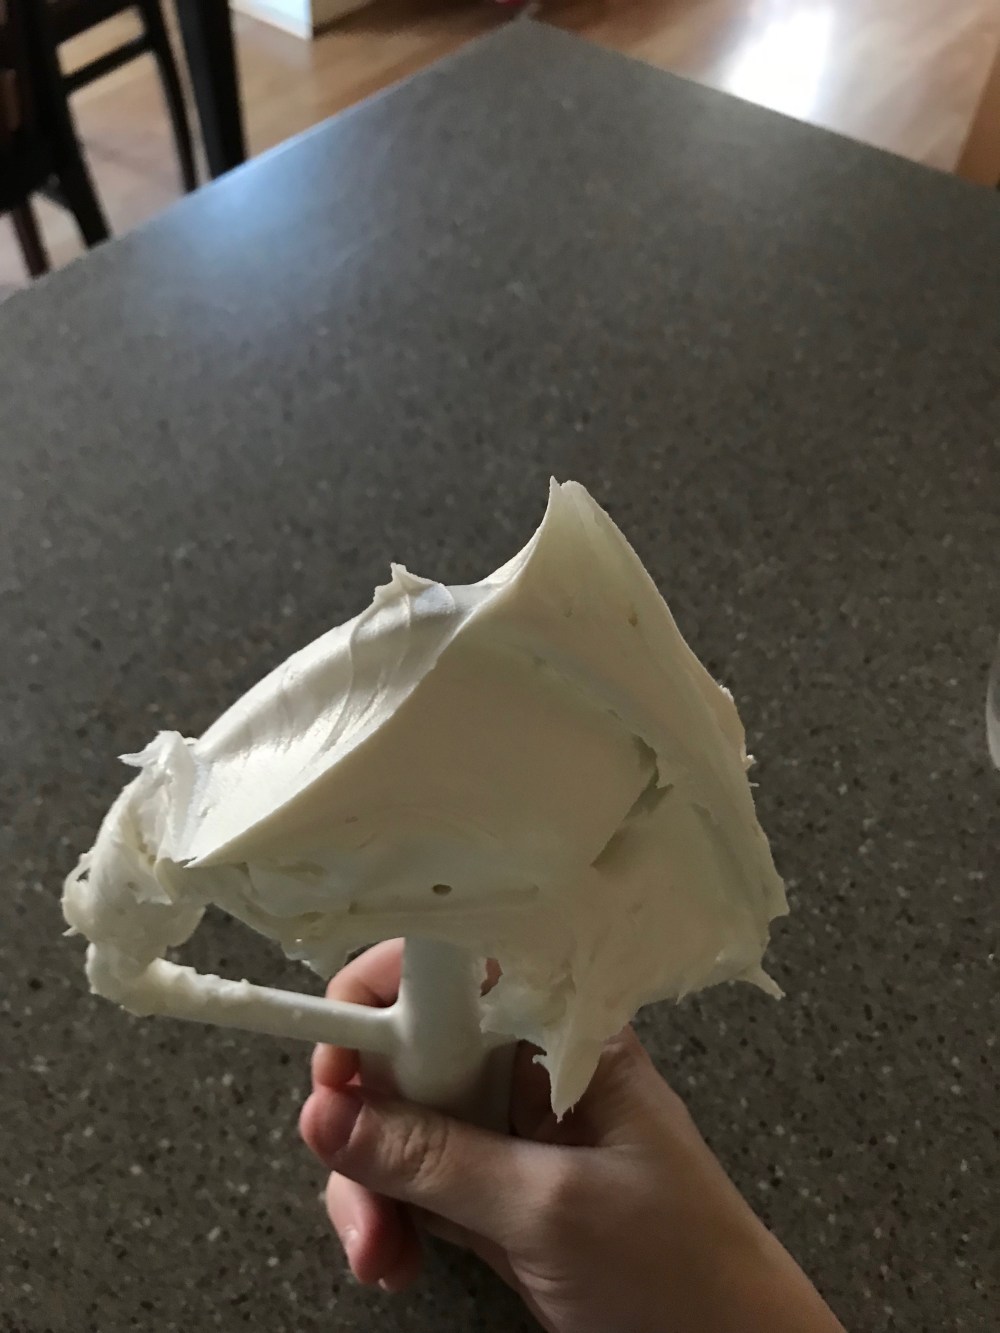
Start by adding the butter and sugar to the bowl of your stand mixer (you can do this by hand as well). Starting at low-speed, mix until there’s no sugar visible anymore then increase the speed to high and continue to beat until it’s light and fluffy.
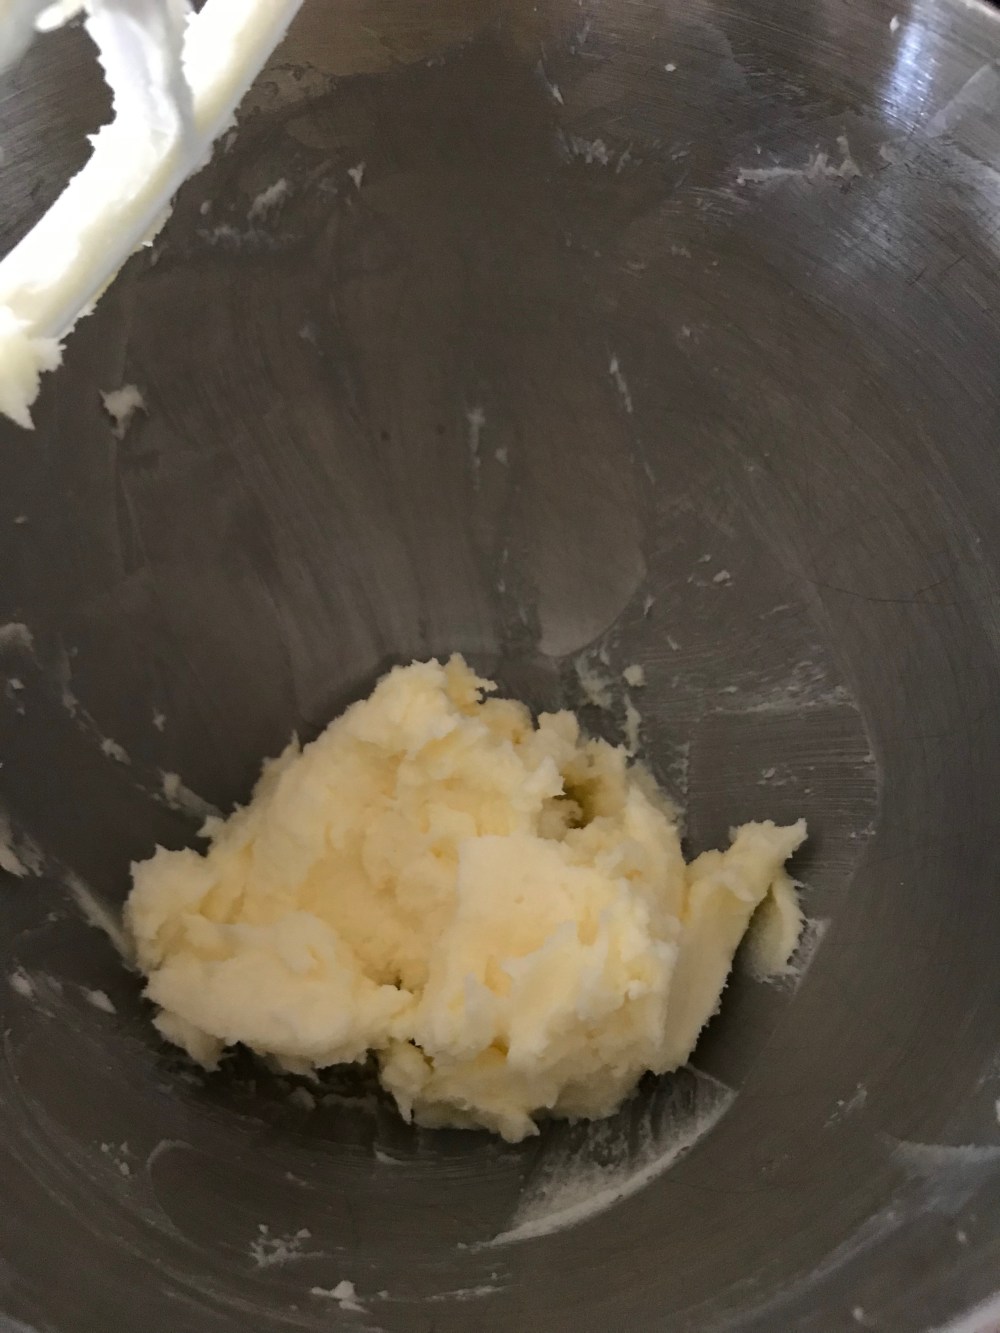
Be sure to scrape down your bowl at this point so that everything gets mixed in evenly, then add in the egg and vanilla with the mixer at low-speed.
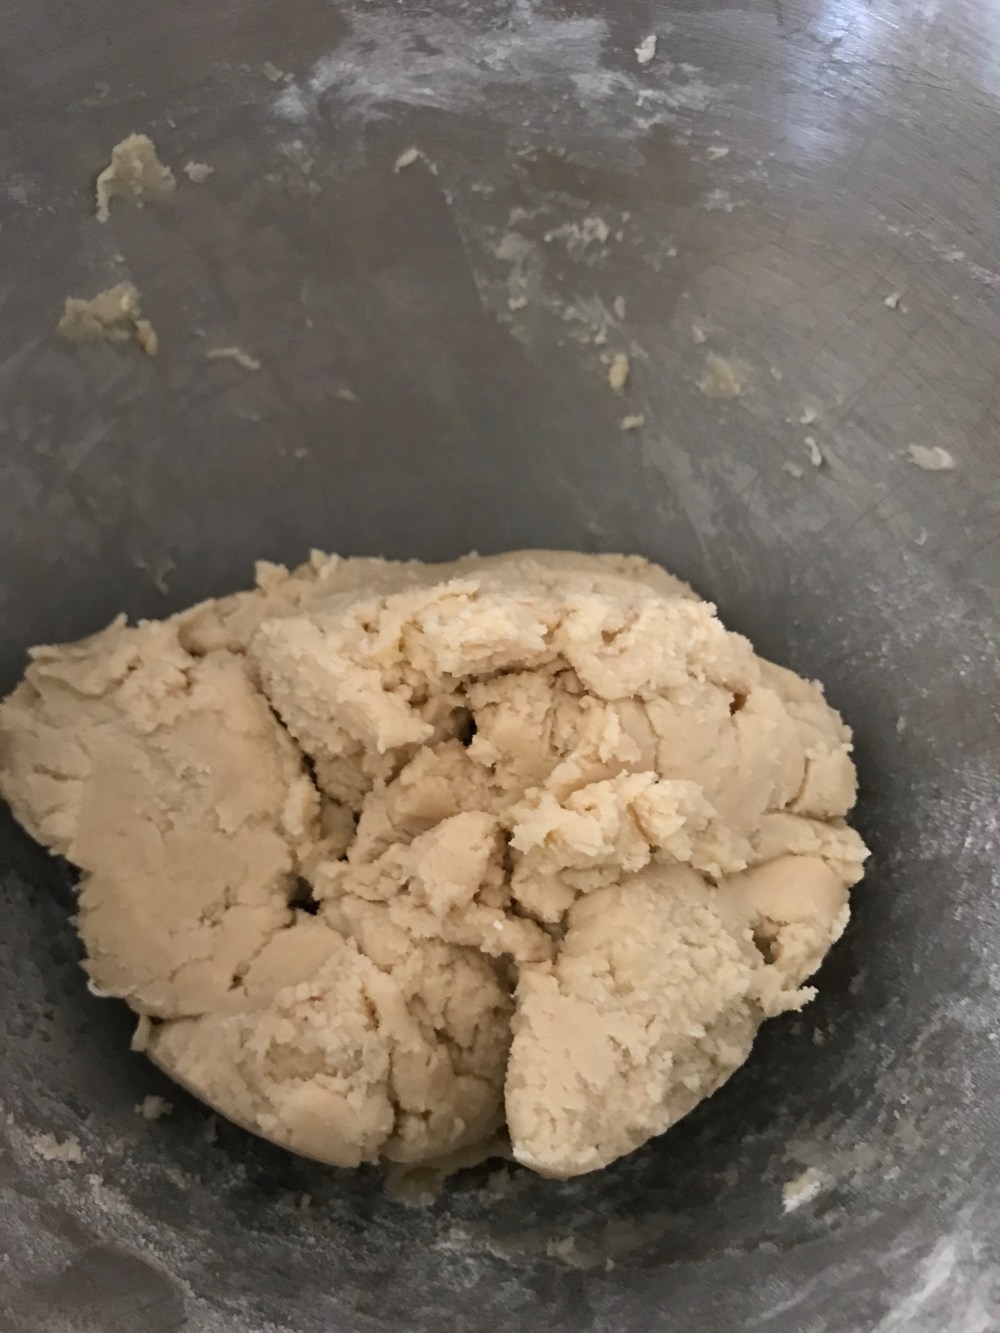
Once all of that has been incorporated, add in the flour and baking soda. Mix on low-speed until the dough comes together like in the picture below.
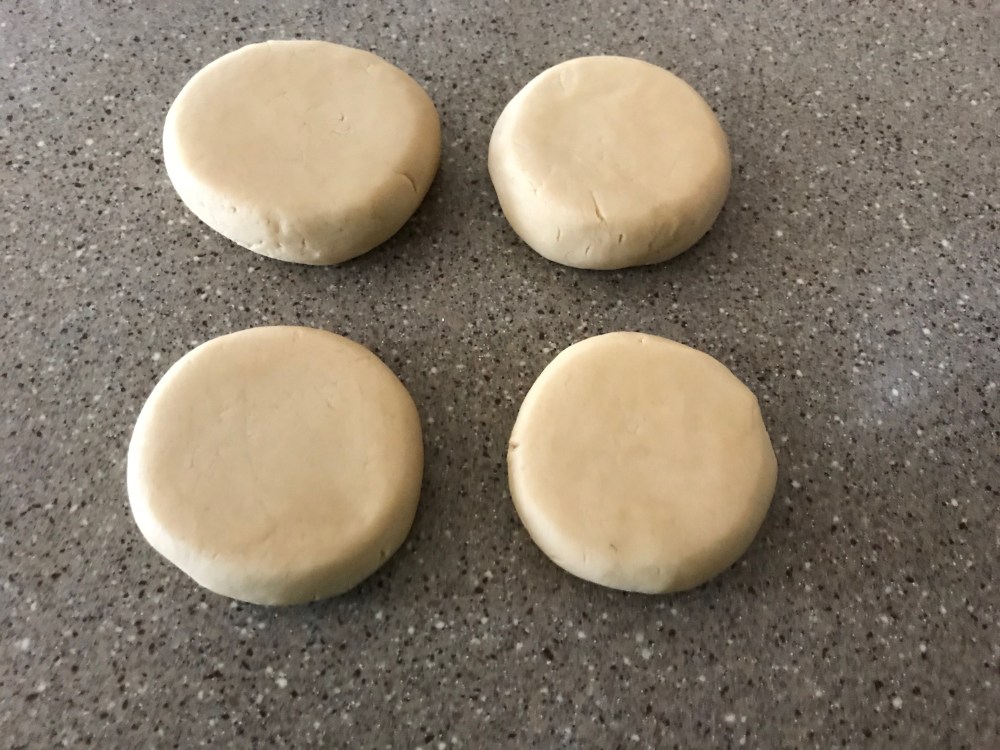
Next, lightly flour your workspace and dump the dough out onto it. Form the dough into a ball and divide it into 4 equal pieces.


I like to use my bench scraper for this because it leaves a nice clean cut and no jagged edges, so everything is nice and neat. Slightly flatten each dough ball so it looks like a disc. See picture below.
Wrap each one in plastic wrap and refrigerate for 1 hour or if you’re impatient like me, then stick it in the freezer for 30 minutes. After that it should be firm enough to roll out.
Once the dough is nice and chilled, lightly flour your workspace and rolling-pin so the dough doesn’t stick.
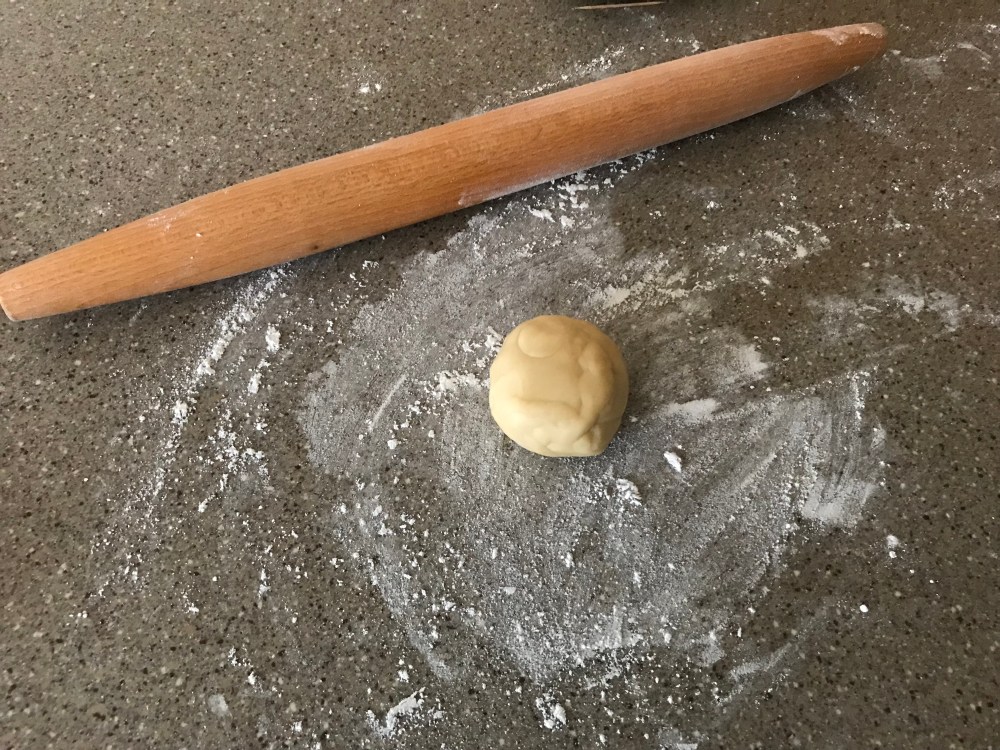
Preheat your oven to 350 degrees F. Rool out your dough to 1/2″ thick, then using cookie cutters of your choice, cut out the cookies.

Surprisingly, these are the only Christmas cookie cutters that I have. 4 reindeer, an elf shoe, a star, Christmas tree, an ugly sweater, a mini snowflake, and a giant snowflake. I didn’t use the mini snowflake cutter because all the dough got stuck in the little details at the ends of the cookie cutter, which was a pain in the butt. Continue to roll out the dough and cut out shapes until you don’t have anymore dough left. If there’s any scraps left over, like I had just roll them into little balls and bake them with the rest of the cookies. No sense in wasting perfectly good cookie dough is there? Once all the cookies have been cut out place them onto cookie sheets lined with parchment paper.


Even though these don’t spread that much, it’s still best to leave 1 inch of space between the cookies to account for any spreading that could happen. Bake the cookies for 10-12 minutes or until lightly brown at the edges.


Let them cool for a couple of minutes on the pans before moving them to a wire rack to cool completely or else you’ll risk breaking them. I used a giant cookie spatula but you can use a regular spatula. I like my giant one to move my cookies from the pan to the racks without breaking them. It’s awesome.

While the cookies are cooling, it’s time to make some royal icing. Normally, I would just buy the premade stuff but this year I thought that I’d save some money and make my own. Making royal icing from scratch isn’t hard, it just takes a lot of patience to get it to the consistency that you want. Since I was going for the thinner cookie icing, that took some time, patience, and consulting a Wilton YouTube video because I thought I messed up somewhere, but I didn’t. Now, I give you homemade royal icing!
Here’s a link to the royal icing recipe that I used if you want to use it: Royal Icing
Ingredients (for the icing):
Makes 3 cups
- 3 tbsp meringue powder
- 4 cups powdered sugar
- 5 tbsp warm water
- 1/2 tsp vanilla
Before you get started making the icing, make sure that all your tools, mixer bowl, mixer attachments, countertop, stand mixer/hand mixer is grease free otherwise the icing won’t come together properly. Just a helpful tip for you!
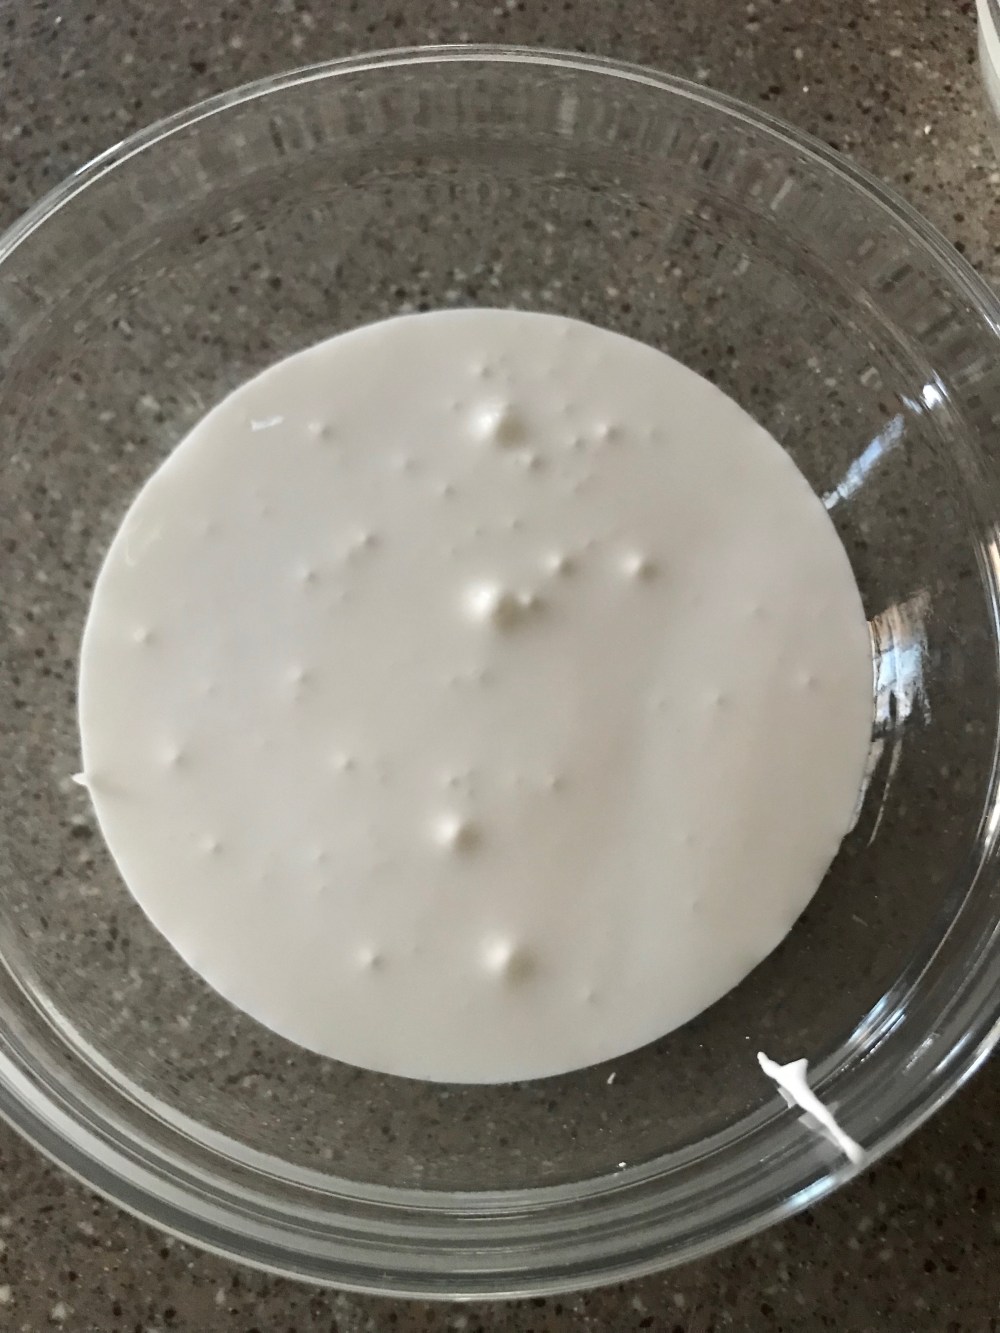
Put all the ingredients into the bowl of your stand mixer fitted with the paddle attachment on low-speed (or as always you can do this with a hand mixer on high-speed). Let the mixer run until the icing forms stiff peaks, about 7-10 minutes with a stand mixer and 10-12 with a hand mixer .
See how the peak stands up straight and the icing has more body to it? That’s exactly how you want it to look. Now comes the part that takes patience; thinning it down to the right consistency. Add water 1/2 tsp at a time mixing well in between each addition. Again, make sure your spatula, or whatever tool you use to stir the icing, is grease free so that you don’t ruin all the hard work you’ve already done. I added 4 tsp in total until my icing was the way I wanted it to be. It should be the consistency and thickness of white glue (Elmer’s Glue).
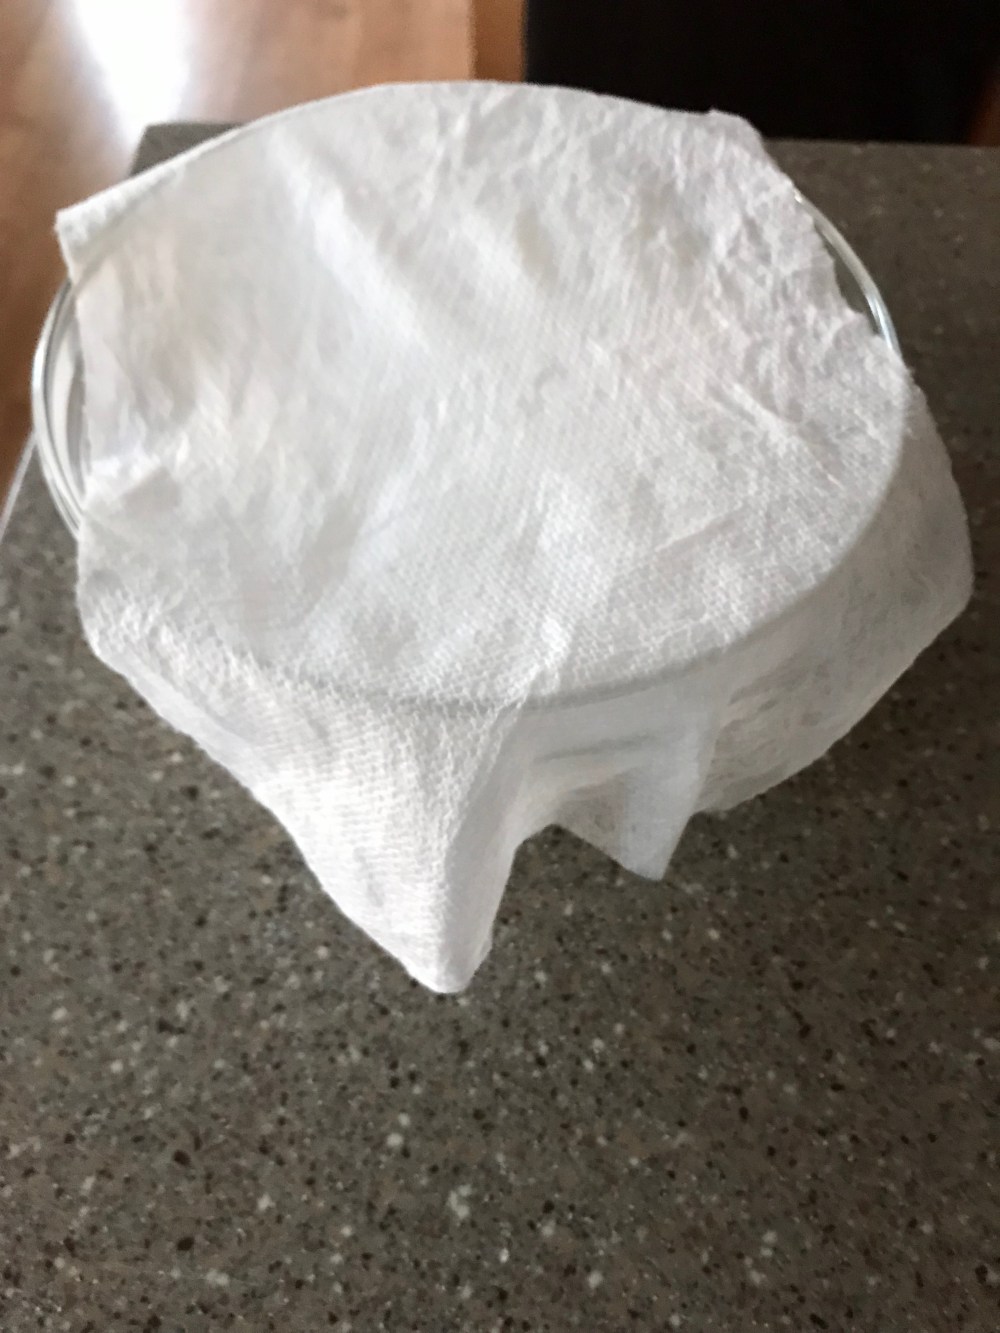
At this point I divided my icing into four other bowls so that I could color them and decorate the cookies how I wanted to! I colored one bowl a pale blue, another one red, next one green, and the last one was a red-orange color. To keep them from drying out when I wasn’t using them, I put a damp paper towel over each bowl, which creates the ideal environment for the icing to stay nice and pourable.
Now it’s time to assemble the piping bags so that it’s easier to flood the cookies without making too much of a mess. I used five piping bags, each fitted with a tip #3 also known as a writing tip so that I could control the icing a little bit more and not get it everywhere. Another helpful tip, wrap each piping tip in some damp paper towel to keep the icing from hardening in the piping tip causing a clog. I forgot about this part, which probably would’ve saved me from sticking a toothpick into the tip each time I went to use the icing, but live and learn.
Lay your cookies out on your work surface so that you can begin icing them. I laid mine out on silicone mats, to catch any drips of icing and to make sprinkle clean up a million times easier. It’s way easier to clean hardened royal icing off a silicone mat than your countertop, trust me on that. Now back to the cookies.
Gather up all the sprinkles and decorations that you want to use. Seeing as I have a massive sprinkle collection, I had a good amount of things to choose from.
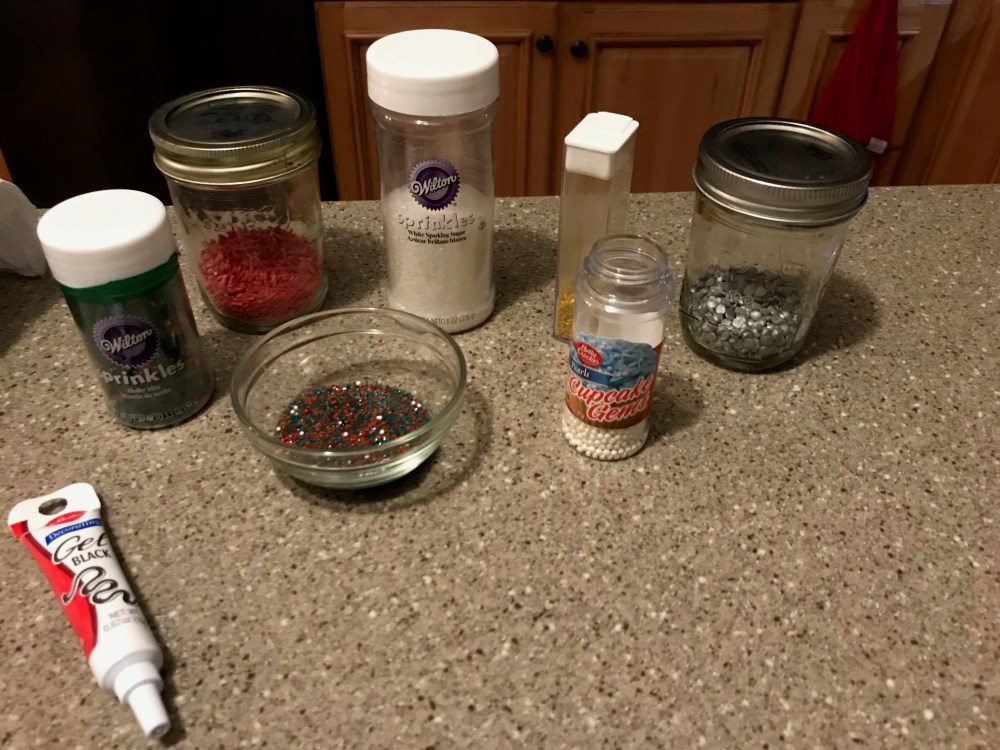
As you can see in the picture above, I had a good amount of Christmas sprinkles to use. There’s holly mix, a mix of red and green sanding sugar, white and gold sanding sugars, white nonpareils and little silver circular sprinkles. I also found a tube of black decorator gel that I originally got for something else, but then I thought it would look good as the cord for a string of Christmas lights.
Sorry in advance that I didn’t take any pictures of the decorating parts, but it’s hard to try to perfectly flood a cookie with one hand and take pictures with the other one. In hindsight, I should’ve waited until someone else was home to take pictures. I’ll do my best to describe it with words, so hopefully you can follow along with what I’m saying.
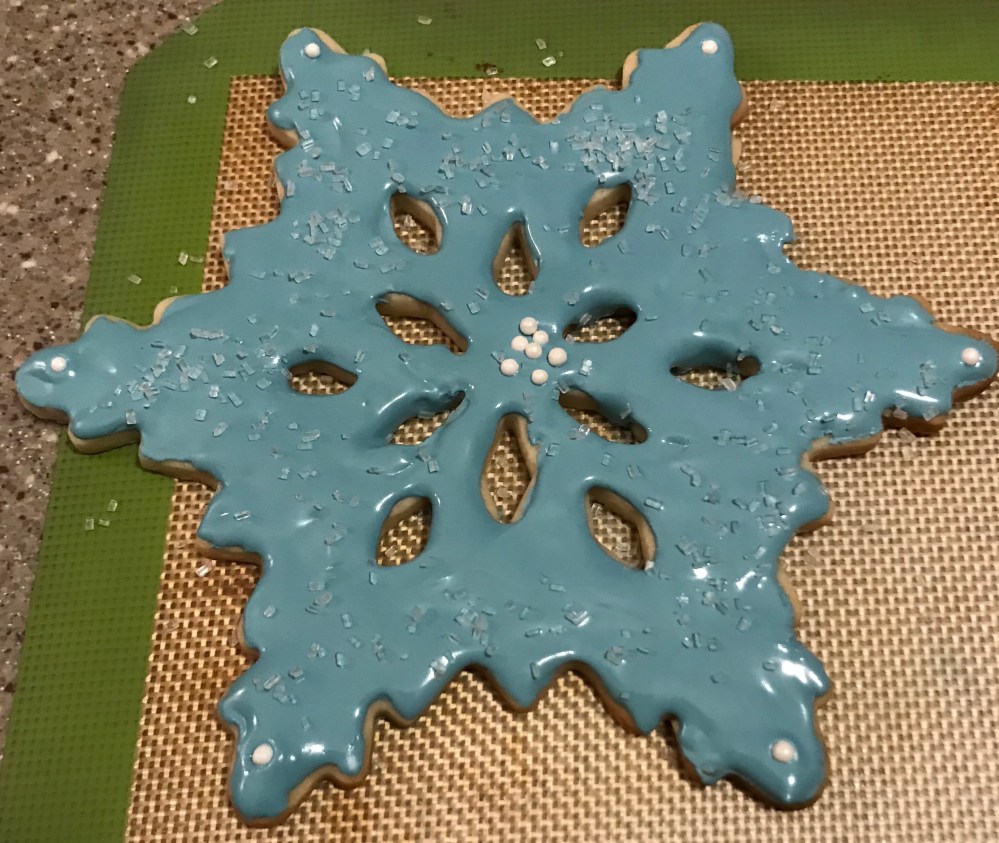
Start by tracing along the edges of the cookie while holding the piping bag parallel to the cookie. Once that part is done, pipe blobs of icing inside the outline. To make sure it fills the cookie to the outline, I used a toothpick and very lightly dragged the icing to the edges if it looked like it wasn’t going to fill the gaps just by spreading. Since I chose to decorate one of my giant snowflakes with the pale blue icing, I used it a little white nonpareil on each of the outer points and then a final sprinkle of white sanding sugar. Which looked very good considering that this was my first time very attempting to do this!
I gradually got better with each cookie. My favorite one was the ugly sweater cookies. I started with white icing on the cookie, and then added the red and green sugar to the collar and ends of the sleeves with three little bits of holly across the middle.

I thought it was a cool looking idea for an ugly sweater, then we get to my last ugly sweater idea, all I did was pipe alternating lines of red and green icing onto the cookie. Then before it started to dry, I dragged a toothpick through it to create a tie dye effect which just looked awesome to me.

Doesn’t this look like a cool design for a sweater? After I was done with swirling the icing, I decided that some sparkle was needed so I added a little bit of green and red sugar over the entire cookie.
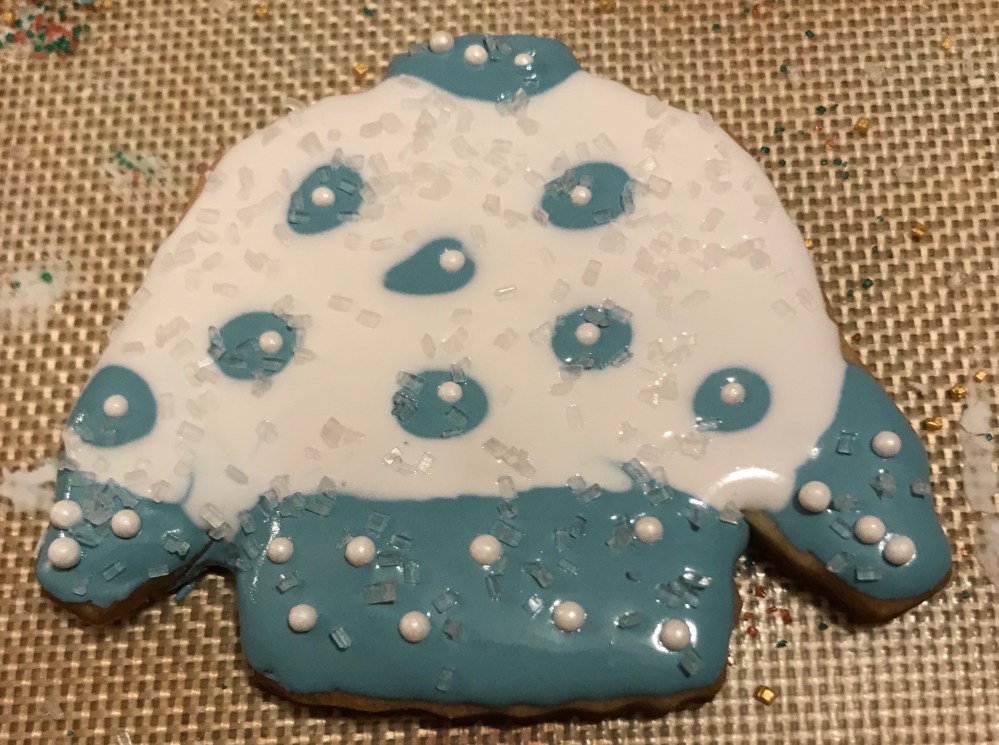
Next, we have my final ugly sweater. This one, like the one above, was just a random idea that just happened. To start, I covered the top in white icing and then along the bottom, colloar and ends of the sleeves I used some of my pale blue icing. After the white had a minute to start setting up, I added little dots of blue all over the white and added a little white nonpareil in the center of each blue dot, along the collar, and also along the bottom of the sweater.
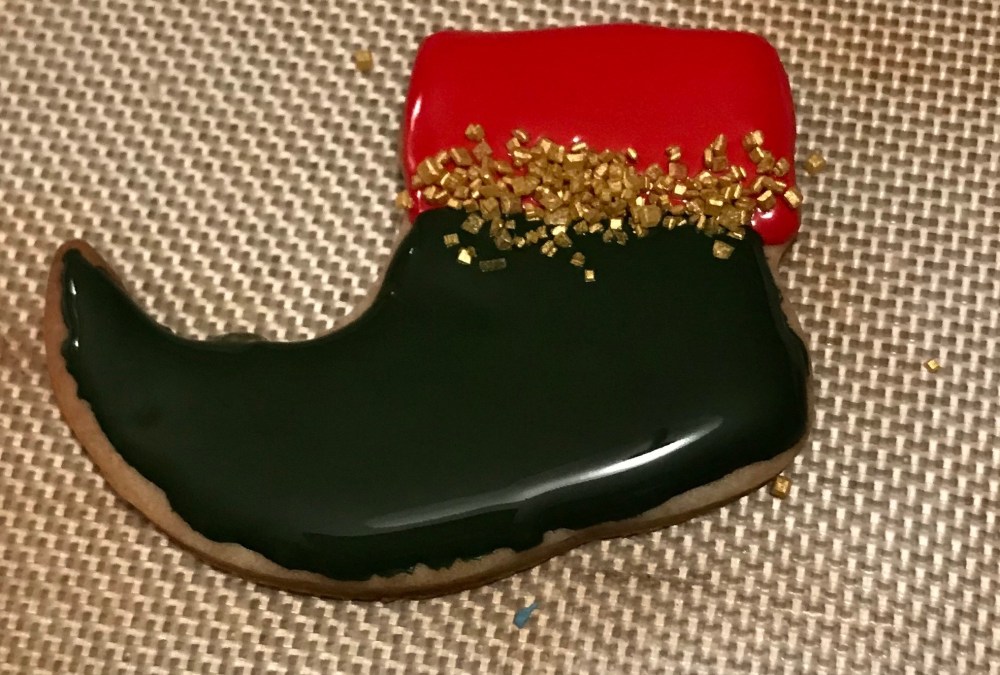
For my final cookie decoration, I did an elf shoe with red icing on the top and green along the bottom. Then I added some gold sprinkles where the red and green icing met.
My cookie decorating skills need some work, but it was still fun to decorate some Christmas cookies and try out flooding a cookie with royal icing. They look pretty good for a first try!
Until next time,
Peace, Love, and Sugar,
Brooke


Hello there,
Please be aware if have nominated you for a blogging award. If you chose to follow the rules refer to my latest post for the information! Keep up the amazing work!
Crystal
LikeLiked by 1 person