
Happy New Year! I’m back after spending the week between Christmas and New Year’s playing with macarons!
I’ve tried making these twice before I started this blog, and like the first attempts of any recipe, mistakes were made. The first time, I didn’t let the macarons rest at all before baking them. This was a big no-no, because they need to rest out on the counter for anywhere from 15 minutes to an hour (depending on the humidity in the air). This rest period lets them form a skin on top. This also helps them dry out a little bit and is a big factor in forming the signature feet (which is the little ruffle at the bottom of each macaron). Needless to say, I didn’t achieve the feet like I wanted, which then lead to attempt #2. The second attempt went a little better than the first time, but still not right. I had learned from the mistake of my last attempt and let them rest, but it wasn’t for as long as I should have. Again, I didn’t achieve the “feet”. Macarons are very temperamental; it can’t be too hot or too cold outside, it can’t be too wet or too dry, you have to be careful of the humidity in the air and temperature inside your house. I did a lot of research on all of this before I tried macarons for the third time and decided to try making them during the winter because then it’s not too cold, not too wet or dry, and is pretty much ideal macaronage weather. The other thing I’ve learned is that using those fancy silicon macaron mats that seem to be everywhere don’t do your macarons any favors at all. I bought two of them (thankfully, with coupons) and used them in my first two attempts and kept wondering why my macarons didn’t look like they should. While I was watching a Cupcake Jemma masterclass video on how to make them, I noticed that she used parchment paper, not macaron mats like I had been using, and hers turned out correctly with the little feet and all. So I decided to google it and see what makes parchment paper so much better than a silicone mat. I found out that parchment paper helps to dry out the macarons while baking, whereas silicone mats retain heat and keep whatever you’re baking from drying out. Now with that bit of background knowledge, I give you macarons!
Here’s the recipe I used if you want to give it a try: Macarons
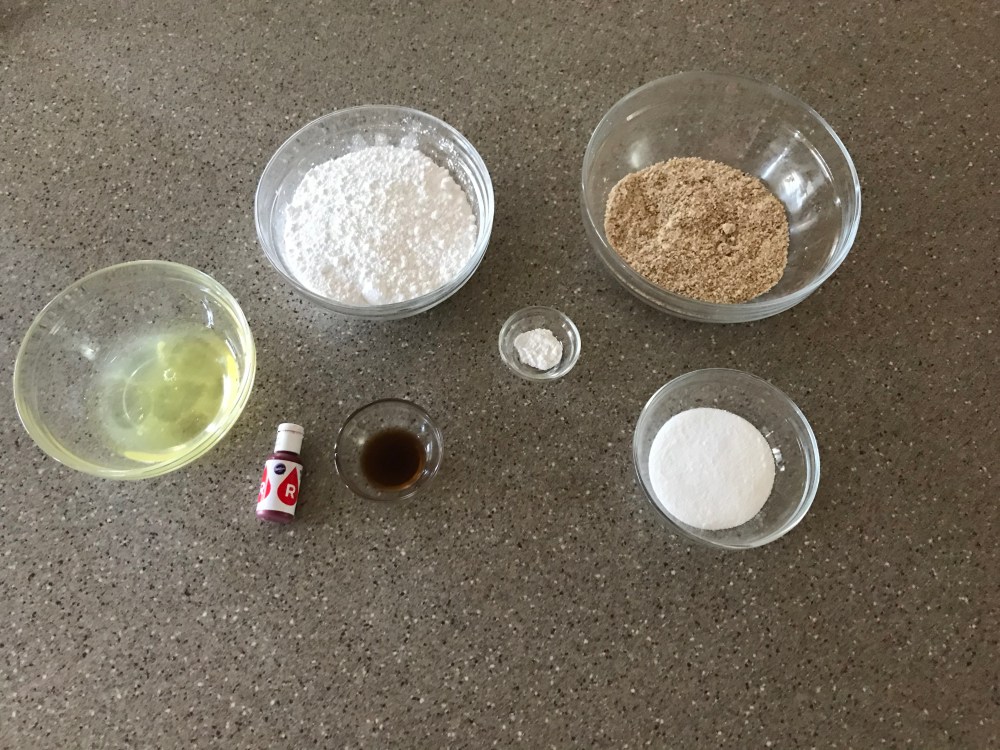
Ingredients:
- 1 3/4 cup powdered sugar
- 1 cup almond flour
- 3 egg whites
- 1/4 tsp cream of tartar
- 1/8 tsp salt
- 1/4 cup superfine sugar**
- 2-3 drops of gel food coloring*
*Be sure that if you choose to use gel food coloring because liquid food coloring will change the consistency of your macaron batter.
**To make your own superfine sugar, just take the amount called for in the recipe and blend it in either a food processor or a blender for 1-2 minutes until it looks like sand.
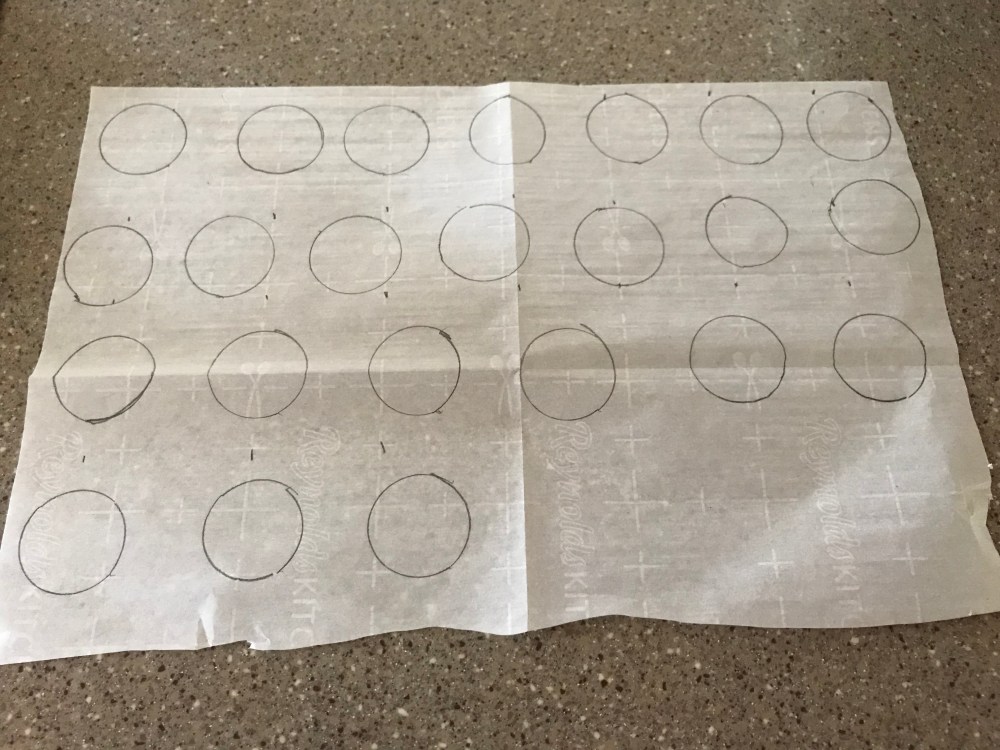
To make sure that I had the same general size for each macaron, I traced my flower nail, (which is an inch in diameter) onto one side of a piece of parchment paper, then flipped it over so that the pencil side was face down on the pan. Do this to the other two pans. Then set these aside until you’ve made the batter.
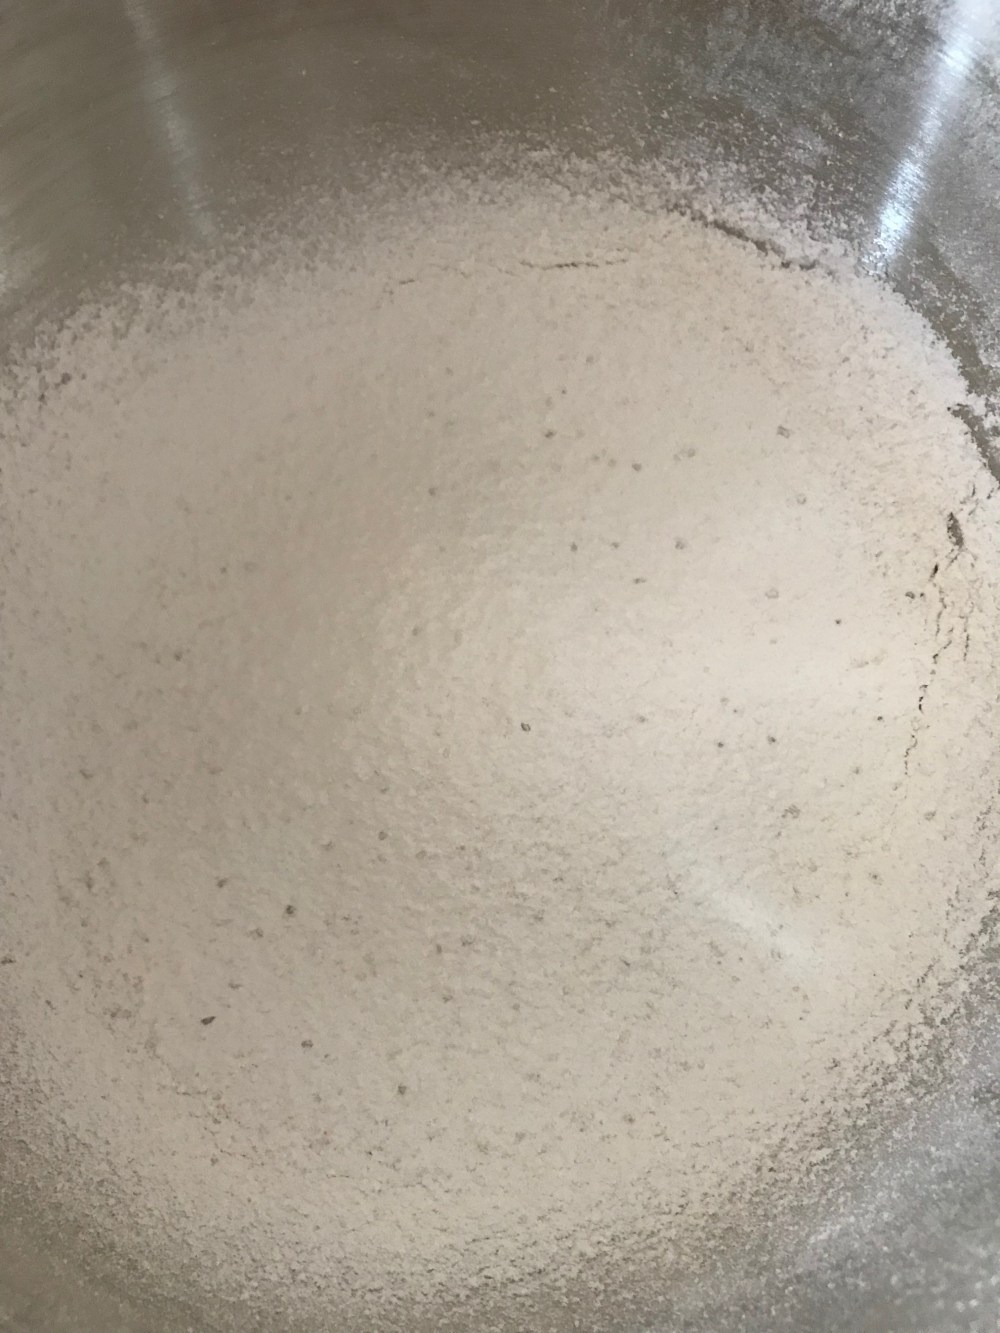
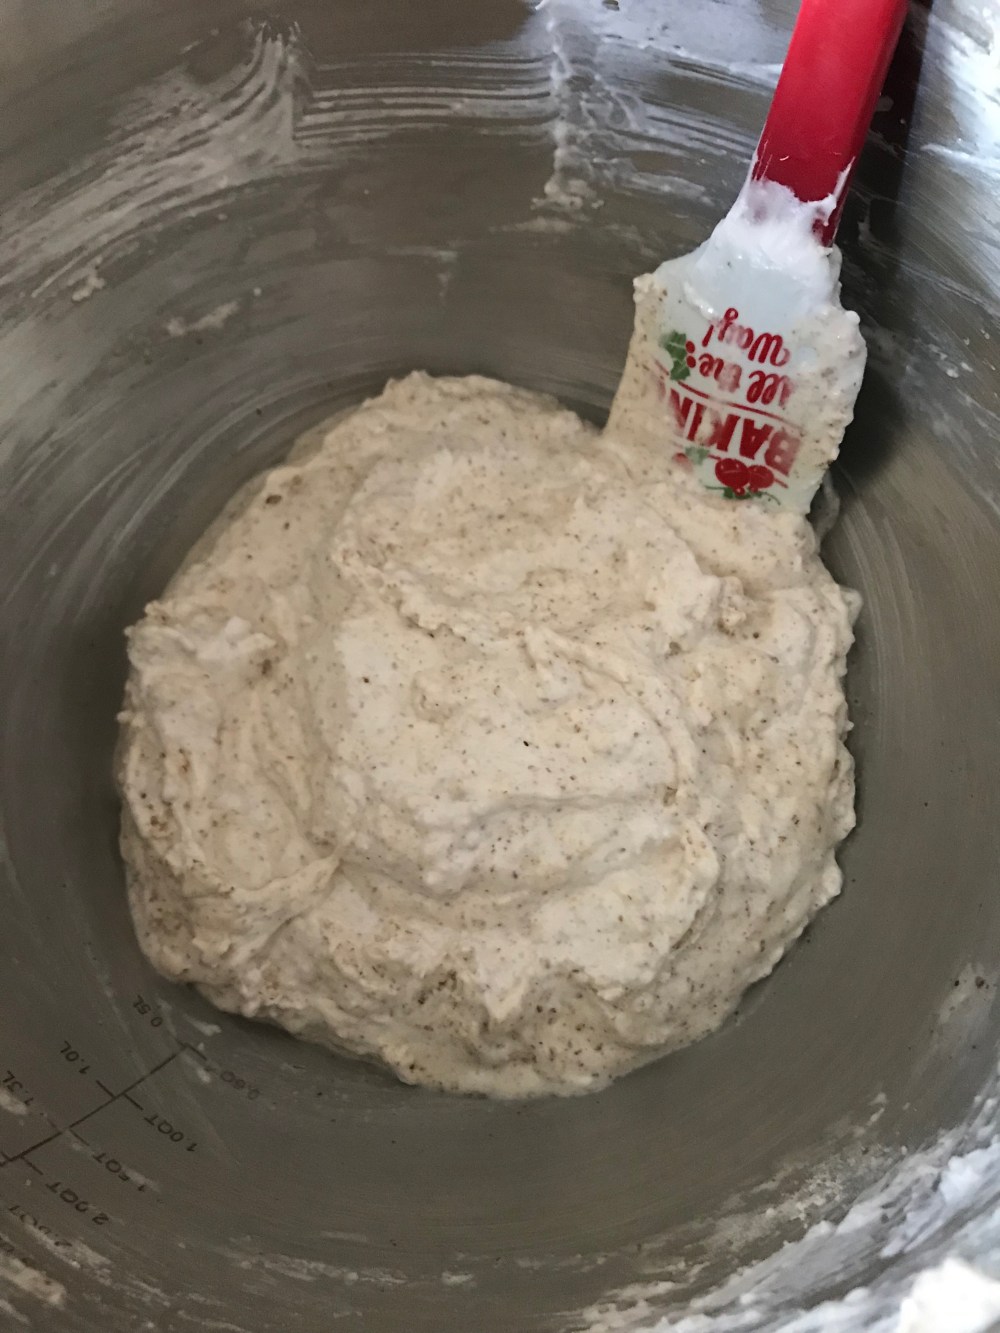
Sift the powdered sugar and almond into a large mixing bowl, dumping any large pieces that don’t make it through the sifter, then whisk to combine. If you don’t sift the powdered sugar and almond flour together, then you’ll get lumps in the batter which won’t give you the nice smooth top that macarons usually have. Trust me. Set this bowl aside for now.
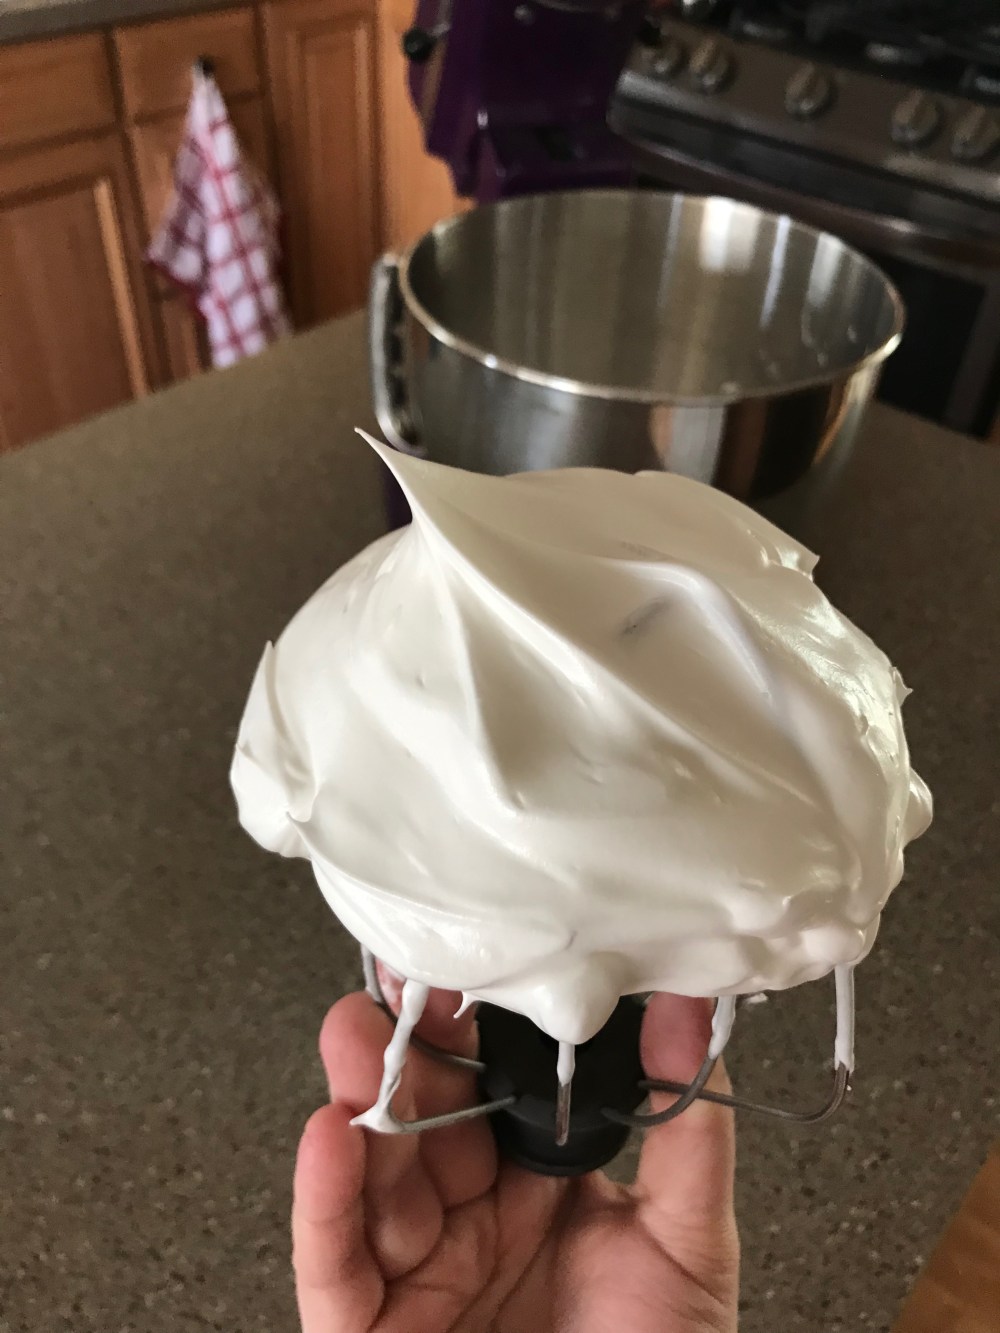
Next, in the bowl of your stand mixer (or you can do this by hand), add the egg whites and cream of tartar. Mix on medium speed until the egg whites are really foamy and just starting to gain volume. Then gradually add the sugar a little bit at a time. I usually wait between 10 and 15 seconds before adding the next addition of sugar. Once all of the sugar has been added and fully mixed in, turn the speed up to medium high and mix until the meringue is shiny and holds stiff peaks.
Now it’s time to fold the meringue into the dry ingredients. Start by adding 1/3 of the meringue to the flour and powdered sugar. Then start by going down the middle of the bowl and folding the mixture over itself, turning the bowl a quarter turn each time continue until there are no streaks of meringue in the batter.
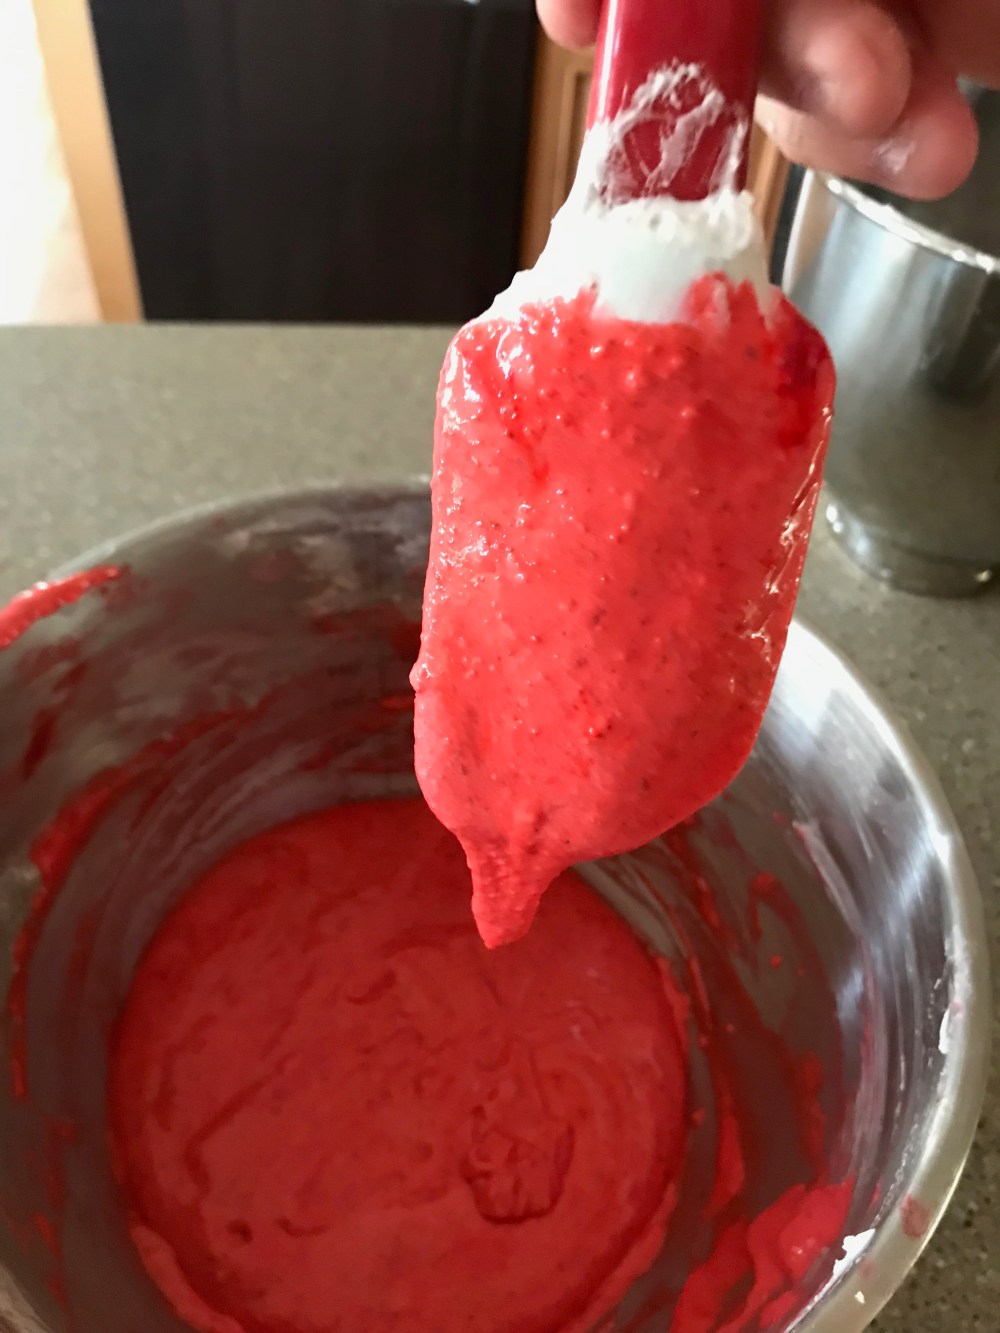
Next add the vanilla and food coloring if using, I chose to use 2 drops of red food coloring in mine. Mix until the batter is smooth and falls off your spatula in thin flat ribbons. You can also use the figure eight method to see if your batter is properly mixed. When you pick up your spatula, draw a figure eight in the batter and if it sinks back into the bowl right, away then you still have some mixing to do. Continue to mix the batter until you can do a figure 8 and it stays on top of the batter. Do not overmix, otherwise you risk deflating the meringue which will deprive your macarons of the light airiness that they need and they won’t rise and form feet like they should.
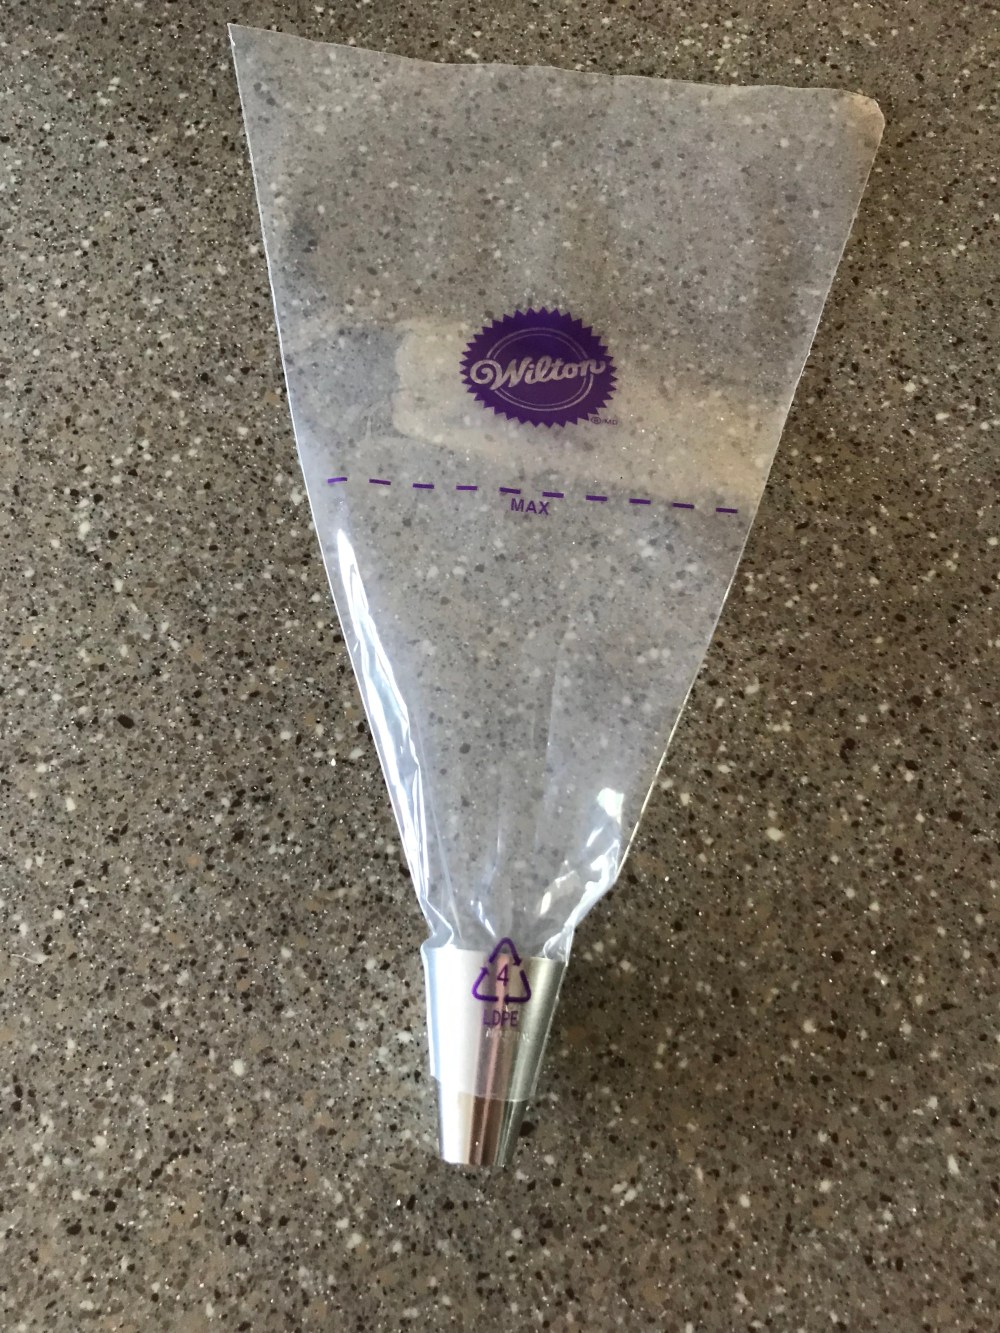
Gently pour the batter into a piping bag fitted with a 1A tip, you can also use a ziplock bag with one of the corners cut off.
Holding the bag vertically (straight up and down, not at an angle!) over the pan, pipe enough batter to the edges of the outlines being careful to leave 2 inches of space between each macaron to account for spreading. I’m still working on the spacing since I’m not used to piping macarons free-handed. Once all the batter has been piped onto both pans, gently smack the pans on the counter twice to get rid of any air bubbles. If you don’t do this, then while they’re baking the air bubbles will expand and pop leaving craters in the tops of your macarons and they won’t have that nice smooth top like macarons usually do .


You can see that in the first picture, my spacing was off and some of them spread into each other. Whereas in the second picture, my spacing got a little better (as in they don’t touch). I still need to practice my piping until I can pipe as perfectly as they do in all the videos! Another tip that I learned in all of this is that even if the recipe says you can fit 24 on a pan like this one does, do half that just to be sure that there’s enough space between each macaron even after they spread out enough. Otherwise, they spread into each other and then when you bake them, they bake into one big macaron. This is definitely not something you want, because then the centers won’t bake properly and the feet don’t form properly either. Now onto another very important step. After you’ve gotten the air bubbles out, let them sit out on the counter for anywhere from 15 minutes to an hour depending on the humidity of your house. You’ll know they’re ready to bake when the macarons no longer stick to your fingers when you gently run a finger over the top and it’s nice and smooth. Mine took an hour for them to be ready to bake. Don’t touch them every couple of minutes or else they’ll never form their skins on top and then they won’t bake properly, I made that mistake already and learned from it very quickly.
Once all the macarons are not sticky to the touch, it’s time to bake them. Which brings me to another thing that I learned and found extremely helpful, if your oven has a convection setting, now is the time to use it. The way that convection keeps the hot air moving the whole time during baking helps give the macarons their rise, whereas without convection, some spots of the oven can be hotter than others or there can be dead spots and the oven tends to cycle back and forth between on and off while baking. If your oven doesn’t have a convection setting, you’ll just have to keep a close eye on your macarons to be sure that they don’t over or underbake. Preheat your oven to 300 degrees F and bake the macarons for 20 minutes or until they’re shiny and rise just enough to form the foot. Take them out and cool them on the parchment until they’re completely cooled. If you try to do this too early then you’ll just rip the macaron in half. Another thing I learned in my macaron attempts.
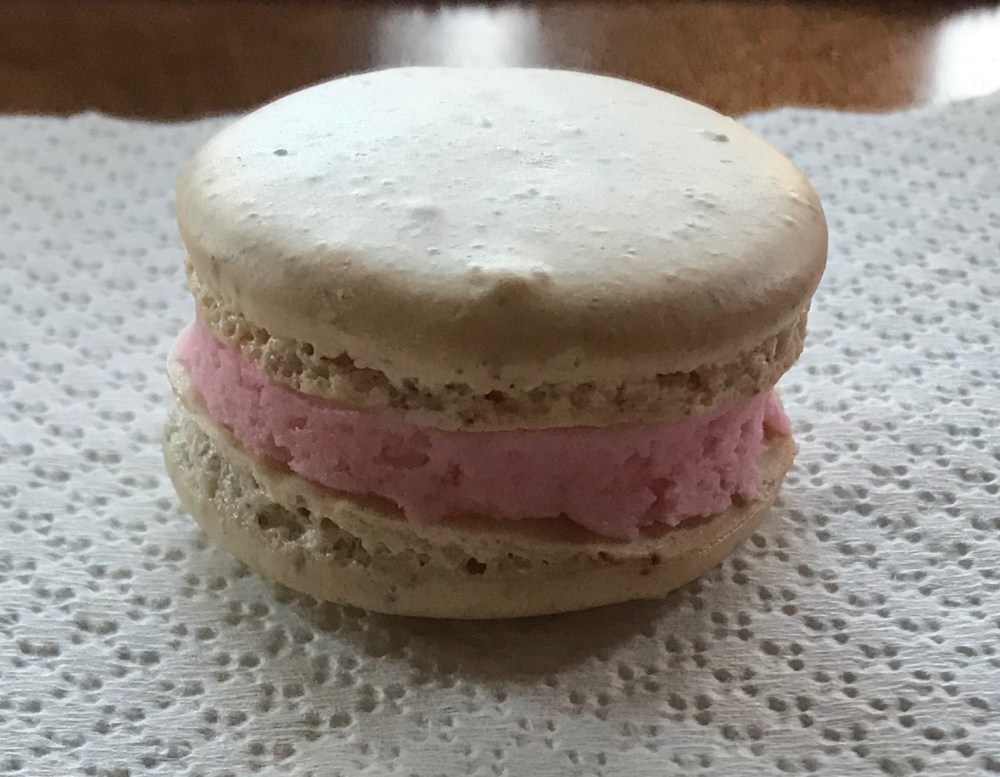
You’ll know that the feet have formed properly if you see a little ruffled edge at the bottom of each one and it’ll look like all of them rose slightly.
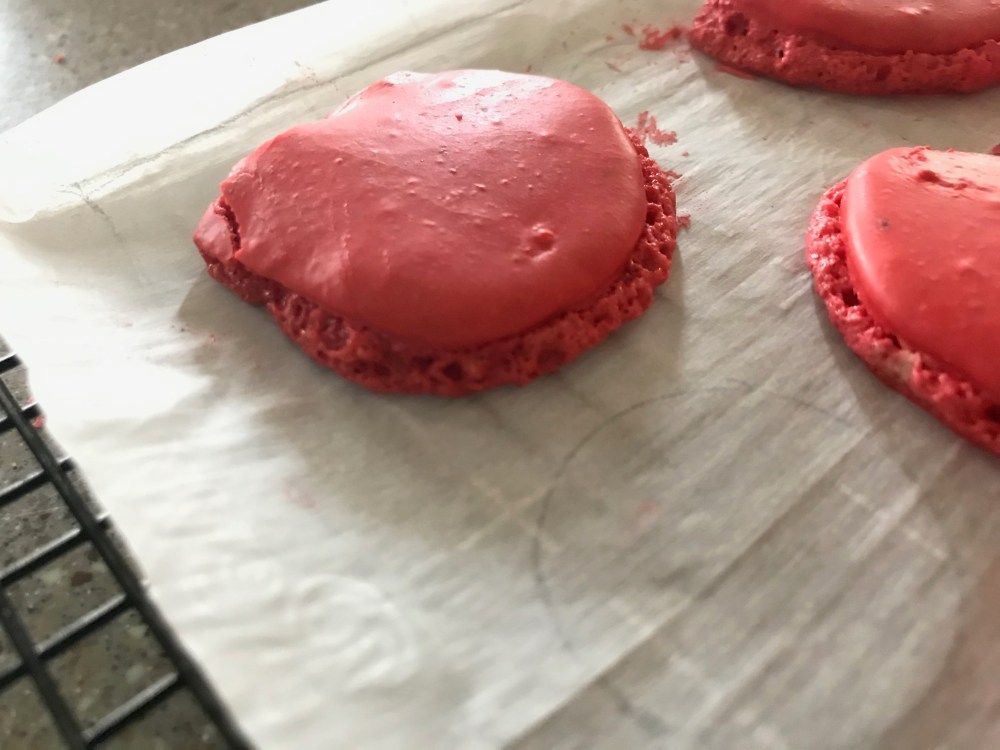
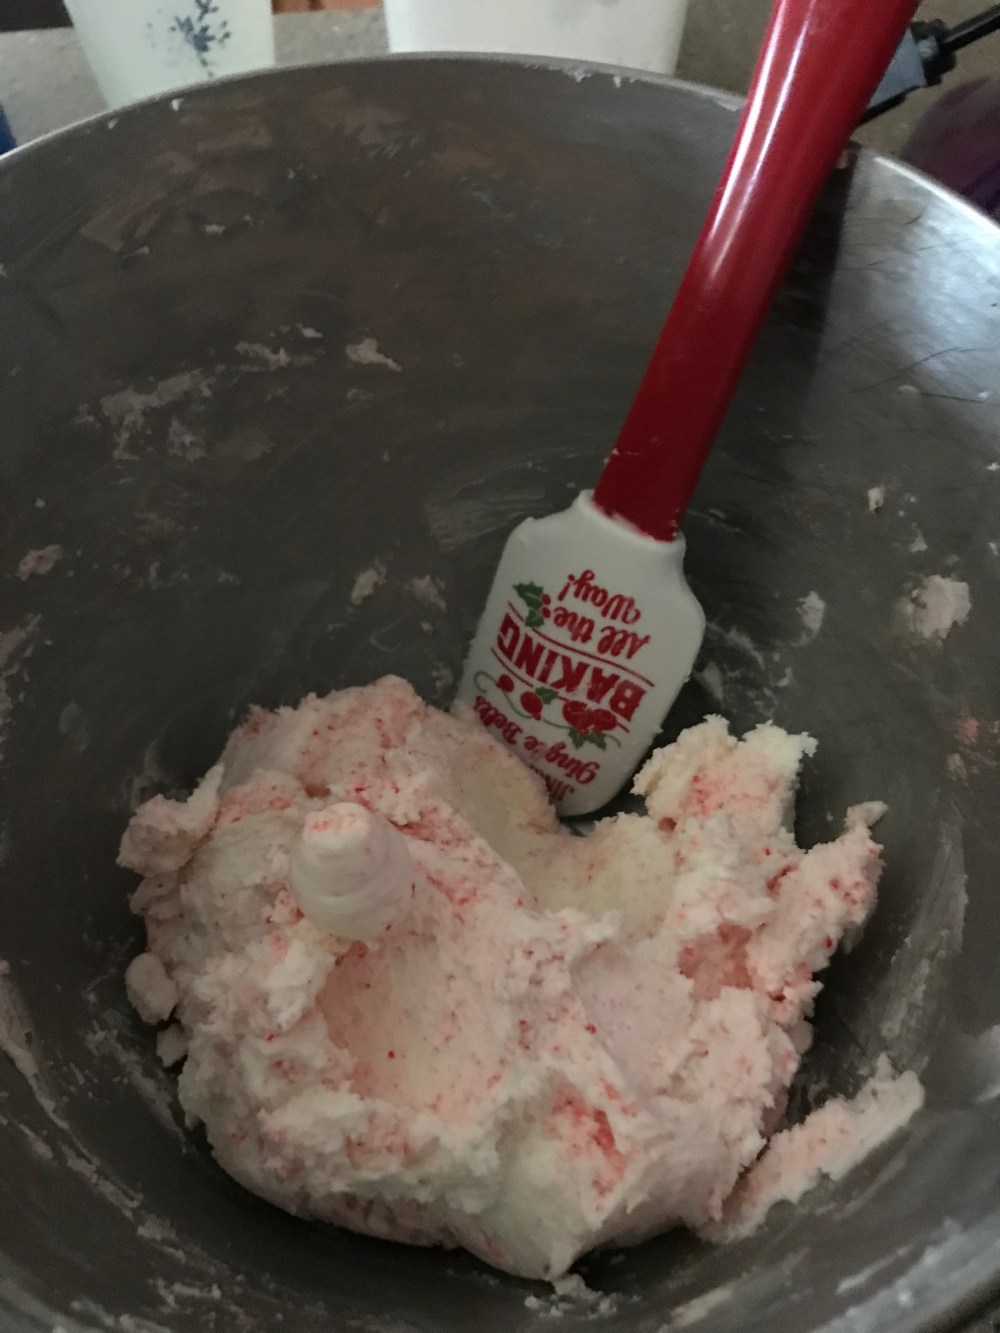
That little ruffled edge that you see on the bottom is the sign of a great macaron. Now onto the filling, I just made my go to buttercream recipe which you can find on my recipes page. But since we have candy canes leftover, I crushed a bunch of candy canes in a food processor then folded them into the buttercream. I could’ve made a fancier filling but I didn’t want to go all out on the filling and not have my macarons turn out correctly. It was a last-minute idea, but a really good one nonetheless.
I used the same 1A tip that I used to pipe out my macarons to be sure that I would get the same amount of filling in each one. I just flipped half of them over and piped a little mound of buttercream in the center of each one. Then carefully put the tops on, I even though I was being extremely careful not to break them while putting the tops on. I broke the tops on a couple of them but they still looked good to me.


The only thing that I heard from my family that they didn’t like was the amount of buttercream in each one. They were really good, but I could’ve used a lighter hand when it came to filling the macarons.
I tried making them without the food coloring three days later just to see if that made a difference and to try to sort out my spacing issues. I didn’t get the spacing issues worked out just yet, but like the saying goes, practice makes perfect. I actually got two perfectly sized and shaped macarons when I made them without the food coloring. I also filled them with the last of the buttercream from my red macarons and a few with Nutella (which, I must say was absolutely delicious)!
They didn’t spread out as much as the red ones and they rose a little more giving the feet more room to form. To say I was excited would be an understatement, I was over the moon excited and happy that I finally got this recipe right. Now that I know I can successfully make macarons, it’s time to play around with different filling flavors. And perfect my macaron piping skills!
As always if you try this one or make any of the recipes on here, post a picture and tell me how it went. Then everybody can see your amazing creation. I definitely want to!
Until next time,
Peace, Love, and Sugar,
Brooke

