

Happy Halloween everyone, I’ve seen a bunch of these cakes all over social media so I decided to try and make one myself. What’s not too like? It’s a cake covered in melted pulled marshmallow to look like spider webs and it was so fun to make. The recipe I used for the cake is from a website called The Scranline, a youtuber that I really like so I’ll put the link below if you want to check it out.
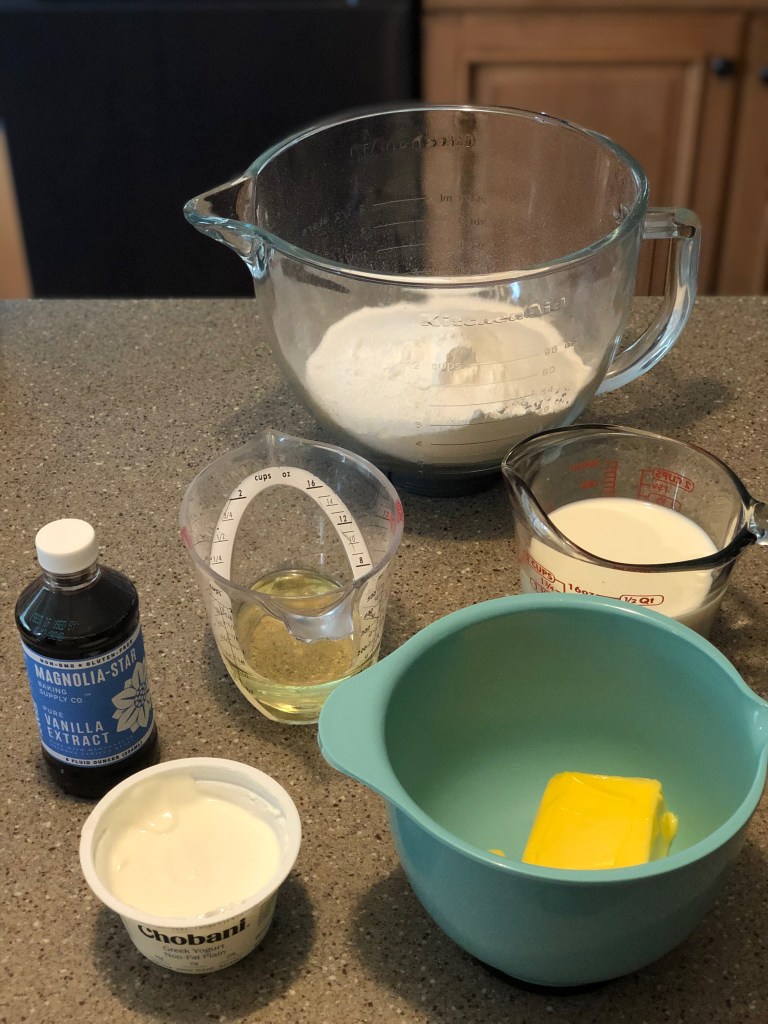
Cake Ingredients:
*All the measurments are by weight but I will also include the regular measurements as well*
**To make the same size cake I did, you’ll need to make 2 batches of batter**
- 430g (3 1/2 cup) all purpose flour
- 265g (1 1/4 cup) granulated sugar
- 3 tsp baking powder
- 1/2 tsp salt
- 125g (1/2 or 1 stick) butter, softened
- 2 eggs
- 375ml ( 1 1/2 cup) whole milk
- 125ml (1/2 cup) vegetable oil
- 2 tbsp greek yogurt or sour cream
- 1 tsp vanilla extract
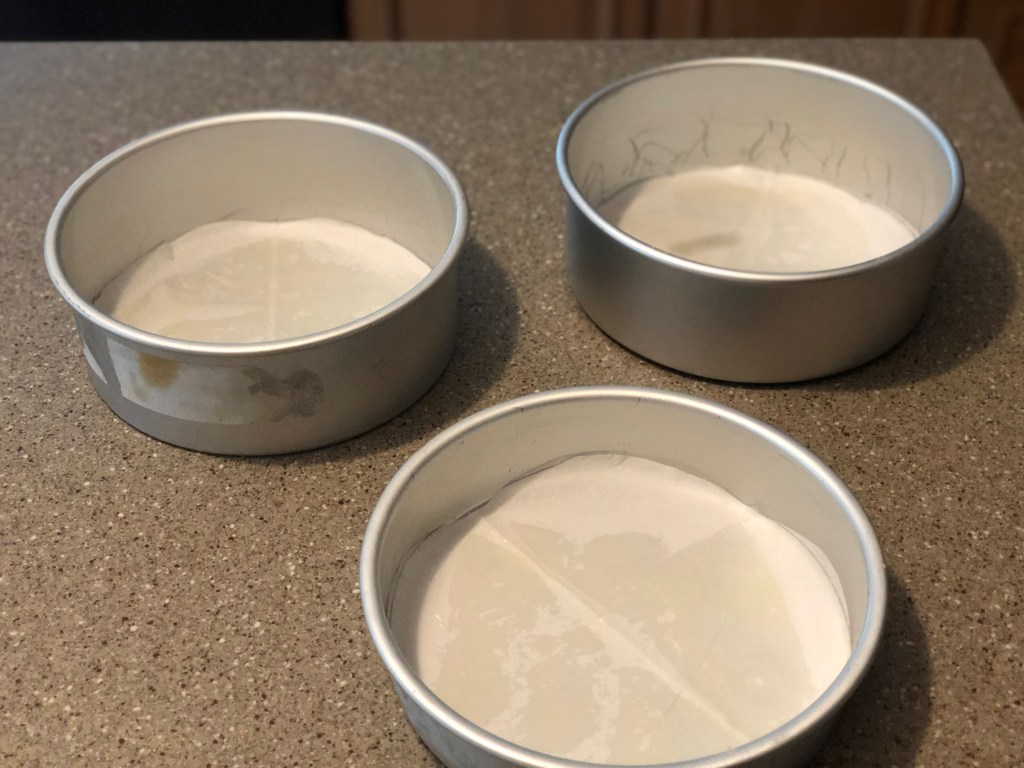
Preheat oven to 320F (160C) Spray and line the bottom of 3 8inch (20cm) pans with parchment paper, set aside.
Add the flour. sugar, baking soda, and salt to the bowl of a stand mixer fitted with the paddle attachment or you can use a large mixing bowl and a hand mixer. Mix until well combined. Add the butter and mix until the mixture resembles coarse sand.
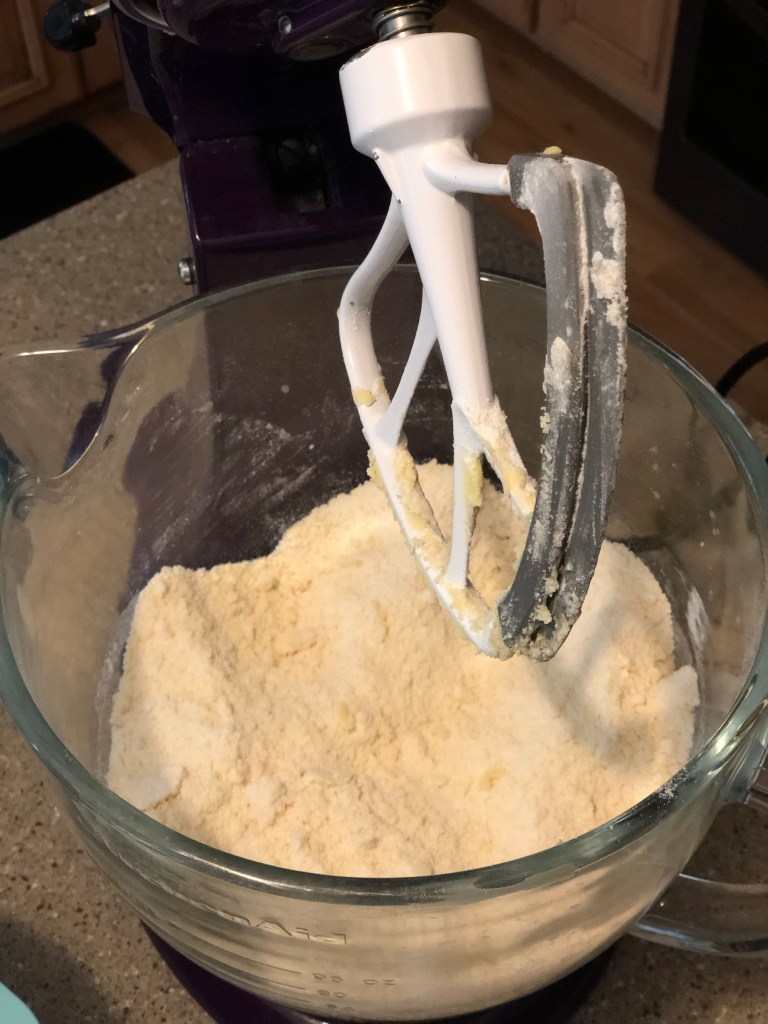
Next, add the eggs, milk, oil, yogurt/sourcream, and vanilla, mix until you don’t see anymore dry ingredients. Stop the mixer, scrape down the bowl and mix for a final 20 seconds.
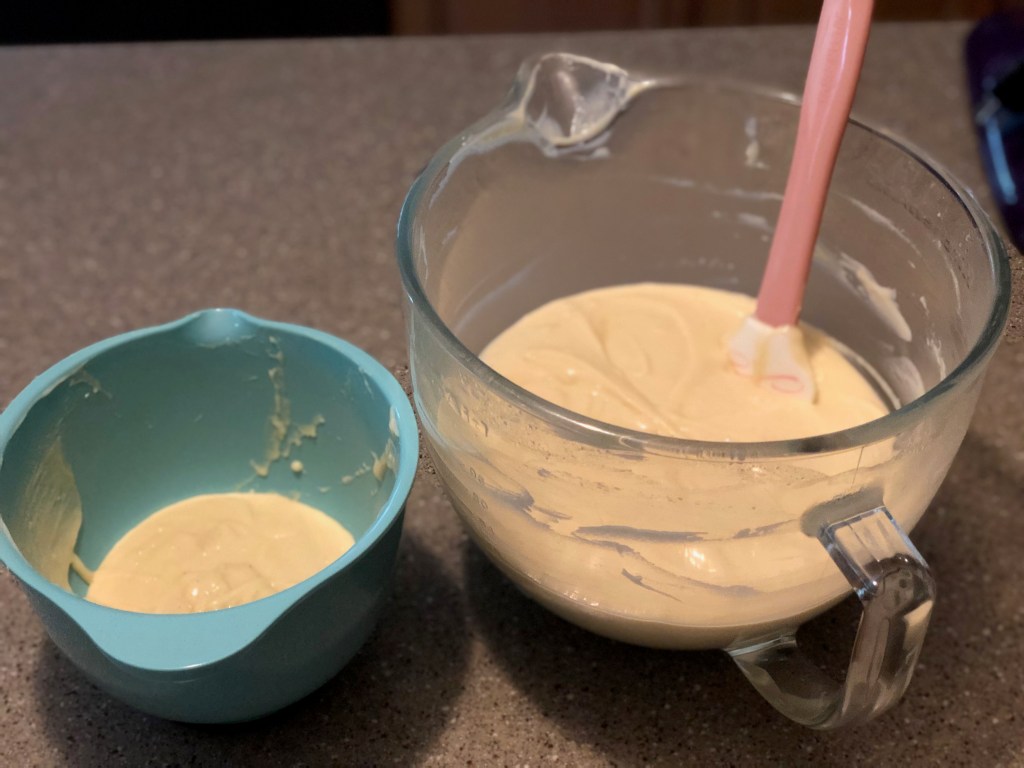
Now for the fun part, I wanted to do a kind of spider web pattern inside to match the outside of the cake. I took a small amount of the batter and added 2 tbsp black cocoa to it, then folded that in.
**Regular cocoa will work as well but I wanted mine to be nice and dark.**
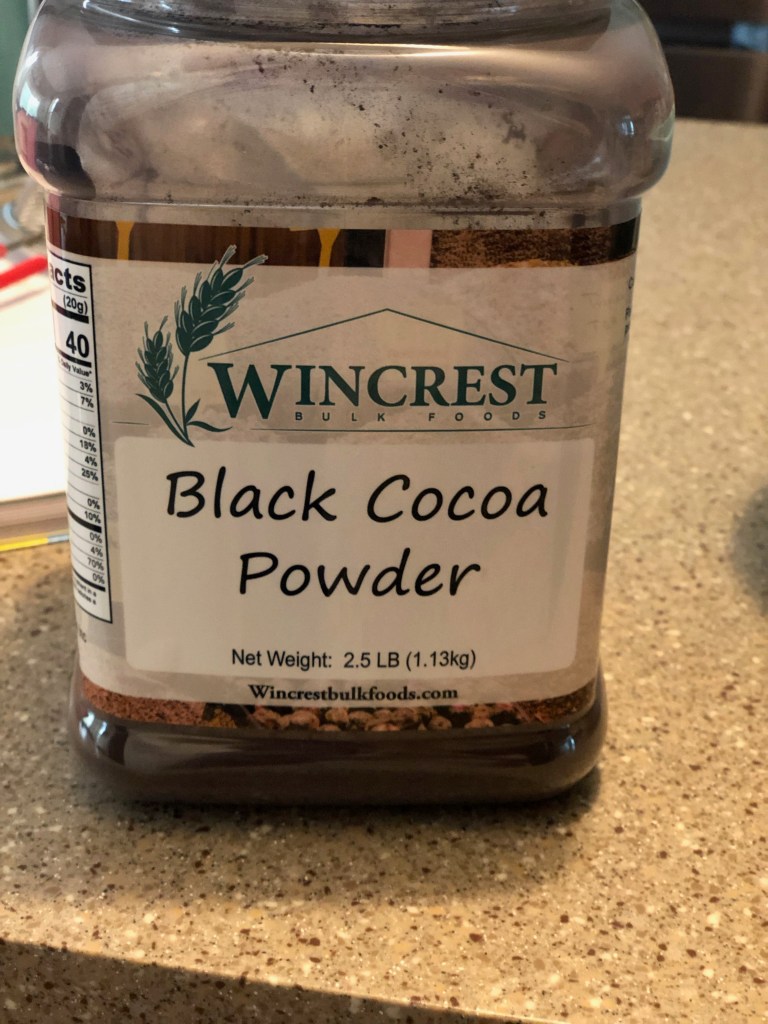
This stuff is amazing and will turn anything black (no food coloring required), I found mine on Amazon.
Add the chocolate batter to a piping bag or use a ziplock bag with one of the corners cut off, divide the vanilla batter between the pans, I like using an ice cream or as I call mine a batter scoop to make sure each pan has the same amount in it, then take the chocolate batter and draw 3 circles on top of the vanilla, draw the rest of the spiderweb. Then take a toothpick and swirl the batters together.
Bake the cakes for 50-60 minutes or until a toothpick inserted in the center comes out clean. Let the cakes cool completely in the pans before inverting them onto a wire rack. While the cakes are cooling, it’s time to prep the candy filling and make the buttercream.
Chocolate Buttercream:
- 4 sticks butter, softened
- 4 cups powdered sugar
- 1 tbsp vanilla extract
- 1/2 cup black cocoa, regular cocoa can be used as well
- 1/2 tsp salt

In a mixer fitted with the paddle attachment (a big bowl and hand mixer will work as well), add the softened butter and mix until light and fluffy. Then add the cocoa powder and powdered sugar, mix on low speed until fully combined.
Scrape down the bottom and sides of the bowl, add the vanilla and salt. Mix until combined.

I didn’t add any food coloring to this buttercream, this is the color that you get using black cocoa.
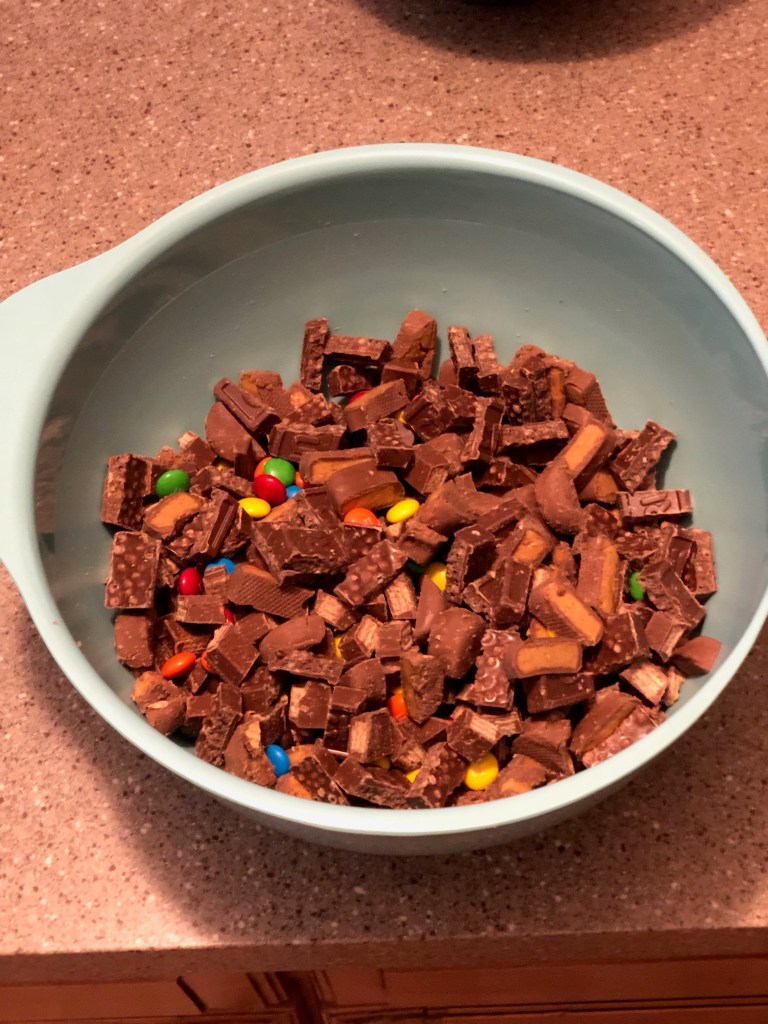
Set this aside and prepare the candy filling. I used a mixture of Kit-Kats, Crunch bars, M&M’s, and peanut butter cups. I cut the kit-kats, crunch bars, and peanut butter cups into smaller pieces so that they would fit into the cake layers a little nicer and not stick out of the final layer of buttercream when the cake is fully done.
Now it’s time to fill, frost, and decorate this cake. I made 3 8inch cakes for the bottom layer and 3 6 inch cakes for the top layer, I was going for a tall cake but you can make it whatever height you want.
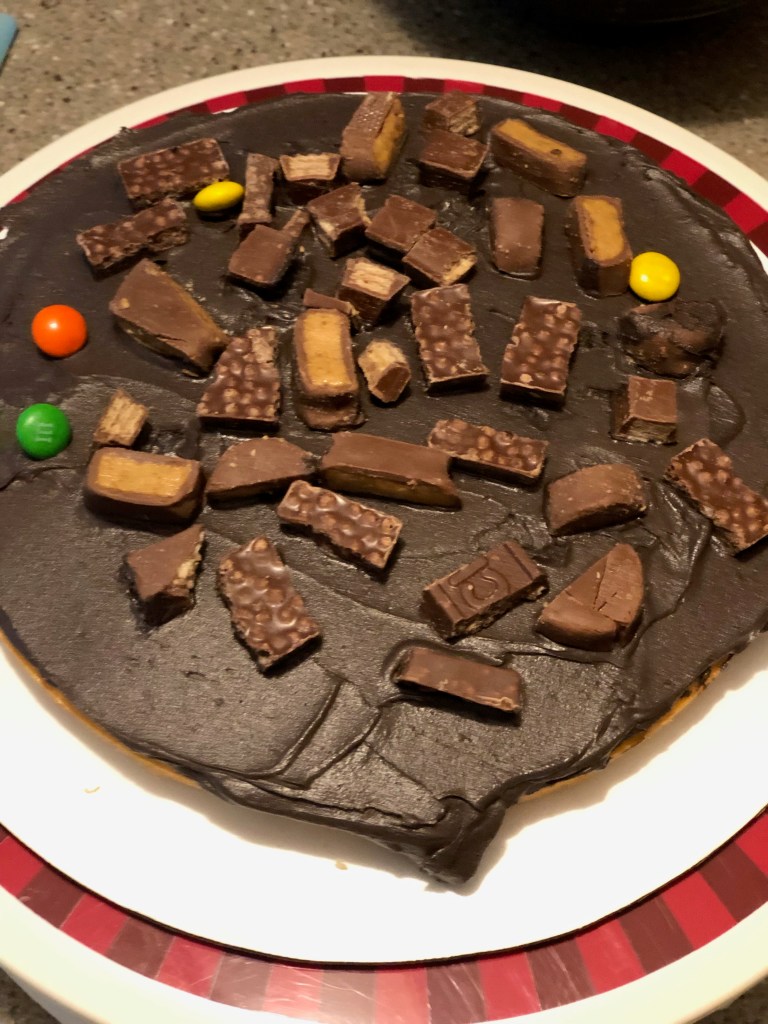
Place the first layer of cake on either a cake board or whatever you plan to serve it on. Add a dab of buttercream to the bottom so the cake doesn’t slide around while frosting/filling. I used my clean batter scoop to make sure I had the exact same amount of buttercream in all my layers. Put 2 scoops of buttercream in the middle of the cake and smooth out with an off set spatula and this is where a frosting turntable comes in handy but it can be achieved without one as well. Once the buttercream is smoothed out, sprinkle some of the candy over the top but leave a small border around the edge so that nothing sticks out when its fully frosted. Add the next layer and repeat.
Since this is a double layer cake, I added some milkshake straws to the bottom layer to support the smaller top one. This prevents the cake from collapsing in on itself from the weight. Even distribution of weight is what will keep this cake standing tall.
Continue this process until all the layers have been frosted and filled.
Now it’s time to crumb coat both layers of cake, this is just a thin layer of frosting to seal in the crumbs so they don’t show up in the finished product.
Let the crumb coat set in the fridge until firm and the buttercream doesn’t come off on your finger when touched.
Time for the final coat of frosting, I’ve learned that it’s better to add more frosting than you think you’ll need since most of it will get scraped off during the process. It’s easiest to use a large straight edged spatula and bench scraper for this part, then the sides and top of the cakes will be nice and smooth.
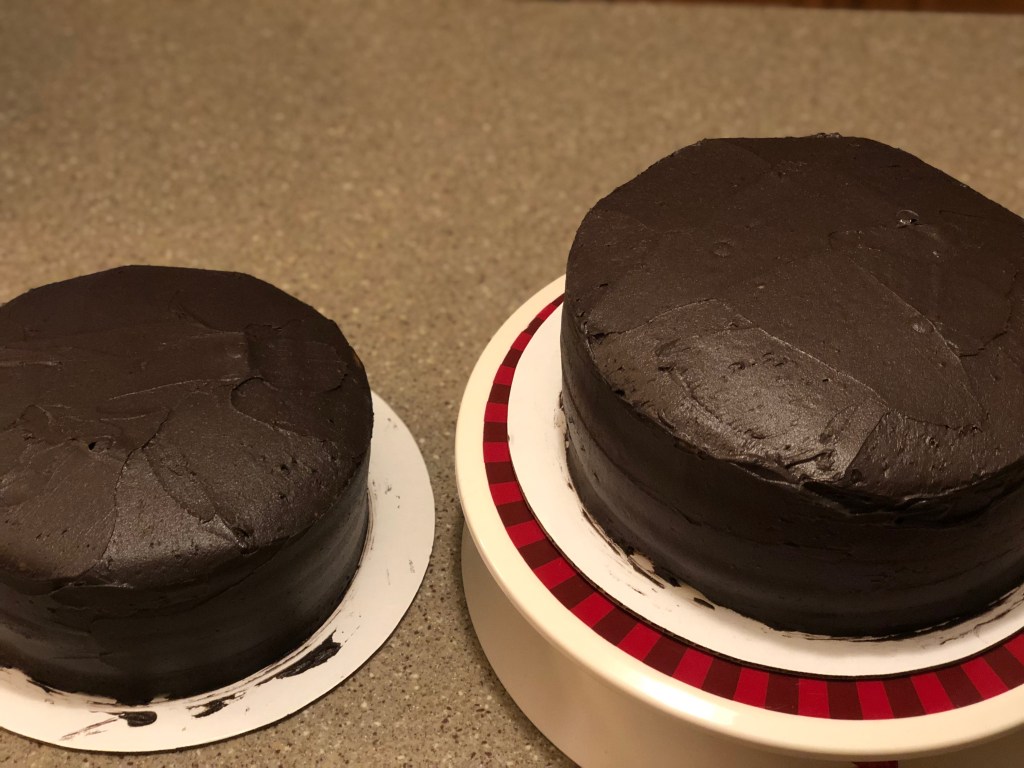
I have both layers on separate cake boards since it was easier to frost the both that way, so now it’s time to stack them. This is the tricky part, trying to perfectly center the top layer on the bottom but I got it. Getting the top layer perfectly centered on the bottom was a challenge but not really a hard one.
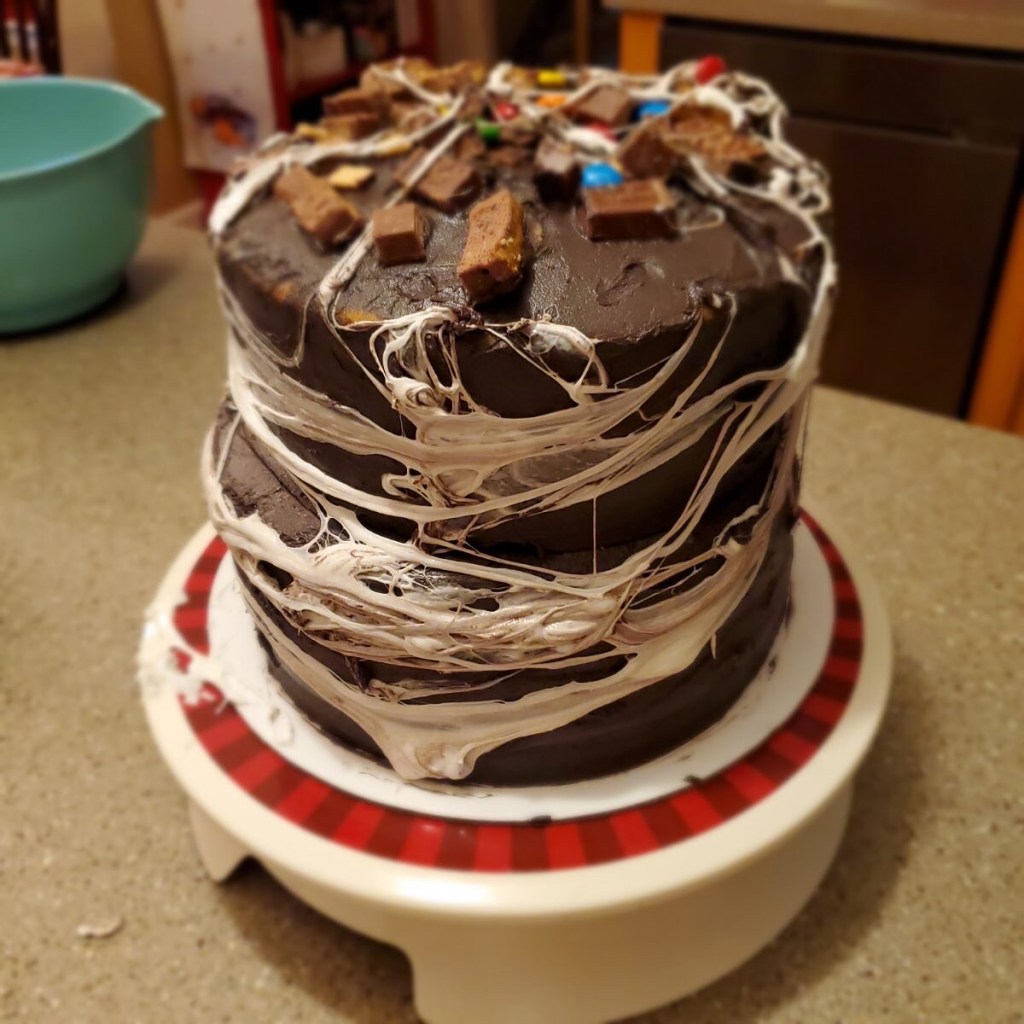
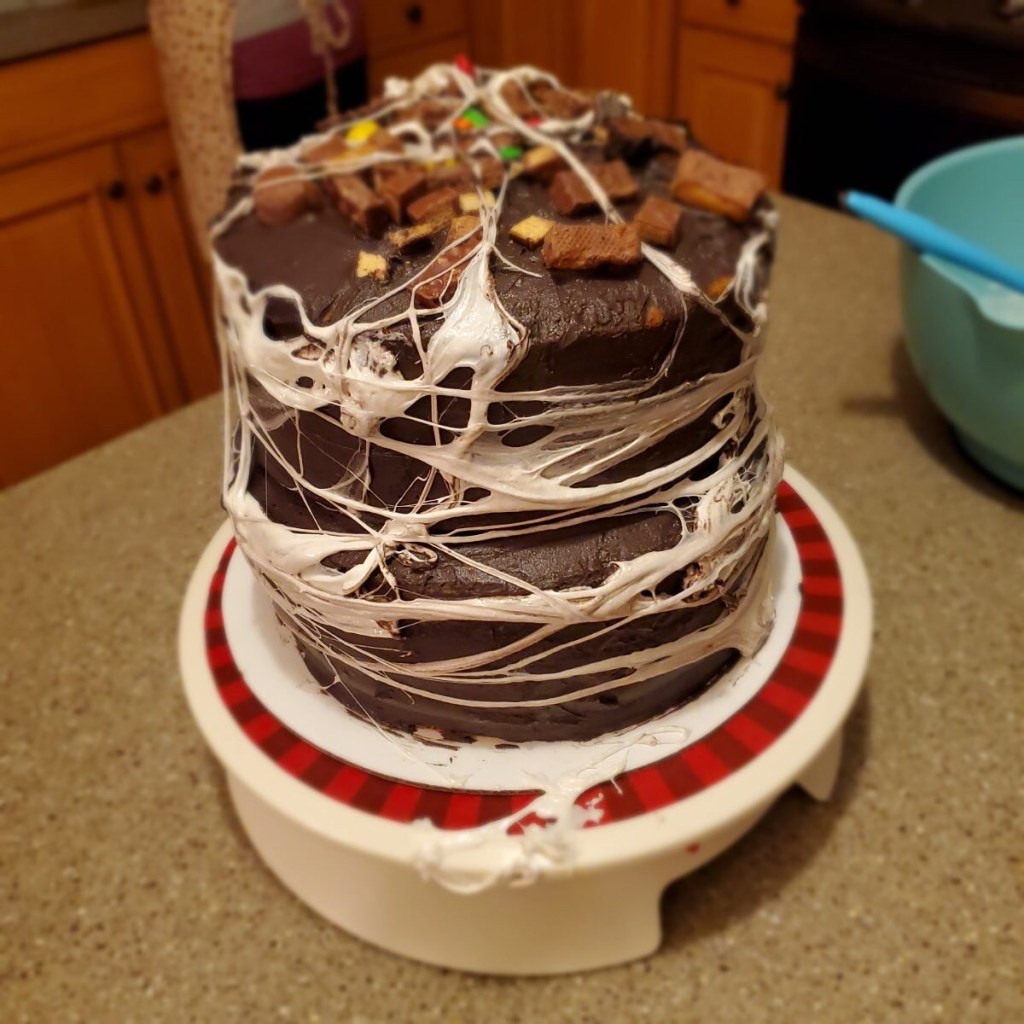
Onto the marshmallow “spider webs”.
In a microwave safe bowl, add 2 cups of mini marshmallows and microwave until melted. Let cool slightly.
For this next part, I suggest rubbing a thin layer of shortening over your hands so the marshmallow doesn’t stick to your hands. It’s easier to wash off shortening than dried marshmallow, trust me.
Once the marshmallow is cool enough to handle and your hands are properly greased, it’s time to make the “spider webs”.
*Note: there isn’t pictures of this part, I needed both hands to do this. Sorry!*
Take a handful of marshmallow stretch it between your hands, and pull them apart. Wrap the masrhmallow around the cake going a different direction each time to create the illusion of spider webs.
I used the candy leftover from filling the cakes on top just for a little pop of color and so theres a preview of what’s inside.

There you have it, my take on a spider web cake. I hope you enjoyed this post and have a fun halloween.
As always if you try this or any of the recipes on here, please drop a picture in the comments so we can all see your creation.
Until next time,
Peace, Love, and Sugar,
Brooke

