
In the conclusion of the Little Debbie recreation posts, I recreated my personal favorite Zebra Cakes. These have always been my favorite, so of course I had to make my own version. I used 2 different recipes, one for the cake and the other for the marshmallow filling. I’ll put the links to both below if you want to follow along or try for yourself.
Cake recipe- https://preppykitchen.com/yellow-cake/#recipe
Marshmallow filling recipe- https://www.biggerbolderbaking.com/homemade-marshmallow-fluff/#wprm-recipe-container-18996
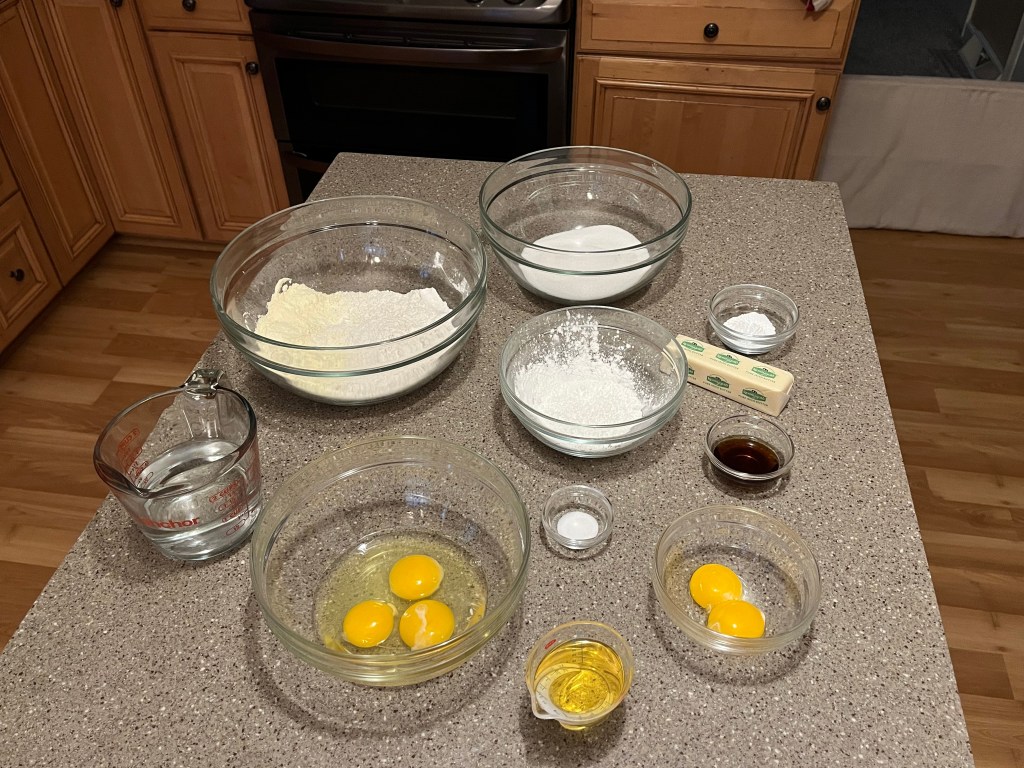
For the Cake:
- 270g (2 1/4 cup) all purpose flour
- 35g (1/4 cup) cornstarch
- 250g (1 1/4 cup) granulated sugar
- 2 tsp baking powder
- 1/2 tsp salt
- 113g (1/2 cup or 1 stick butter), romm temp
- 60mL (1/4 cup) vegetable oil
- 3 eggs, room temp
- 2 egg yolks
- 1 tbsp vanilla extract
- 1 cup buttermilk
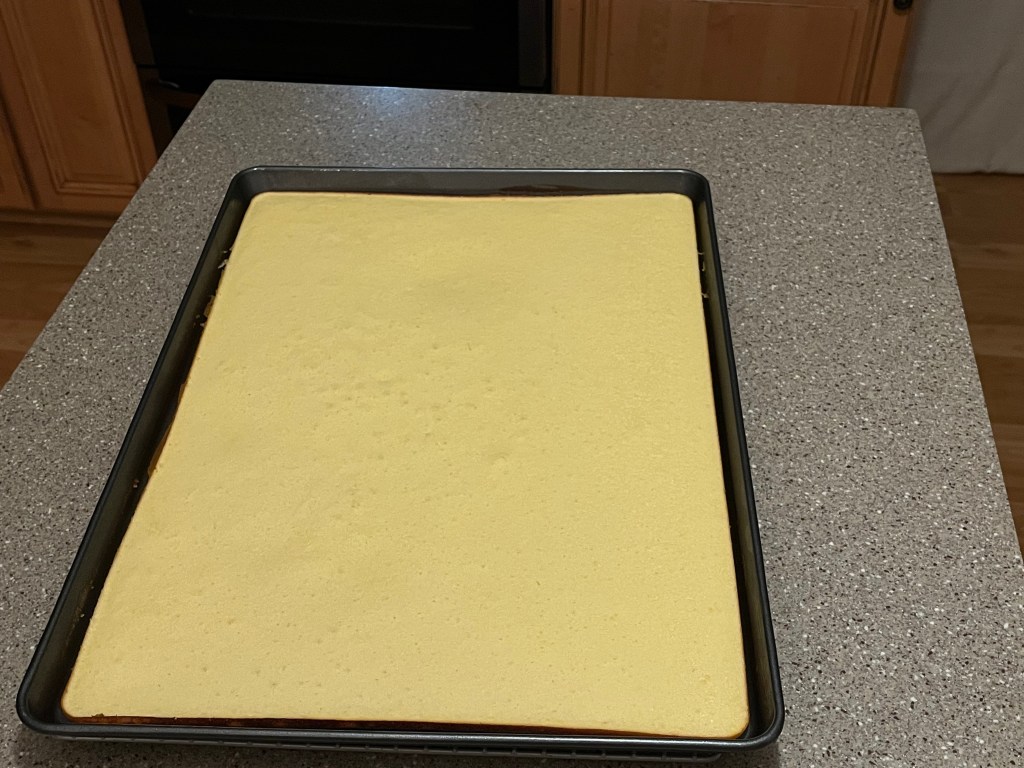
Preheat your oven to 350F/176C, then grease and flour a 13×9 pan*.
**The original recipe calls for three 6 inch pans, but to get the perfect circles that zebra cakes are known for I had to bake the cake in 1 big sheet so I could cut out the rounds of cake.**
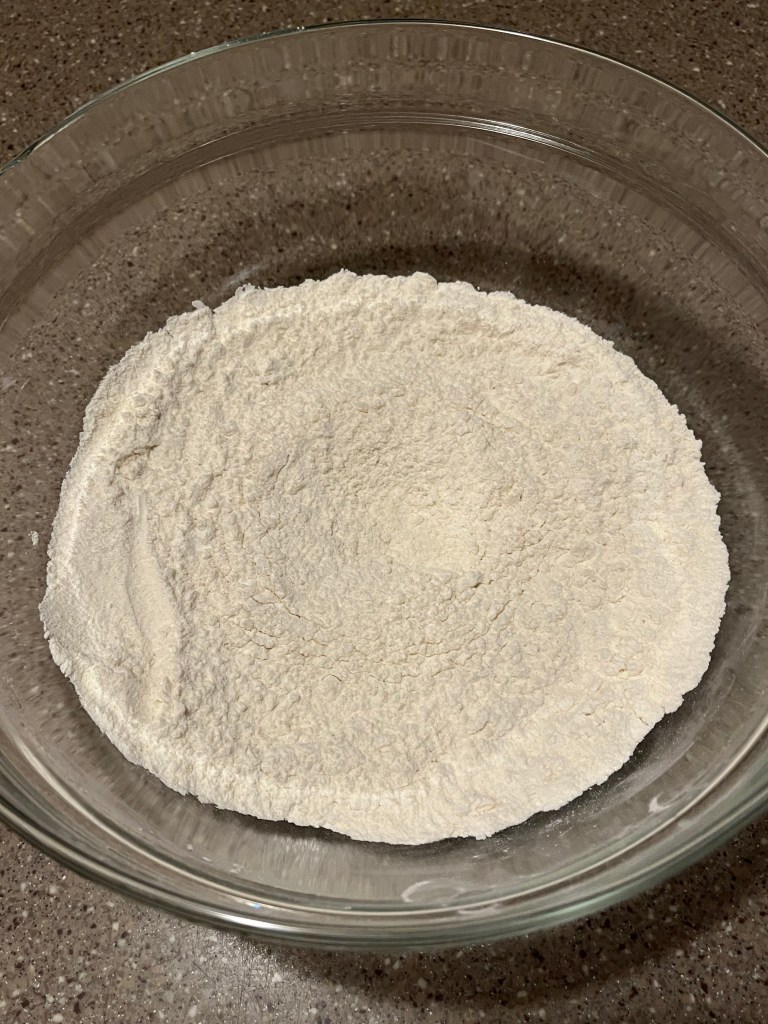
In a medium bowl whisk together the flour, baking powder, corn starch, and salt. Set aside.
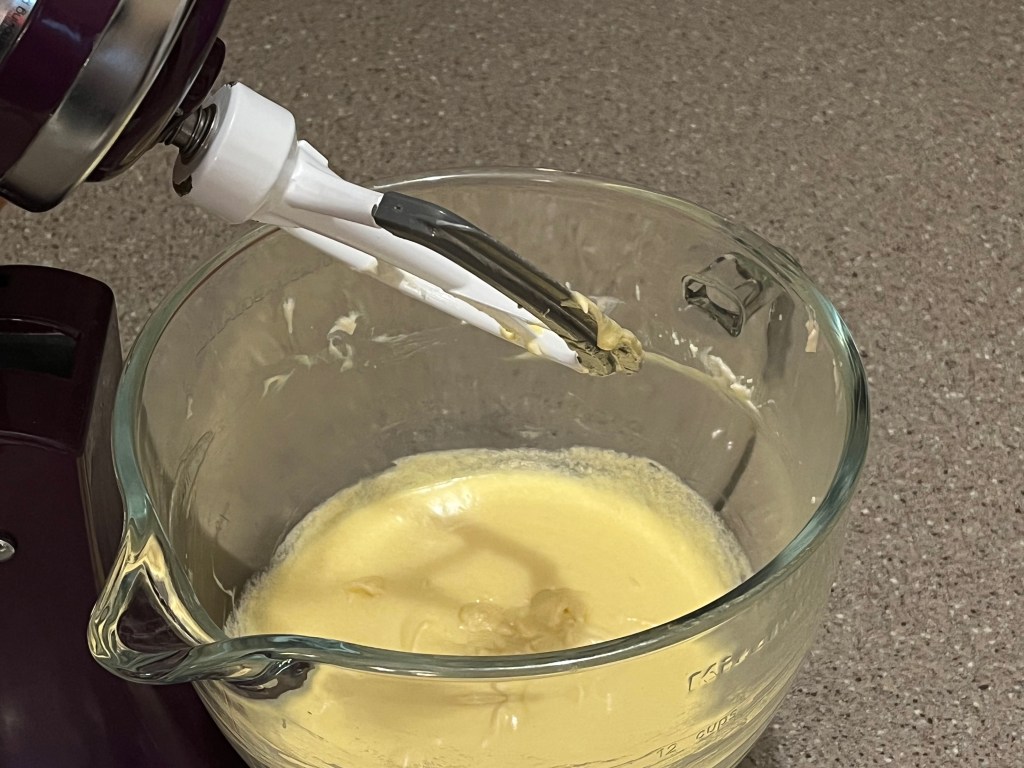
In the bowl of a stand mixer fitted with the paddle attachment, (a big bowl and a hand mixer will work just as well) cream together the butter and sugar until light and fluffy.
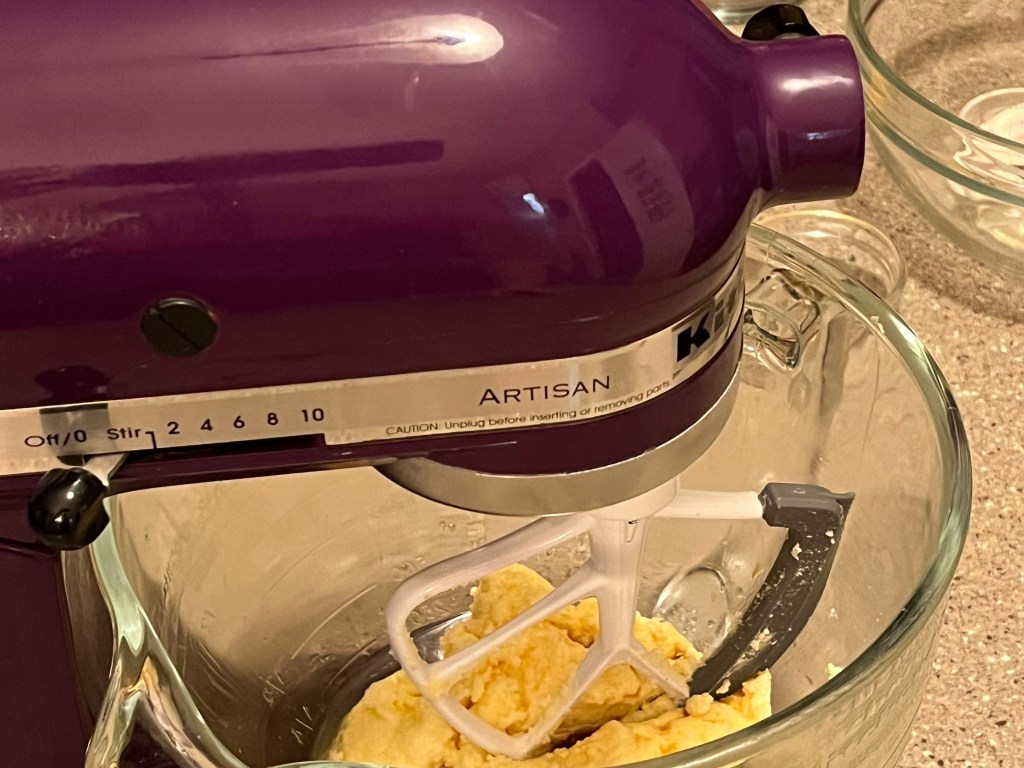
Once the butter gets light and fluffy add in the vanilla, and the oil. Mix until combined, make sure to scrape the bottom and sides of the bowl well so that everything mixes evenly. Add the eggs one at a time, mixing well between each addition. Scrape the bowl down and begin adding the dry ingredients alternately with the buttermilk, beginning and ending with the flour. Mix on low, unless you want to be sweeping flour off your floors for awhile.
Spread the batter into your prepapred pan and bake for 15-30 minutes depending on your oven, or until the center is set.
While the cake cools, it’s time to make the marshmallow filling.
Marshmallow Fluff
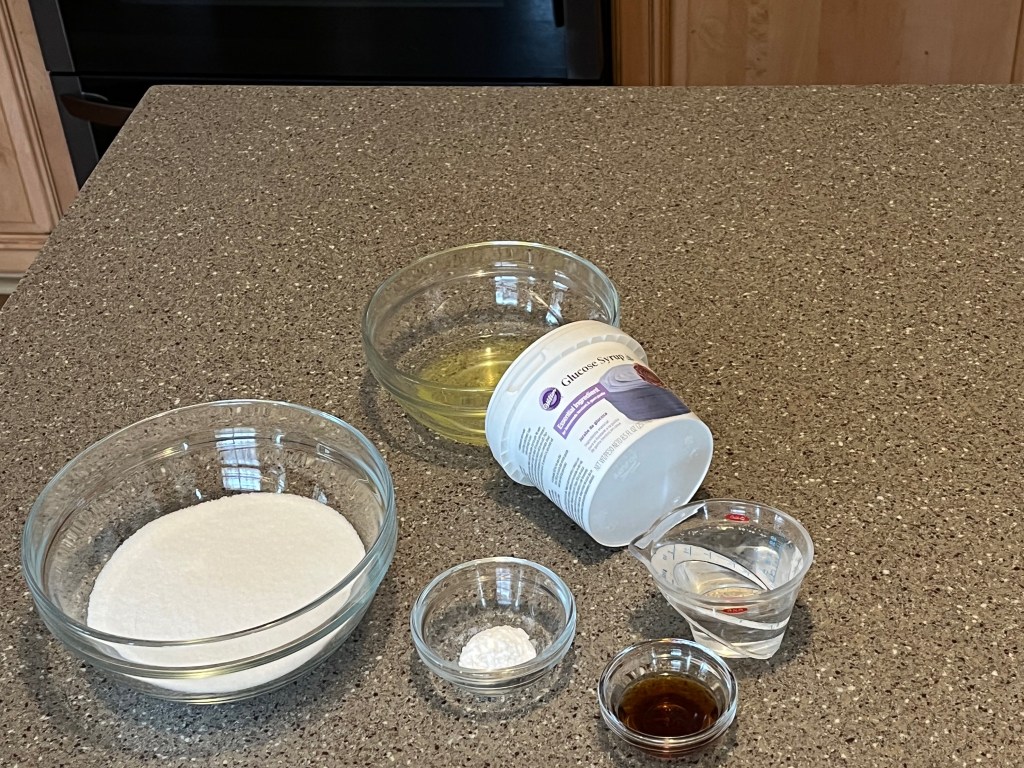
- 3oz (1/3 cup) water
- 180g (3/4 cup) granulated sugar
- 3 egg whites, room temp
- 1/2 tsp cream of tartar
- 8oz (3/4 cup) corn syrup
- 1 tsp vanilla extract, optional but highly recommended
In the bowl of a stand mixer fitted with the whisk attachment, add the egg whites and cream of tartar. Be extra sure that your bowl and whisk are grease free or else the marshmallow won’t whip up nicely. I wiped mine down with a small amount of white vinegar before starting just to be sure.
**I did not take pictures of this portion of the recipe and I’m sorry about that, but marshmallow comes together quickly once started and everything has to be ready to go before starting or you risk the results not being what is wanted/expected.**
Next add the water, sugar, and corn syrup to a medium saucepan. Place over low heat and stir to combine, do not let this mixture come to a simmer before the sugar has dissolved completely or it will not come together the way it should. Once all the sugar has dissolved and the mixture comes to a simmer, place a candy thermometer in and turn the heat up to medium. Do not stir the pot from this point on or you will crystalize the sugar and you’ll have to start over.
Simmer the sugar mixture until the thermometer reads 240F (120C). *A candy thermometer is essential for making marshmallow and any candy in general since the mixture has to be cooked to a very specific temeperature or you risk not getting the correct results.*
Once the syrup reaches temperature, remove from the heat and let cool slightly. Do not let the syrup cool too much or it won’t do it’s intended purpose in the next step, I learned this lesson in a previous recipe and I can say it doesn’t come out how it should.
Turn the mixer onto medium speed and whip the egg whites to stiff peaks (3-4 minutes.) Once stiff peaks have been reached, reduce the mixer speed to low and VERY carefully and slowly pour the syrup in a slow steady stream down the side of the bowl avoiding the whisk until all the syrup has been added.
Once all the syrup has been added, turn the mixer up to medium/high and whip until thick and fluffy. It deflate a little at first but as all the syrup mixes into the meringue, it’ll get thick and fluffy. (approximately 6-8 minutes)
Add in the vanilla then continue whipping until the mixing bowl is cool to the touch.
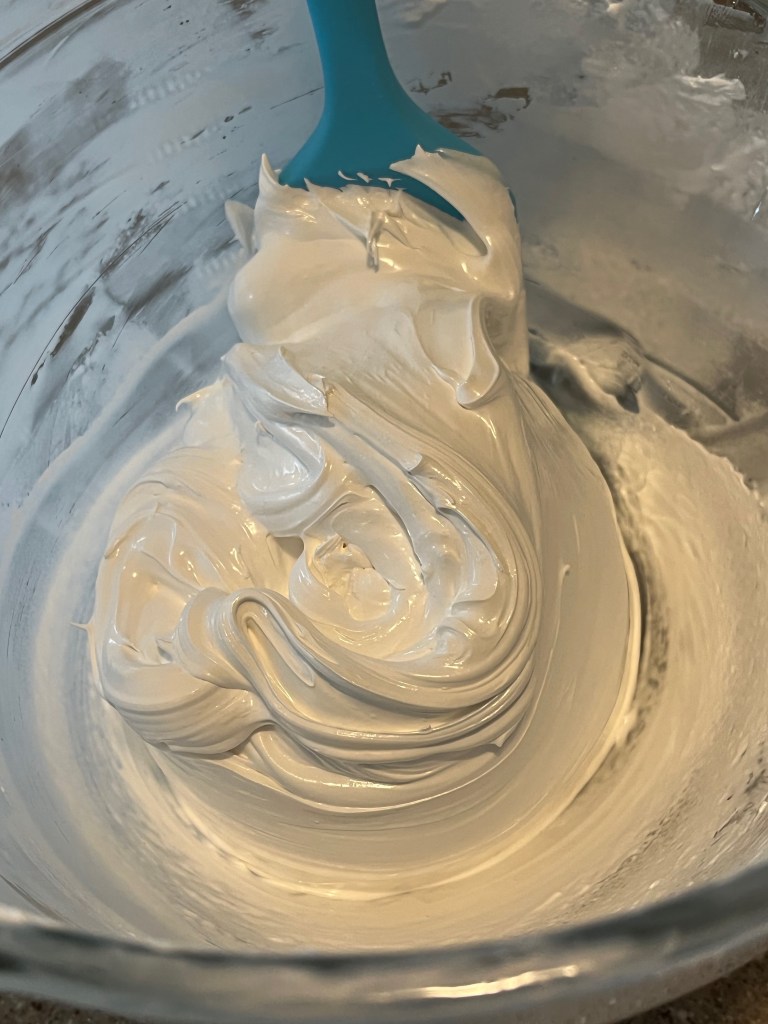
Looks delicious right? Now to assemble the cakes.
Assembly Time:
Equipment Needed:
- 2 1/2 inch round cookie cutter
- small straight edge spatula
- sheet of cake
- marshmallow filling
- white and dark chocolate for the coating and stripes on top
- microwave safe bowl
- wire rack for after coating the cakes
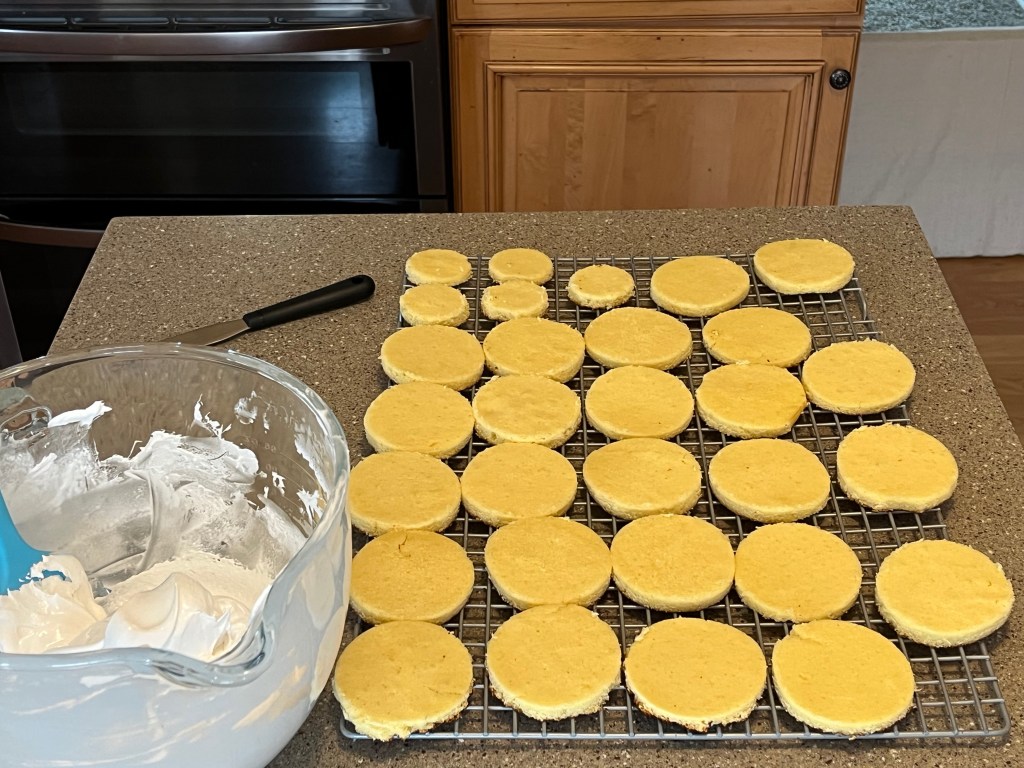
Start by cutting your cooled cake into rounds with a round cookie cutter (I used a 2 1/2 inch round cutter.) Lay the rounds on a wire rack, this makes it easier to fill and coat them.
Take half of the cake rounds and add 2 tbsp of the filling using a small straight edged spatula to spread the marshmallow to the edges and top with the other half of the cake rounds.
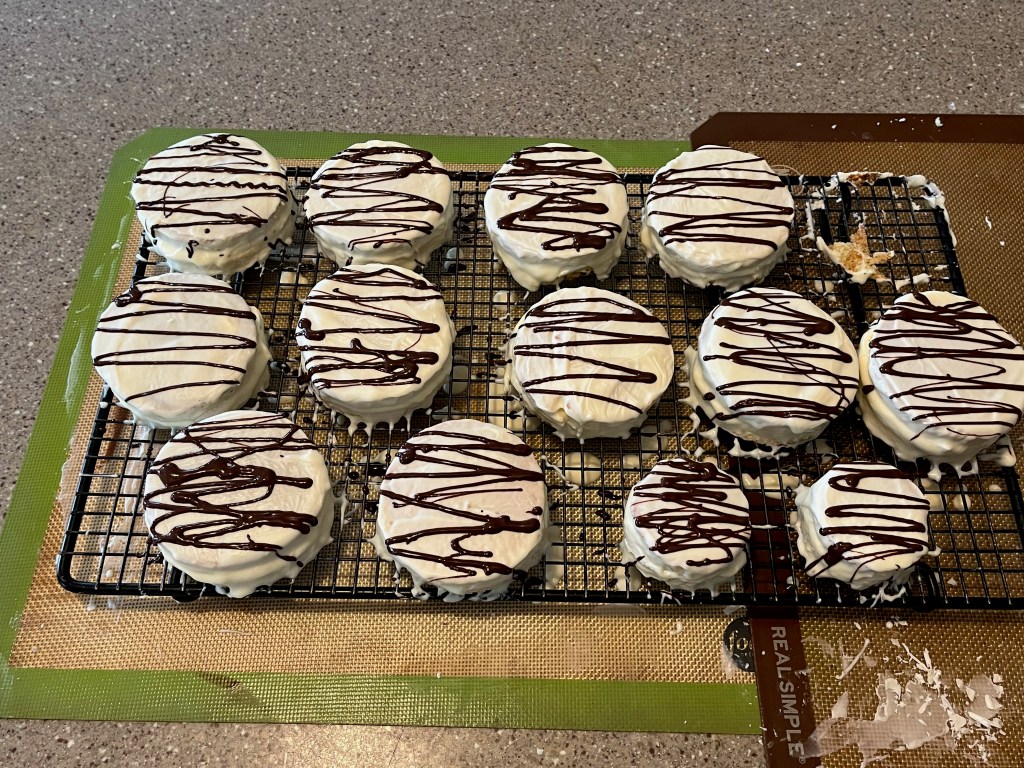
Time to give these little cakes the signature Zebra Cake look.
I used white chocolate wafers to coat mine but you can use white chocolate chips/bars as well.
I also used a candy melting pot to melt the wafers and keep them at a dipping consistency but melting them in the microwave works just as well. If the chocolate starts to set just heat it up until melted again. You’ll also need a small amount of dark chocolate for the stripes.
Melt it in the microwave in 30 second intervals stirring in between, then put into a piping bag or a ziplock bag and cut the corner off.

Once the chocolate is melted, place the cakes on a wire rack set over either a sheet of parchment or silicone mats to catch the excess chocolate as they set.
Begin by coating the tops of the cakes with the chocolate using a spoon, do not coat the bottoms of the cakes. I did this with a few of them and the chocolate stuck to the rack once it set and exposed the cake underneath.
After all the cakes are coated in the white chocolate, let them set for a minute or two then it’s time to add the stripes. cut the end off your bag of choice and drizzle the chocolate over the tops in a zig zag motion to create the stripes.

Voila homemade Zebra Cakes! These were a lot of fun to make and they taste amazing but I’d be lying if I said that I wouldn’t buy the original ones at the grocery store anymore.
I hope you enjoyed this little series and as always, if you try this one or any of the recipes on here, be sure to share a picture down in the comments so we can all see your creations.
Until next time,
Peace, Love, and Sugar,
Brooke


One Comment Add yours