

In the next part of our journey through homemade Little Debbie snacks, I created my version of Nutty Buddies. They don’t look as pretty as the store bought ones but they taste amazing. This one was fun and honestly who doesn’t love a nutty buddy so I had to add this one to the list. I’ll leave links to the wafer and fillings recipes below so you can try this one out if you want to. Now without further ado, I give you my version of Nutty Buddies!
Wafers- https://cooktilyummy.com/how-to-make-wafer-cookies/
Peanut butter filling- https://www.wilton.com/peanut-butter-filling/WLRECIP-39.html
Ingredients (wafers):
- 1 stick butter (room temperature)
- 110g (1/2 cup) sugar
- 1 egg
- 1 tsp vanilla extract
- 104g (3/4 cup) all-purpose flour
- 1/8 tsp salt

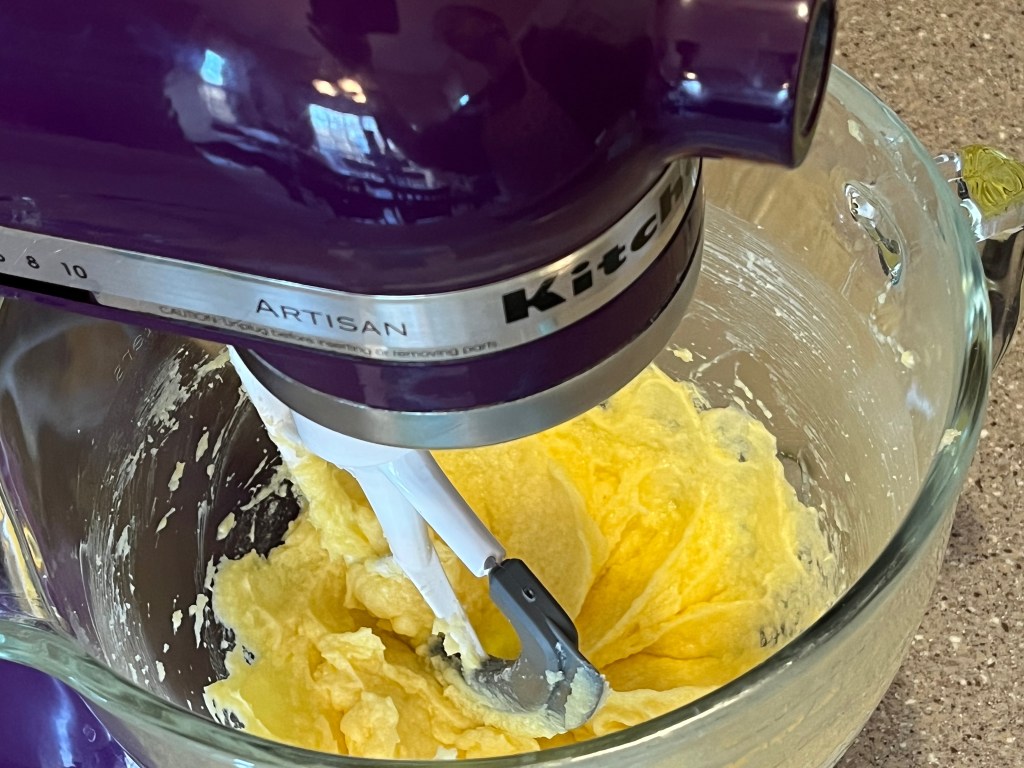
Start by lining a cookie sheet with parchment and put it in the fridge to chill. Then in a mixer fitted with the paddle attachment, cream the butter and sugar until fluffy.

Once the butter and sugar have been creamed together, add in the egg and mix until combined. Be sure to scrape the bowl in between to mix everything evenly.
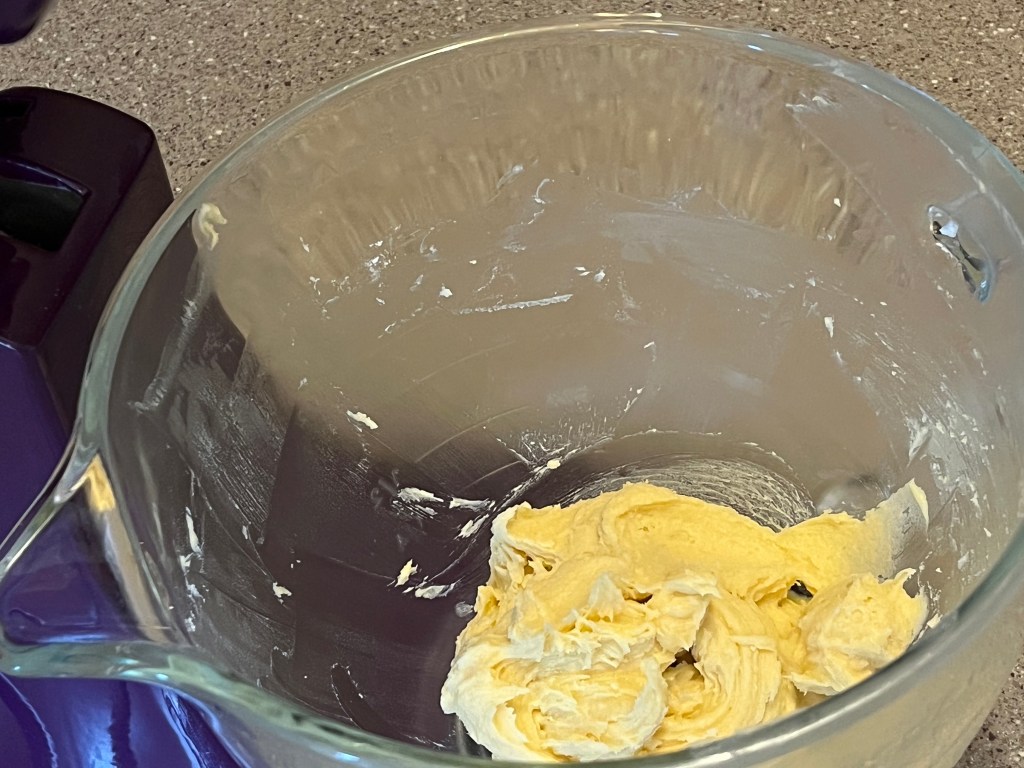
Once the egg has been evenly mixed, sift in the flour and salt. Mix on low speed until combined.
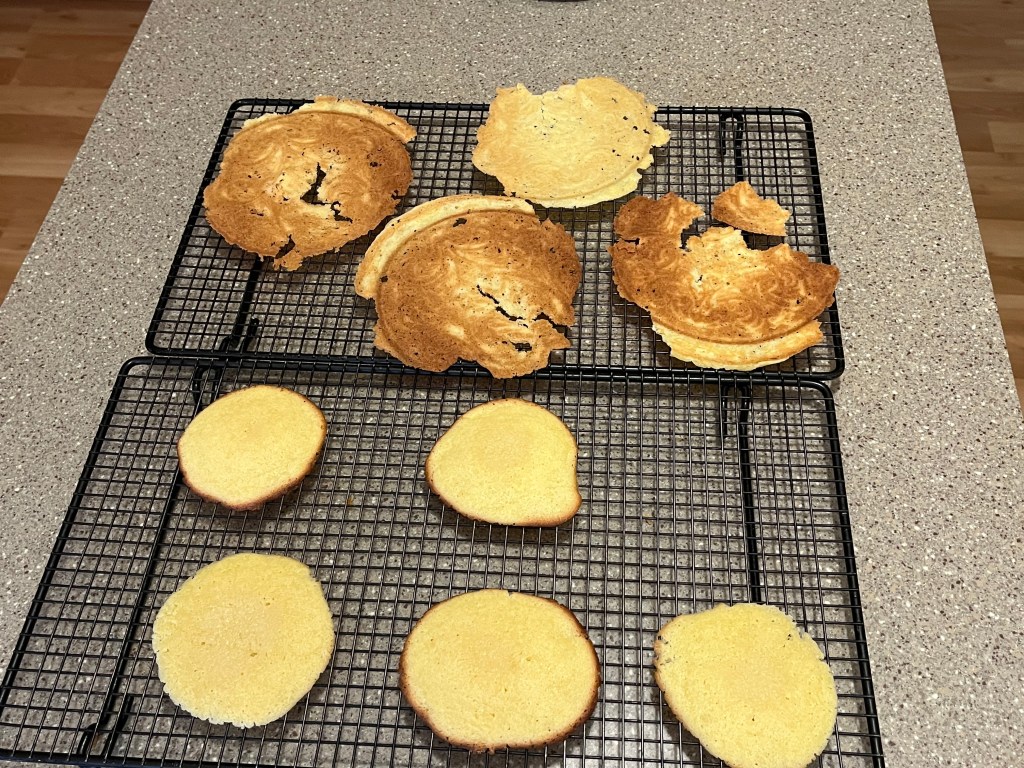
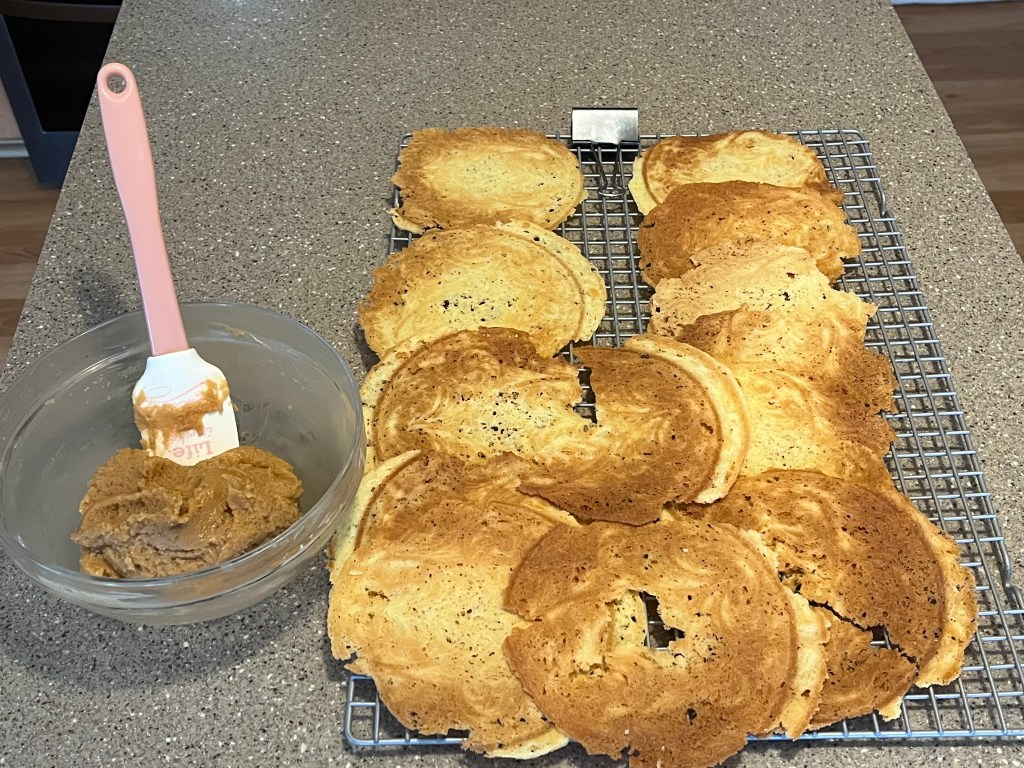
Preheat the oven to 350F (177C). This next step is where I tried 2 different methods for cooking the wafers, half the dough was baked in the oven and the other was made in a wafer iron (mine is a pizzelle maker but it worked the same as a wafer iron.) Using a cookie scoop drop small amounts of dough onto the chilled baking sheet leaving 3 inches between each wafer since they do spread a bit. I got 9 on a tray and did the rest in my pizzelle maker just so I could see how they differed and which one was better. The ones on the cookie sheet will get baked for 7-8 minutes, until the edges are golden brown, let the wafers rest for 10 minutes before moving the wafers to the cooling rack to cool completely. Now the ones made in the wafer iron, follow the instructions that come with the iron. Mine has baking and ready lights and a color adjustment knob to control the browning of the wafers which is extremely helpful. I preferred the ones made in my pizzelle maker, theywere just more crisp and an even golden brown color. Where as the ones baked in the oven were only golden around the edges and on the bottom but the tops were still a little pale but none the less still baked through.
While the wafers cool down, let’s make the peanut butter filling.
Ingredients (peanut butter filling)
- 1 1/2 tbsp butter
- 1/2 cup peanut butter*
- 130g (3/4cup) powdered sugar
- 1 tsp vanilla extract**
- 1/8 tsp salt**
- 1 tbsp heavy cream** (not pictured but it was used)
*Use the kind of peanut butter you like, personally I love creamy peanut butter so that’s what I used.
**The vanilla, salt, and heavy cream are not part of the original recipe, I added them in to highlight the flavor of the peanut butter a little more. Optional but recommended.

Cut the butter into smaller pieces then combine it with the peanut butter in a medium microwave safe bowl.
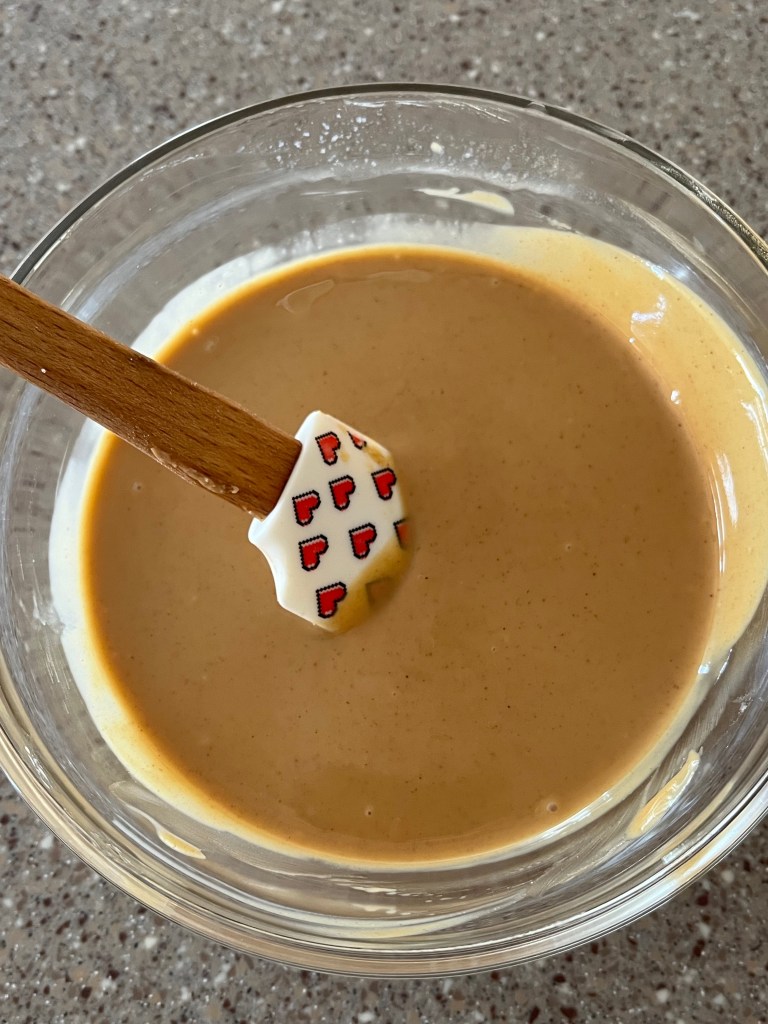
Once its all melted add the powdered sugar, and heavy cream, mix throughly. Then add the vanilla and salt.

Now that the filling is done, it;s time to begin assembling these nutty buddies.
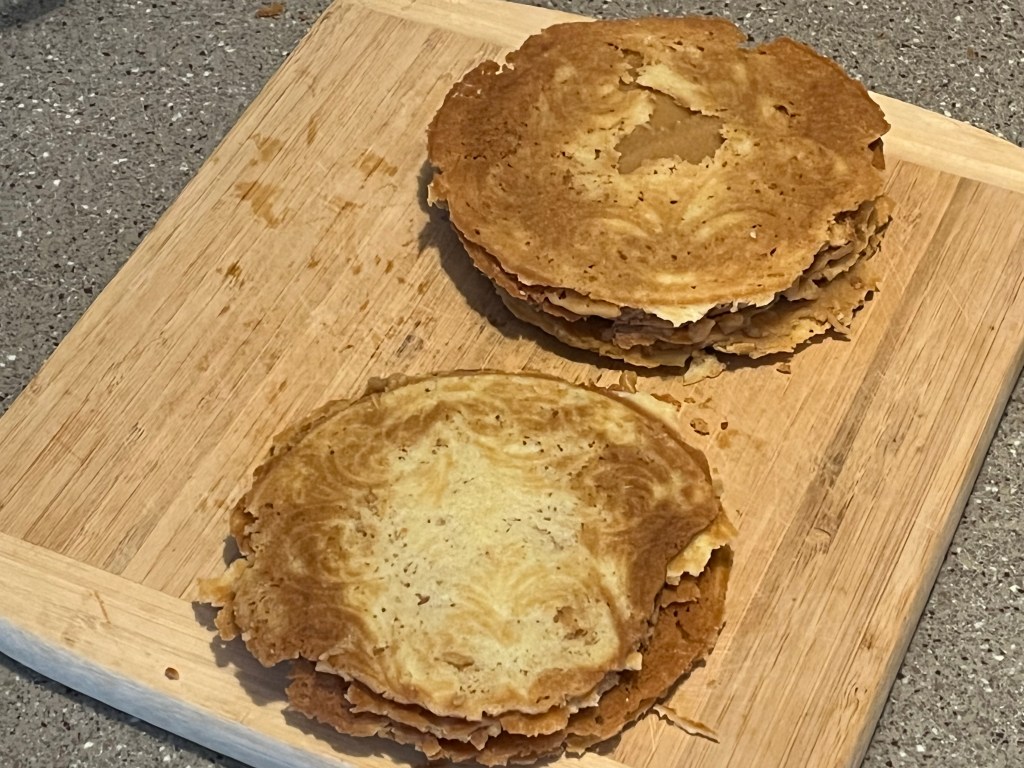
Take one of the cooled wafers and spread it with 1 1/2 tbsp of the filling and stack the next one ontop. Continue this process until a stack of at least 6 wafers tall.
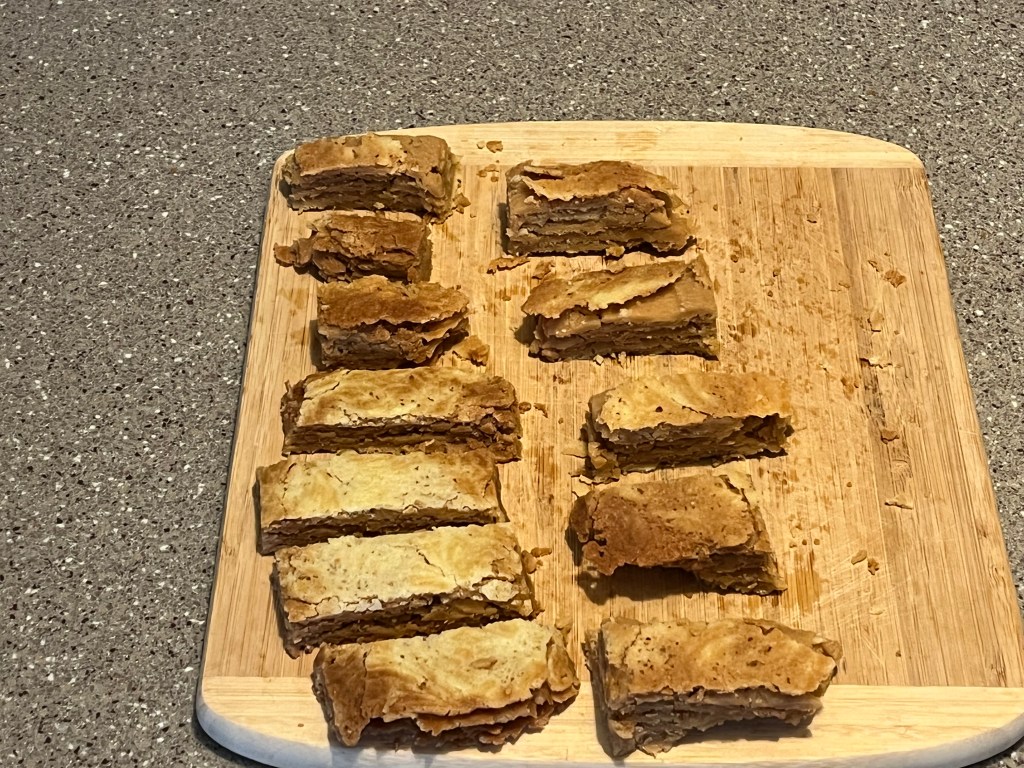
Trim the edges carefully so that the wafer stack is more of a square than a circle, then it’s time to dip.
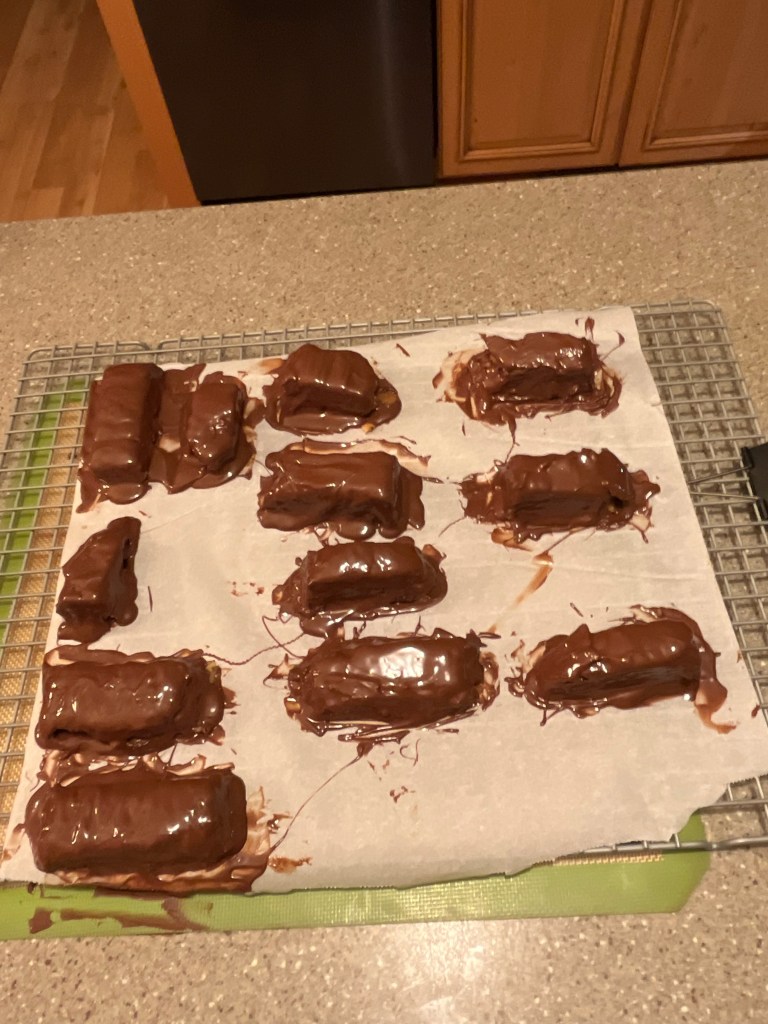
Now that the wafer stacks have been cut to a smaller size, melt down 200g chocolate in the microwave in 15-30 second intervals stirring after each burst until smooth and melted, then it’s dipping time.

Now to make this easier, I added my chocolate to a piping bag (if you don’t have piping bags you can use a ziplock bag with one of the corners cut off.) Also to make clean up easier, I put the wafers on a piece of parchment paper. Then begin covering the wafers with the chocolate, moving back and forth as you cover the whole bar. Let the chocolate set before eating.
These may not look all that neat and pretty but they were amazing. These were definitely fun to make, if you try it have fun and be sure to share a picture in the comments.
Until Next Time,
Peace, Love, and Sugar,
Brooke

