
Before I even thought about starting this blog, I set out to make the perfect crème brûlèe. This took quite a few tries but I finally got it and I just wanted to share with you all of the mistakes that lead to making the perfect crème brûlée. My first mistake was the size of the ramekins, the ones I originally used were too deep, which meant that it took too long for the crème brûlées to bake. So with that knowledge, I went out and got smaller more shallow ramekins. Those just happened to be the perfect size and depth for the perfect crème brûlée. My next mistake came when I had tried again using the new ramekins, I forgot to strain the heavy cream before combining it with the egg yolks. That was not a smart idea and I again learned quickly from this mistake. Now onto the delicious, creaminess that is Crème Brûlée!
Here’s the recipe that I used if you want to give it a try: The Pioneer Woman’s Crème Brûlée
Ingredients:
- 4 cups heavy cream
- 1 whole vanilla bean split, 1 tbsp vanilla extract, or 1 tbsp vanilla bean paste
- 10 egg yolks
- 3/4 cup sugar
- 6 tbsp sugar (for the topping)
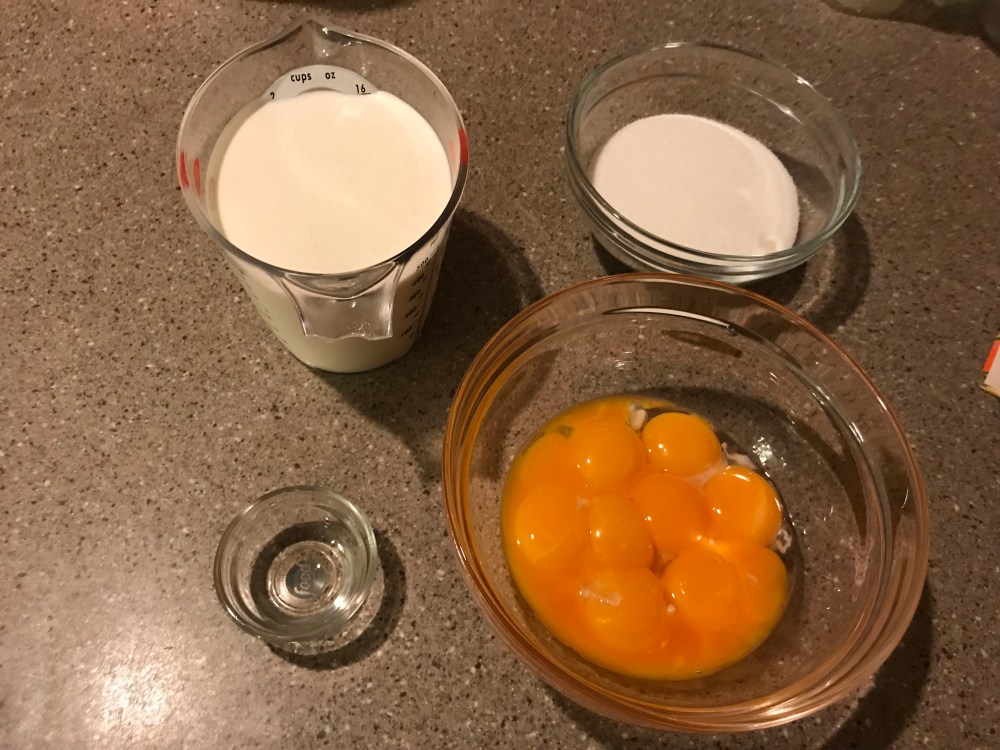
The smallest bowl does have vanilla extract in it, I just only had clear vanilla extract so that’s what I used but regular vanilla extract works just as well.
First things first: Preheat the oven to 325, always an important step.
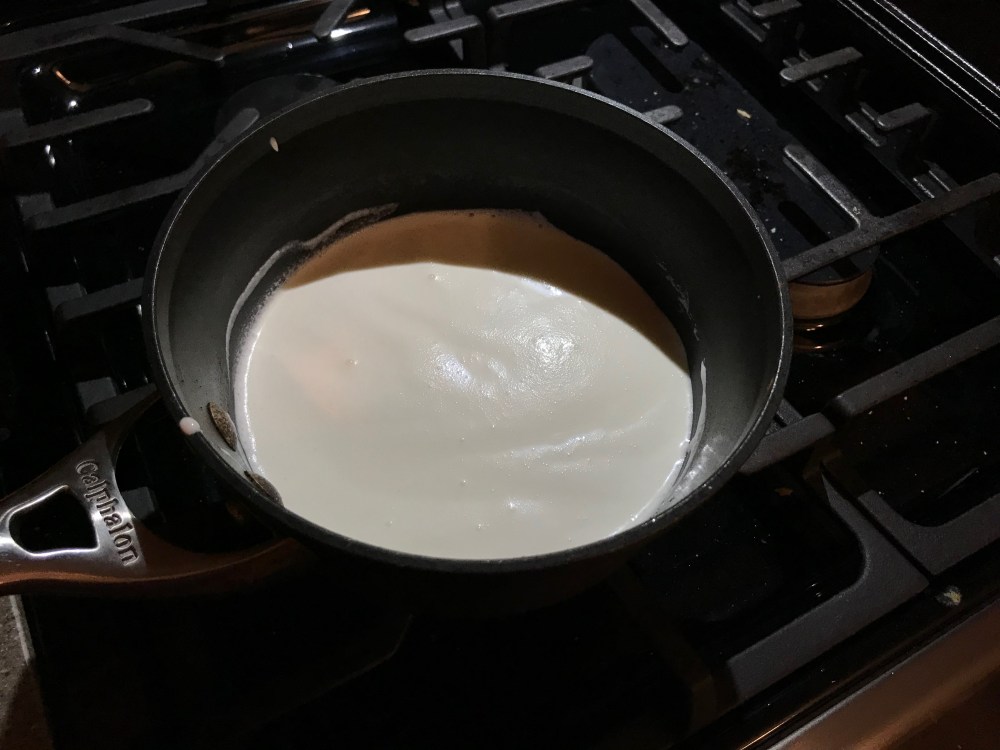
Next, pour the heavy cream and vanilla into a small pot. Bring this to a simmer over low heat,
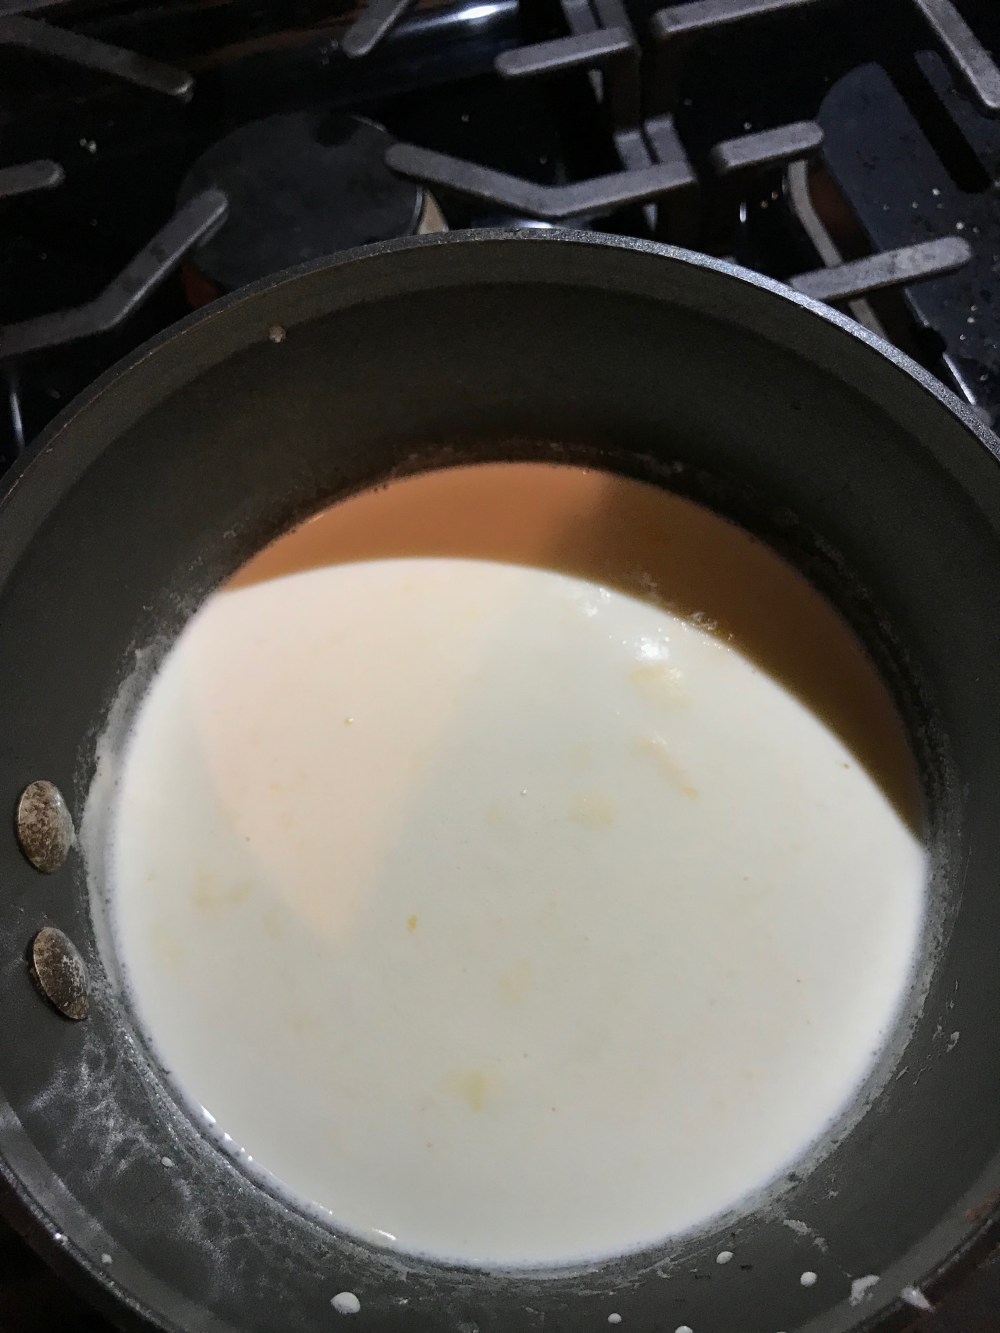
You’ll know the cream mixture has reached a simmer when there’s little bubbles forming at the edges of the pot. Take the cream off the heat, you don’t want to boil it.
While the cream is on the stove add the egg yolks, and sugar to a large mixing bowl and with a whisk, whip until the egg yolks have become pale yellow and thick. Strain the cream through a fine strainer, then slowly drizzle in 1 cup of the hot cream while whipping the yolks this is called tempering the yolks. Tempering is just bringing the yolks up to temperature so that they don’t curdle when the cream is added. If you add the hot cream too fast or stop whisking, then you risk scrambling the eggs, which is not what you want in your custard. Once the first cup has been added, you can slowly add the rest of the cream in a slow steady stream while whisking constantly.

Place the ramekins on a rimmed baking sheet, then pour the custard into the ramekins filling them up about halfway. I used a ladle to fill the ramekins so that I knew I had the same amount in each one.


Place the pans in the oven and pour water into the bottom of each pan until the water comes halfway up the sides of the ramekins. This is a water bath and it helps the custards bake more evenly than just baking them in a hot, dry oven. Be careful not to get any water in the custard or it won’t set properly. Bake for 30 minutes, or until the custard doesn’t jiggle when the ramekins are slightly shaken.
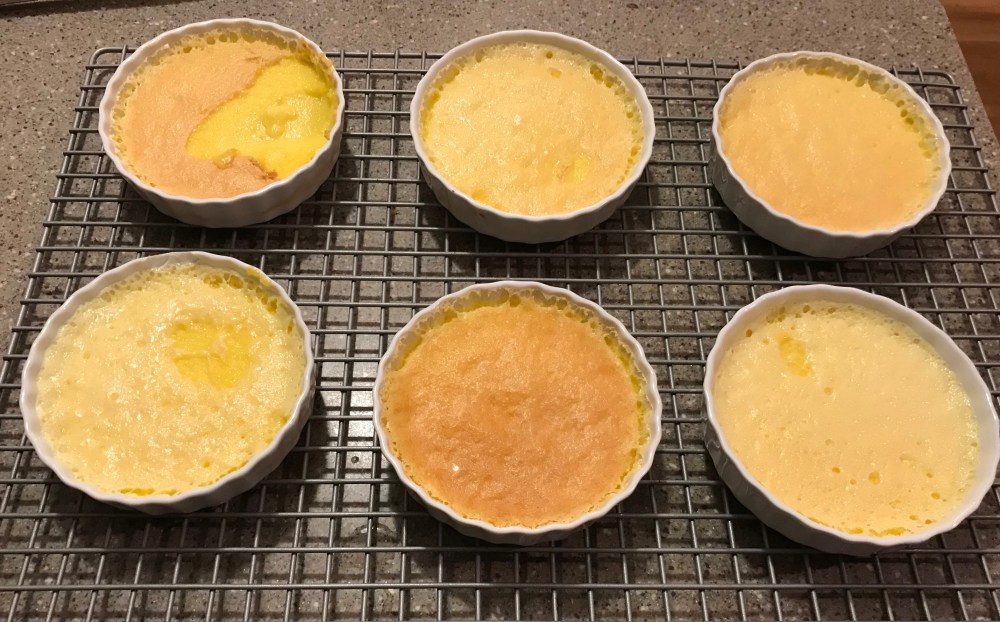
Remove them from the water-bath and let cool completely on a wire rack, then put them on a tray and place in the fridge for 2-3 hours. Don’t skip this step, it helps the custard to fully set and firm up a little bit more, don’t worry your patience will be rewarded. Once the custards are done chilling in the fridge, sprinkle a tablespoon or two on top of each one and brûlée the sugar using a culinary torch until it’s melted and brown. Just keep moving the torch around and don’t keep it in one place too long. I borrowed my dad’s torch because mine was out of fuel and I didn’t have anymore on hand at the time. I know, poor planning on my part. If you don’t have a torch, you can also put them under the broiler to melt the sugar. But the torch is way more fun.


In my opinion, this is the fun part. But I will tell you that it’s best to avoid wearing long, flowy sleeves or just push the sleeves up and if you have long hair, be sure to pull it back out of your face to avoid any accidents from happening.
These are so delicious, crunchy sugar on top with a creamy custard underneath. If I can make the perfect crème brûlée then so can you.
If you try this recipe or any other recipe on this blog, leave me a comment below saying how it went I’d love to hear it.
Until next time,
Peace, Love, and Sugar
Brooke

