
I never knew there was anything other than the usual creaming the butter and sugar together then add the dry ingredients process that every cake recipe uses. That was until I discovered this YouTube channel called The Scran Line. He uses something called the reverse creaming method, which I had never heard of, so I decided to see what it’s all about and give it a try for myself. This method results in nice fluffy cupcakes that don’t get that dome on top that you do using the traditional creaming method. I made these for two reasons, 1.) I was curious as to how this works and what makes it so different from the traditional method. 2.) How do these taste? Now onto the recipe!
Here’s the recipe I used if you want to give it a try: Vanilla Cupcakes – The Scran Line
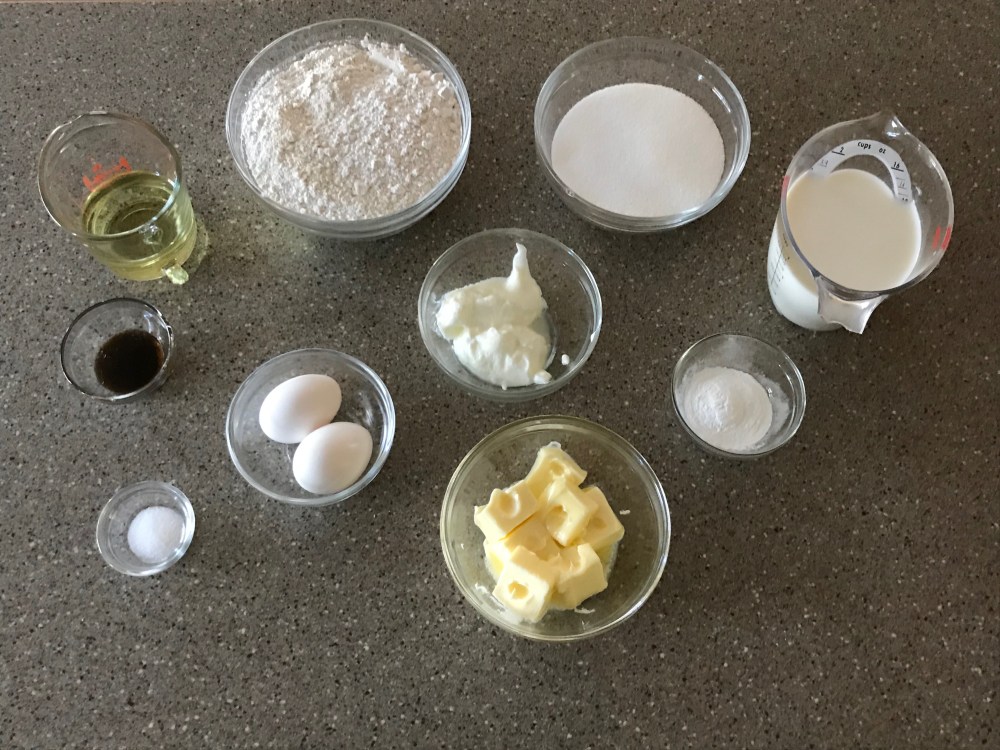
Ingredients:
All ingredients are by weight because accuracy is key in baking but I’m also including the measurements if you don’t own a digital food scale.
Makes 20 cupcakes
- 430g (2 1/2 cups) all-purpose flour
- 265g (1 1/2 cups) sugar
- 3 tsp baking powder
- 1/2 tsp salt
- 2 eggs
- 125g (1/2 cup or 1 stick) butter, softened
- 375 ml (1 1/2 cups) milk
- 125ml (1/2 cup) vegetable oil
- 2 tbsp yogurt
- 1 tsp vanilla extract or vanilla bean paste (I used vanilla bean paste because I had some in my pantry, but you can use vanilla extract)
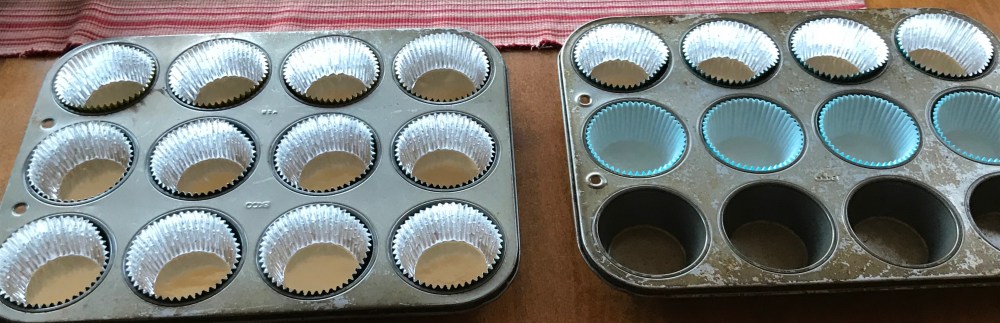
Preheat your oven to 320 degrees, if your oven has a convection setting, you can use that for this recipe. Line two cupcake pans with cupcake liners and set aside for now.
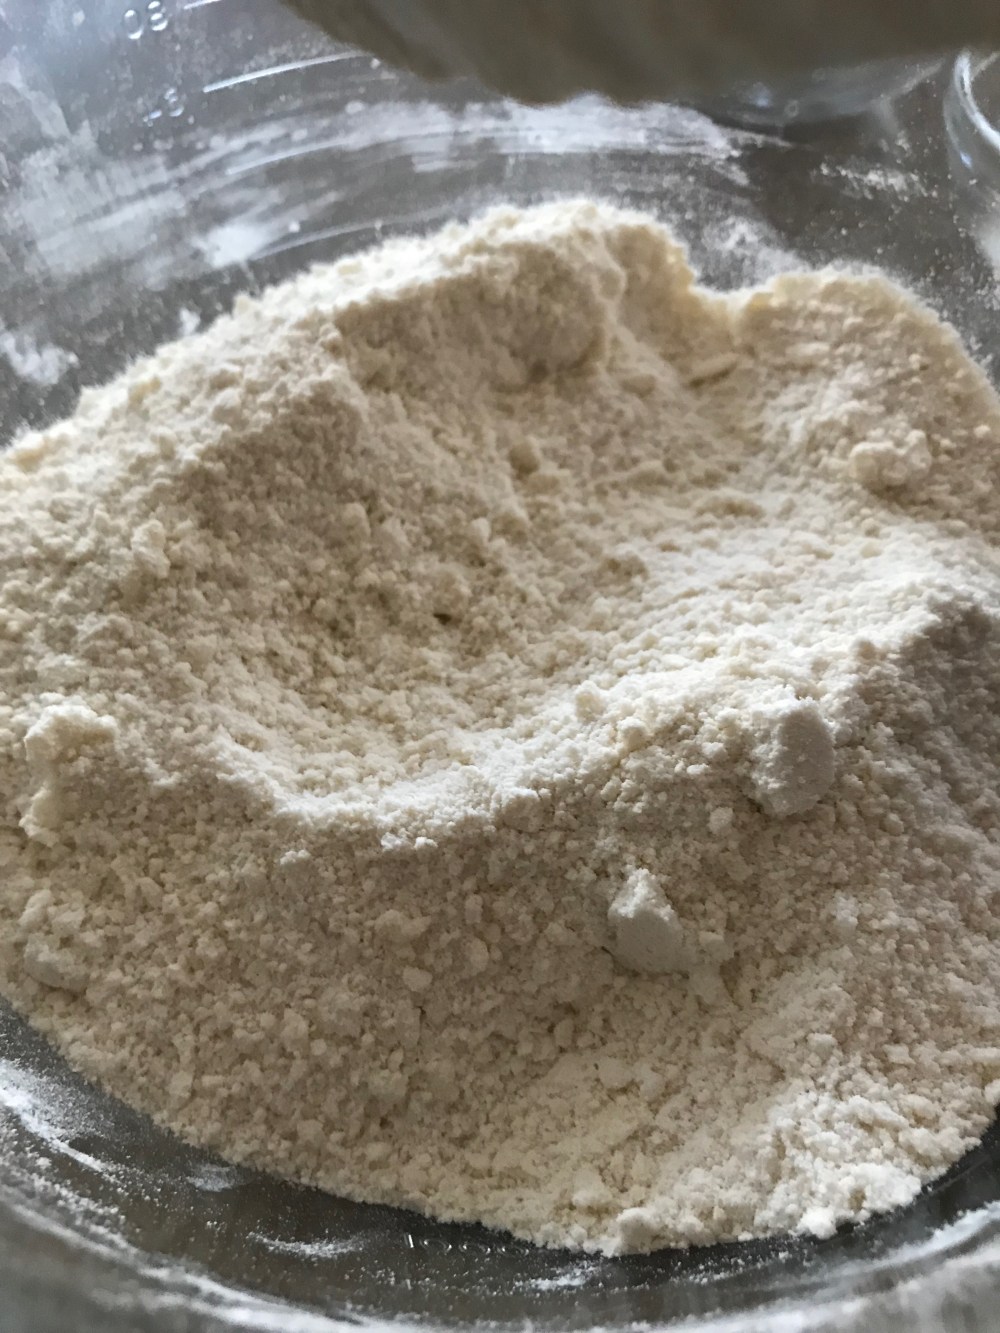
Add the flour, sugar, baking powder, and salt in the bowl of your stand mixer fitted with the paddle attachment (you can use a hand mixer as well) mix until combined.

Next, add the butter and mix on low-speed until you get a crumbly texture and the butter is in pea sized pieces.
Now it’s time for the wet ingredients. Add the eggs, milk, oil, yogurt, and vanilla, then mix on low-speed until everything is combined. Scrape down the sides of the bowl and then let the mixer run for another 20 seconds, no more or you’ll risk overmixing the batter. If you want to add coloring to the batter, then this is the time to do it. Use gel food coloring if you do choose to color your batter because liquid food coloring will change the consistency of the batter.
 Fill the cupcake pans 3/4 of the way. I used a cookie scoop and put 2 scoops into each cupcake wrapper.
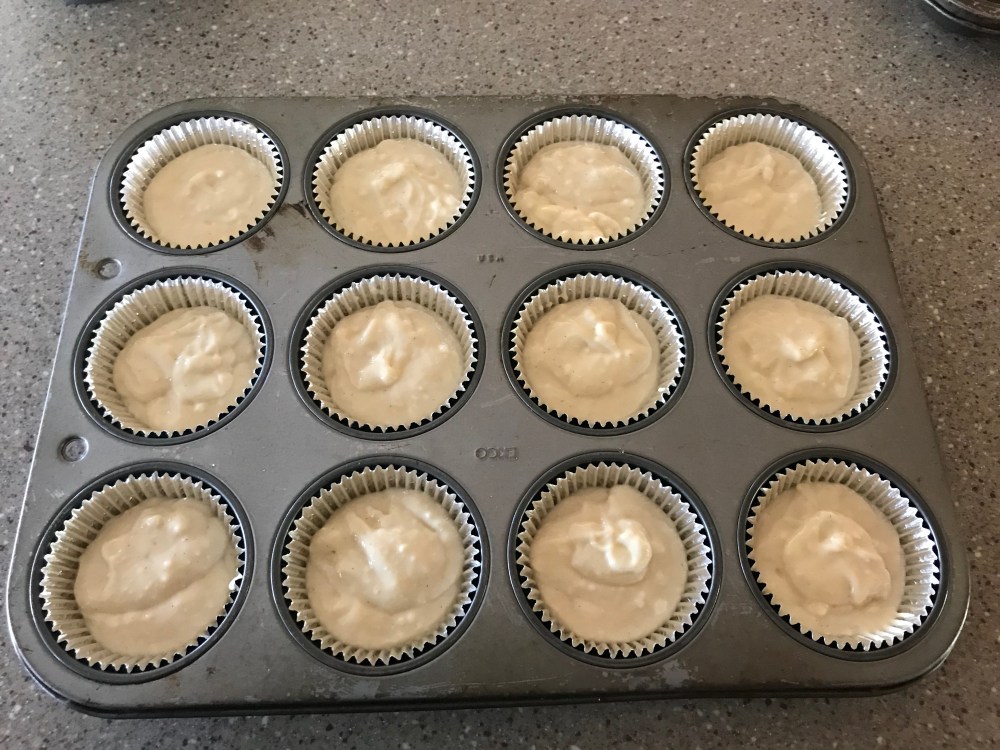
Bake your cupcakes for 40-50 minutes or until a toothpick inserted in the center comes out clean. Check them at 40 minutes and if the toothpick comes out with wet batter or a lot of crumbs, put them back in for another 10 minutes then check again.
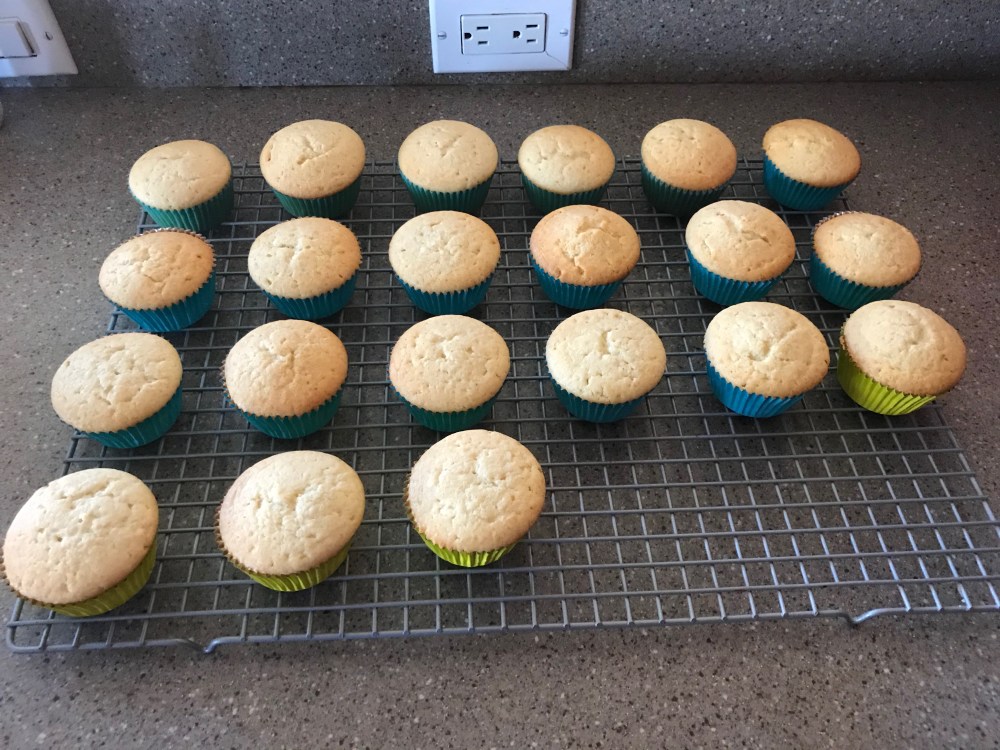
See how they don’t look brown like they would if the traditional creaming method was used and how they didn’t dome up but instead baked flat? This is the beauty of the reverse creaming method. If you want to color these then you don’t have to worry about the cupcakes browning and changing the color of your cupcakes, the color you choose will stay nice and bright. Also, it’s a lot easier to frost cupcakes that have a flat top versus a domed one and they’re so fluffy in texture. I had decided to add a little fun to the inside of mine, so I cored them and added some rainbow sprinkles to the inside almost to the top, but not overflowing.


I then topped my cupcakes with Swiss Meringue Buttercream and you can find that recipe here. I also did a post on how to make this, which you can read here if you want to. So with that said, I’m not going to go into detail on the process of making the buttercream in this post. I put some in a piping bag fitted with a 1M piping tip which is an open star tip, but you don’t have to do that you can just use a ziptop bag with one of the corners cut off and just use whats called a donut swirl or you can just spatula ice your cupcakes and they’ll look just as nice.
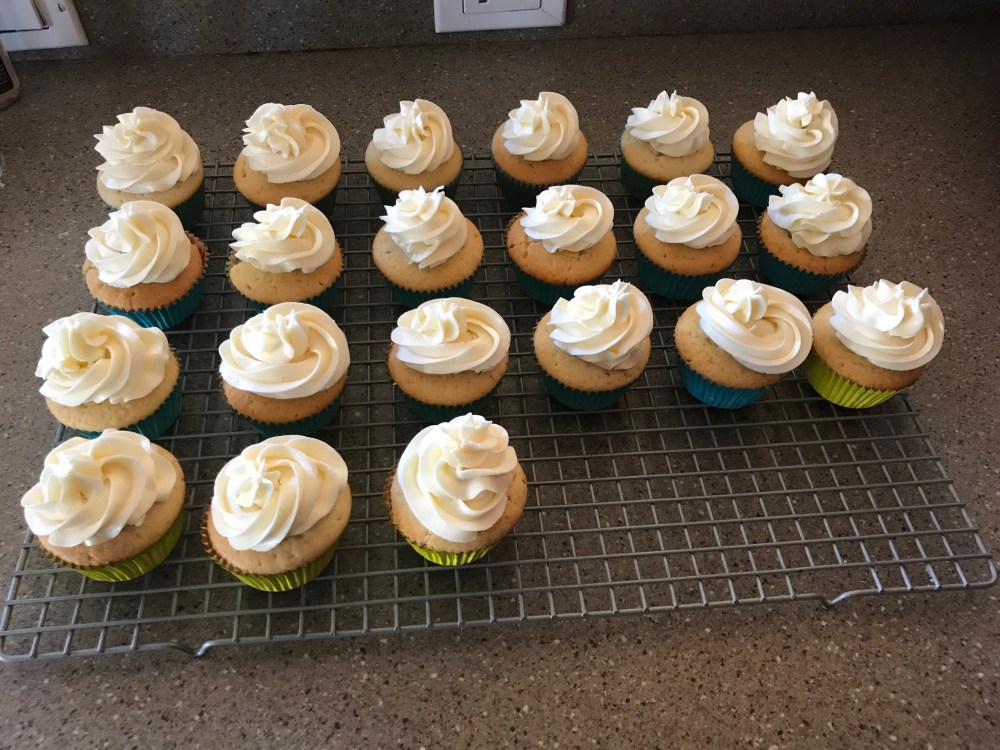
My swirls still aren’t all exactly even but I’m getting better each time, I’ve gotten the motion down, now I just have to work on the evenness of the size and shape of the swirl. In my opinion, the ratio of cupcake to frosting is what makes a perfect cupcake, so I’m going to keep trying. Practice makes perfect as I’ve learned multiple times over years of baking. As always if you make this recipe, or any of the recipes on this blog, leave a comment down below saying how it went along with a picture so that I can see how it went!
Until next time,
Peace, Love, Sugar,
Brooke

