
Welcome back to my adventures in croissant making! This time I decided to try a more traditional recipe, along with some more traditional techniques. This way is more time-consuming and requires a lot more patience than my first attempt, but it was worth it. With these, I got that golden brown crinkly top and the delicious buttery layers that a good croissant has. But I still need to tweak some things. It was a lot more fun using the traditional french techniques and recipe for these. Now onto the recipe!
Here’s the recipe that I used if you want to give it a try: Classic French Croissants
Again, this is a 2 day process and requires a lot of time and patience.
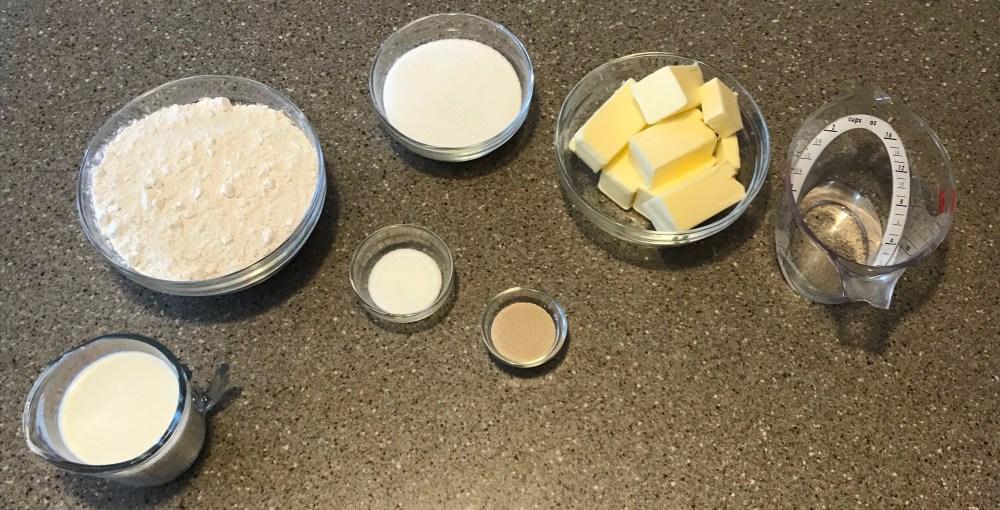
Ingredients:
Makes 12 croissants
- 4 ounces (1/2 cup) hot water
- 8 ounces (1 cup) whole milk
- 1 tbsp yeast
- 6 ounces (3/4 cup) sugar
- 1 tbsp salt
- 17 1/2 ounces (3 1/2 cups) bread flour*
- 13 ounces (3 sticks plus 2 tbsp) butter
- 1 egg lightly beaten
*I know that the recipe calls for all-purpose flour but I tried it and the dough didn’t turn out correctly. Its was more of a batter consistency than an actual dough. Use bread flour, it produces a better dough and absorbs moisture better to prevent your dough from being more batter like. You’ll see both the all-purpose and the bread flour doughs just so you know how each one looks.
**Everything is by weight since it is much more accurate and with croissants, accuracy is essential. The measurements are included if you don’t have a kitchen scale. You don’t need one but kitchen scales are a great investment and they’re not all that expensive. I personally love mine but again, you don’t need to buy one.
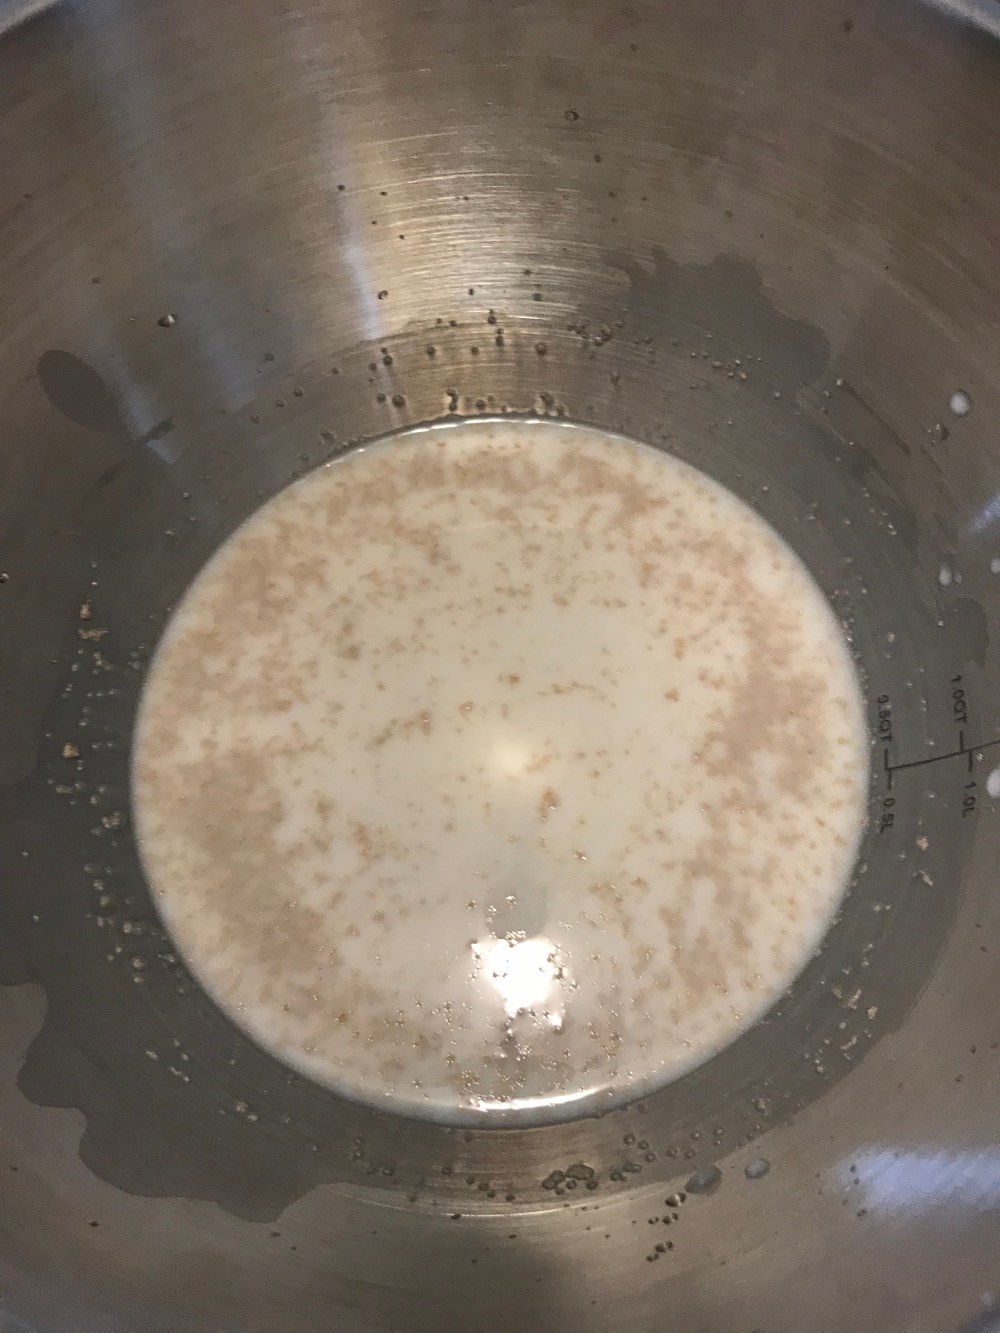
Start by combining the milk, water, and yeast in a bowl, stir slightly, then set aside for five minutes. This allows the yeast to bloom before adding it to the rest of the ingredients.
While the yeast mixture is resting, add the flour, salt, and sugar in the bowl of your trusty stand mixer (as always you can do this by hand but it might take a little bit longer.)
Once the dry ingredients are all evenly combined, add in the yeast mixture and, using the dough hook attachment, mix until the dough is smooth and elastic.
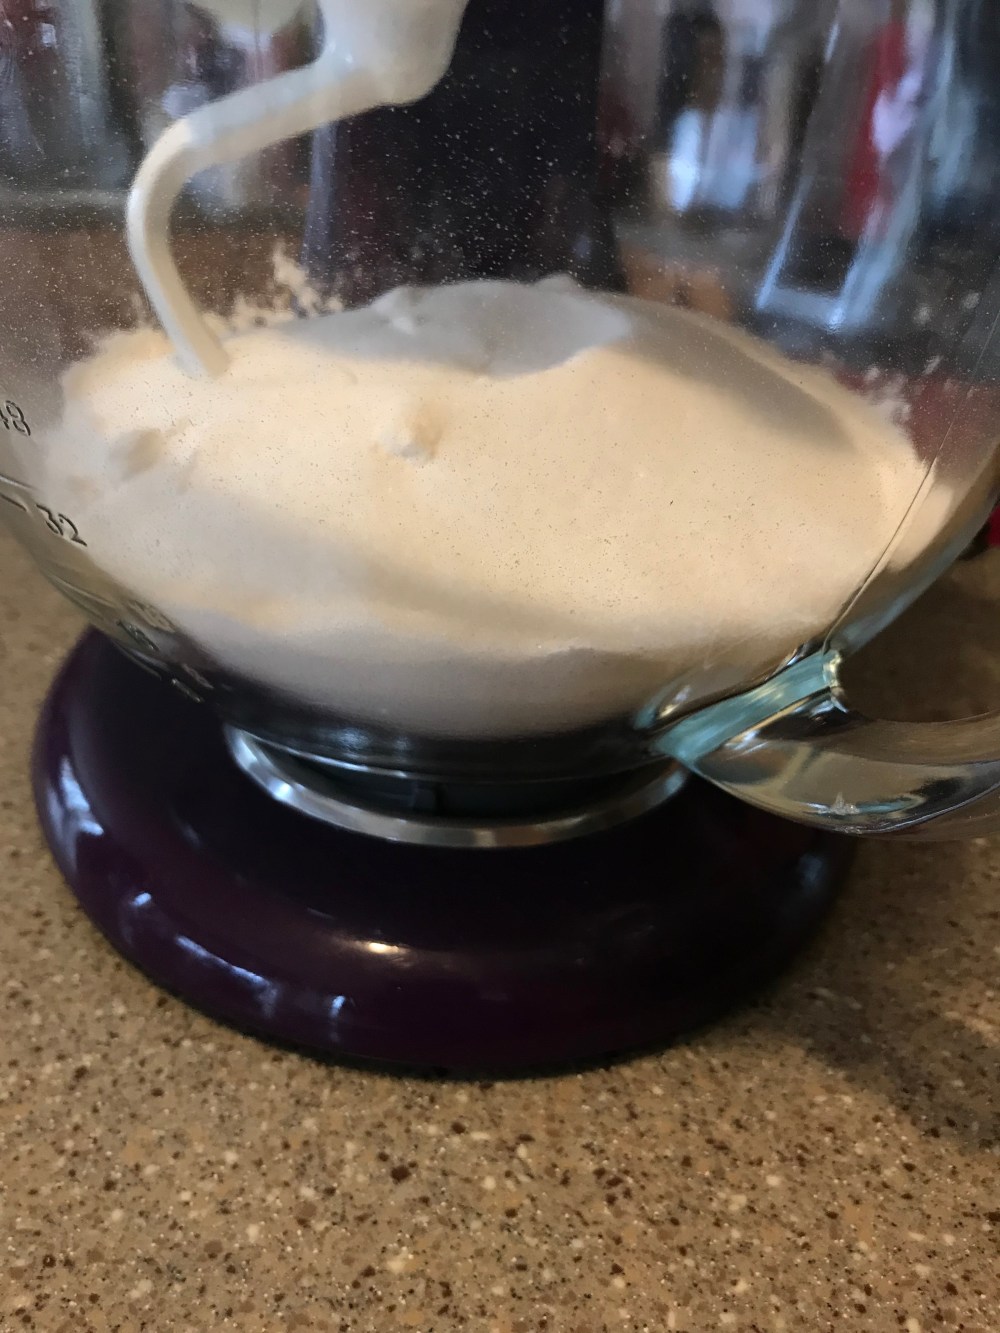
Now this is the part where I tried doing exactly what the recipe said and used all-purpose flour. Not the best idea, the dough had more of a batter like consistency which is not what you want.
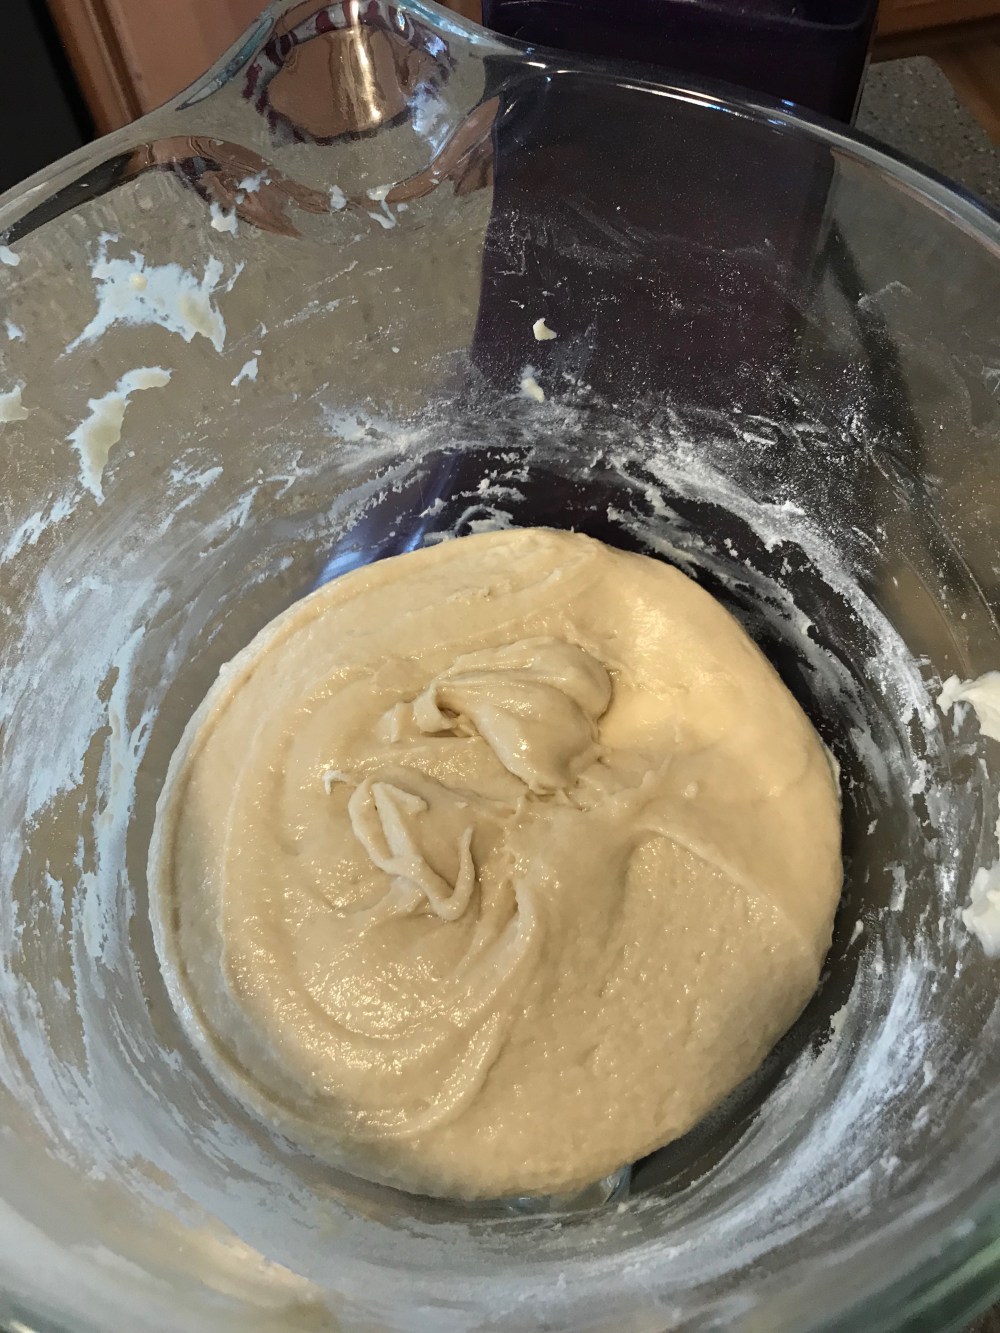
See how it looks more like a batter and less like a dough? I thought I messed up somewhere, but decided to see what it would look like after its first rise. which takes 45 minutes at first in a clean bowl covered with a piece of plastic wrap.
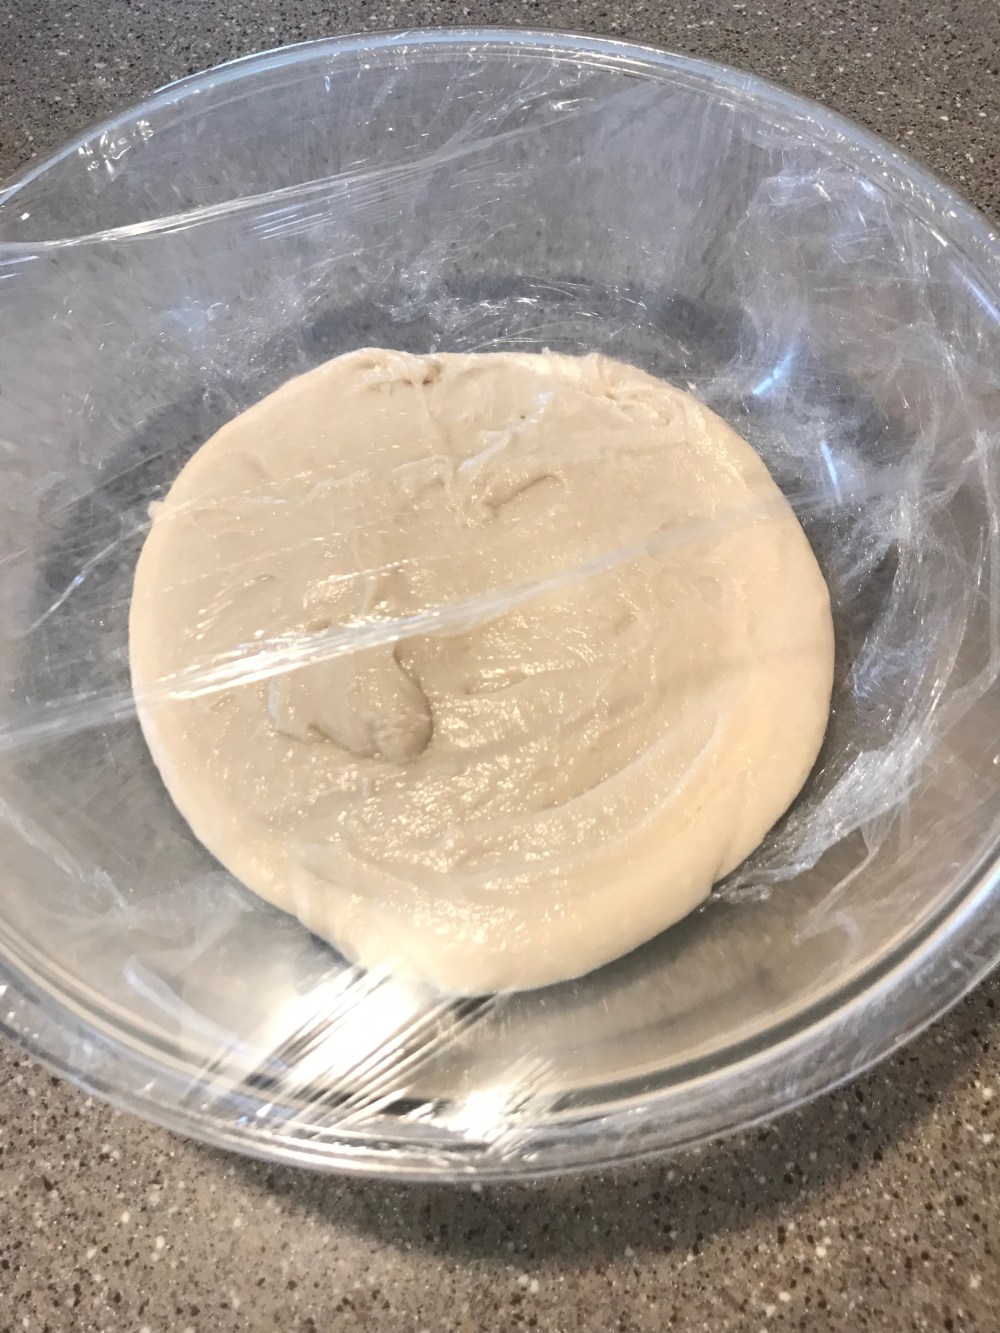
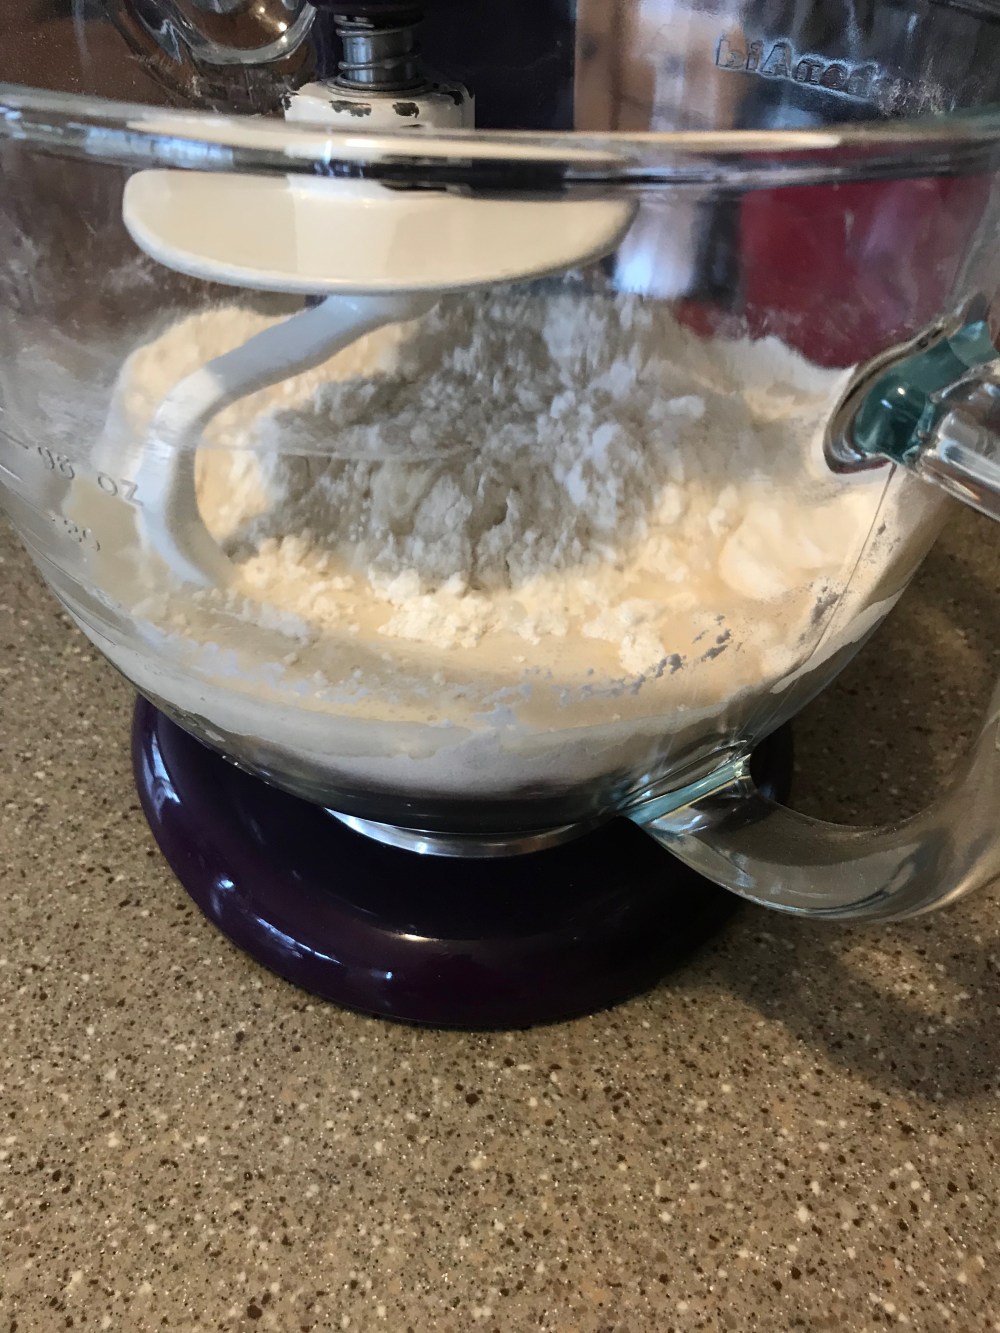
It still looked like this after 45 minutes so I dumped it and decided to try using bread flour, since every other croissant recipe that I read used bread flour, not all-purpose. Bread flour has a higher gluten content than all-purpose flour and it also absorbs liquid better.
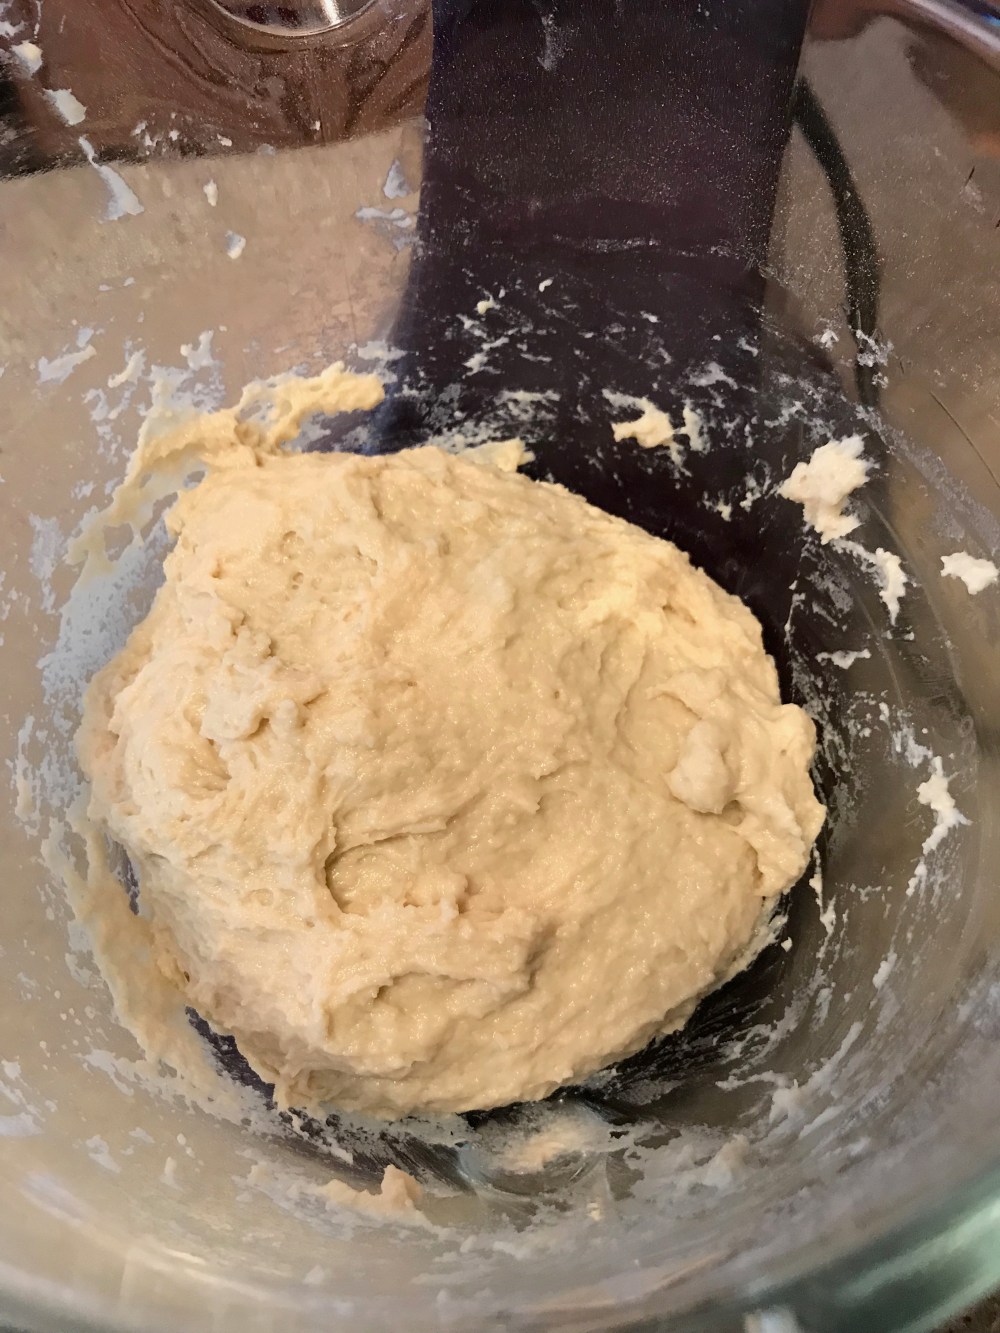
See how this one looks more like a dough than a batter? This is what you want, it rises better and just all around is easier to work with. Same procedure as the first time. Dump the dough into a clean bowl, cover with plastic wrap, and let rise at room temperature for 45 minutes.
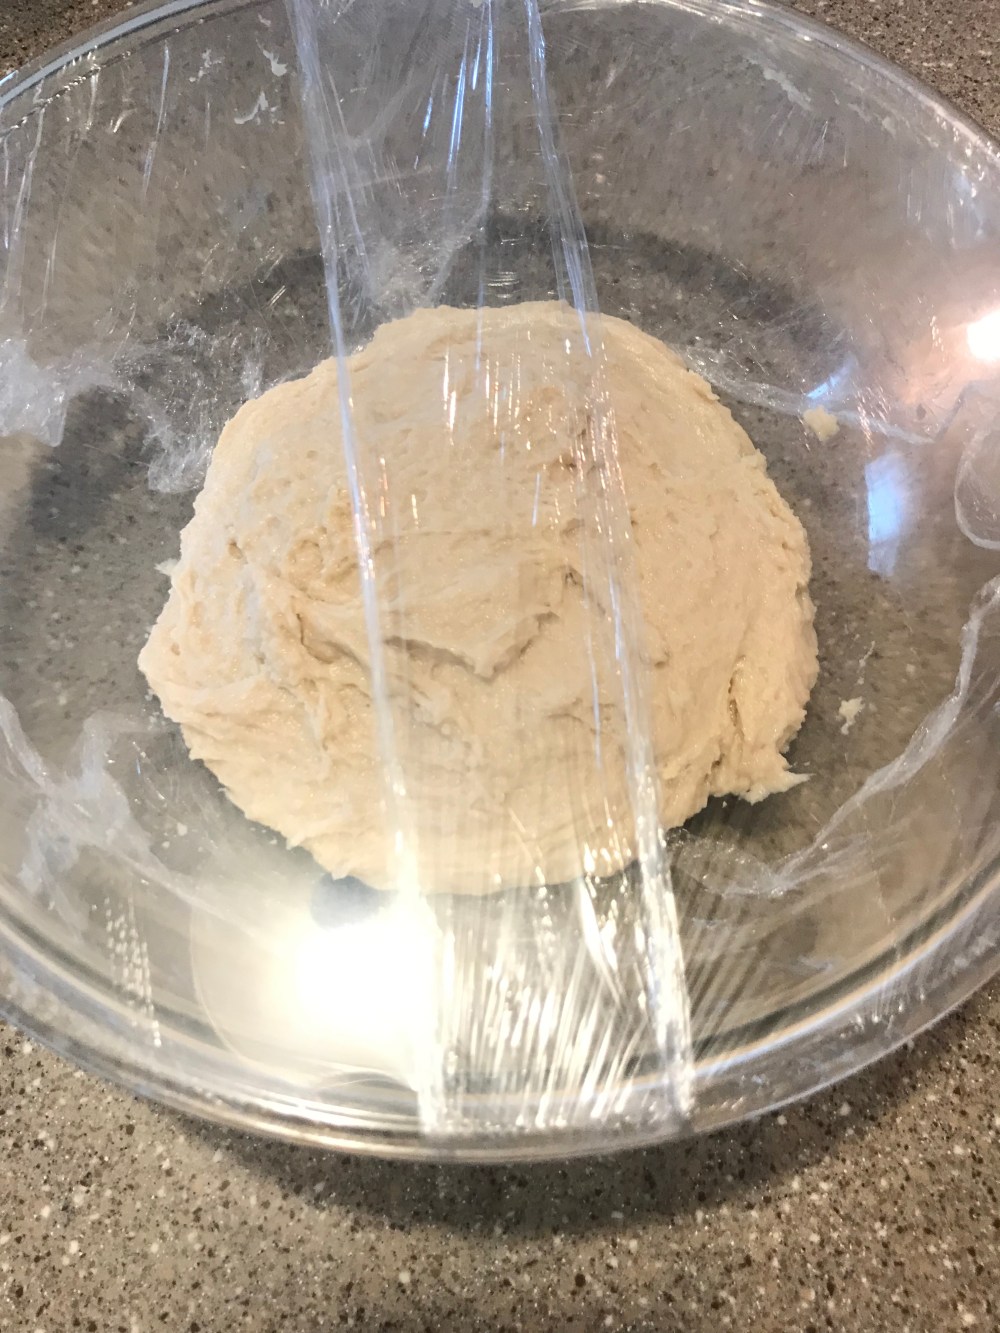
Unwrap the dough fold it over itself, a couple of times to deflate slightly. Recover the bowl and let it sit until doubled in size 1 hour longer.
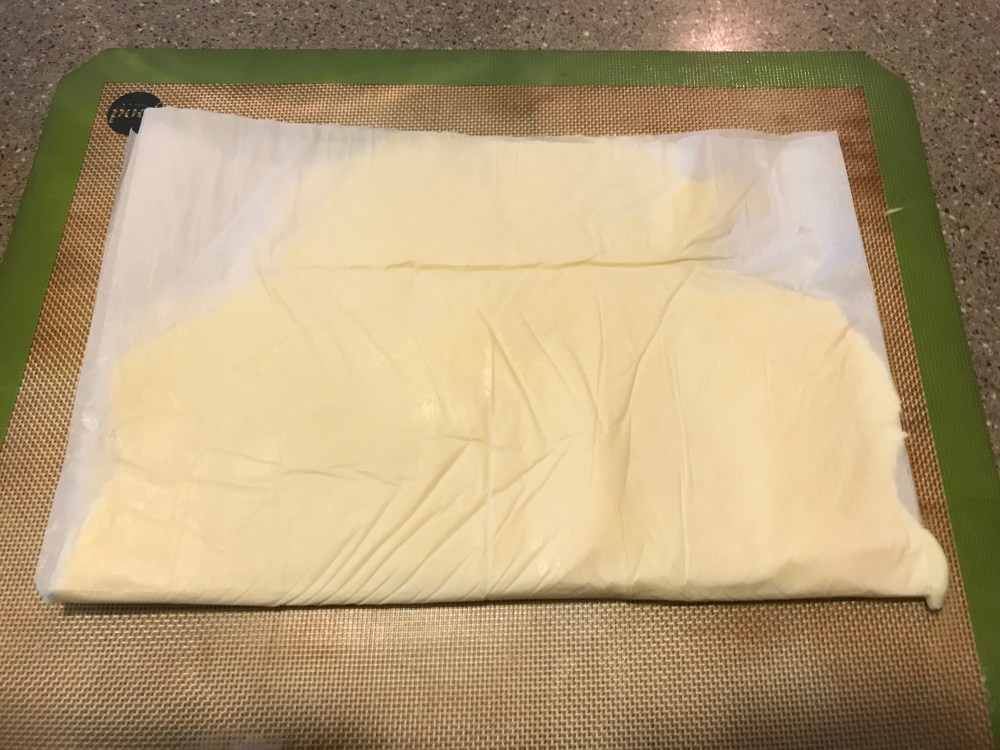
While the dough rises, prepare the butter for the lamination stage (folding the butter into the dough and creating all the delicious layers.) Cut the butter into tablespoon sized chunks, place them in between 2 pieces of either parchment paper or plastic wrap making sure there is a good amount of overhang. Using a rolling-pin, pound the butter flat then form it all back into a mound and continue rolling until the butter is nice and pliable and able to be shaped into a 7 by 10 inch rectangle. Transfer to the fridge to chill and firm up again.
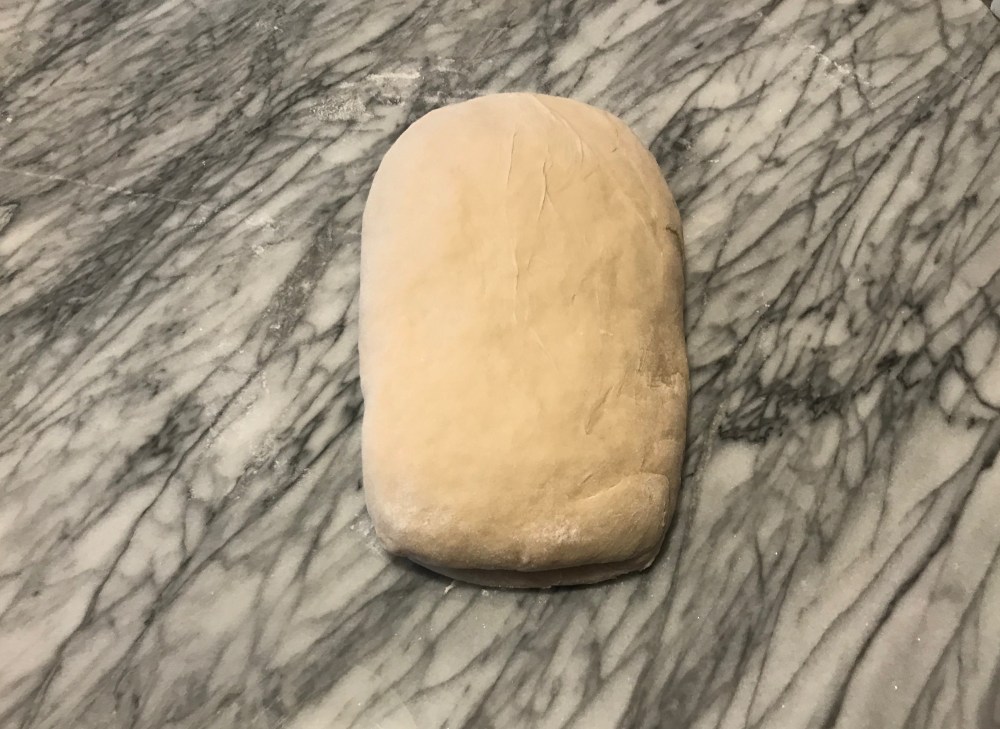
 Mine isn’t exactly even but it worked out just as well. Now it’s time to create the layers of the croissants. Take the dough out of the bowl and place it onto a well floured surface, (as you can see, I used my marble pastry board) and press it into a large rectangle. Fold the rectangle into thirds and let it rest on your work surface for 20 minutes.
Roll the dough out into a 21 by 10 inch rectangle. I actually took a ruler and measured mine to be sure that the measurements were accurate. I didn’t take pictures of this process because I was more focused on keeping the butter cold and folding the dough correctly. I hope that the description of each step does the job just as well.
Once the dough is rolled out to the right size, put the sheet of butter in the center of the dough. Fold the long sides of the dough over the butter completely sealing it in, turn the dough 90 degrees so that the seam is vertical. Carefully roll the dough into a rectangle and fold it again into thirds, like an envelope. Wrap it in plastic and chill for 30 minutes, this allows the butter to firm up and gives the gluten a chance to relax. Repeat the rolling and folding 2 more times. Then wrap the dough in plastic wrap and chill in the fridge under a heavy pan overnight. I used a cast iron pan since it was the heaviest pan that I have.
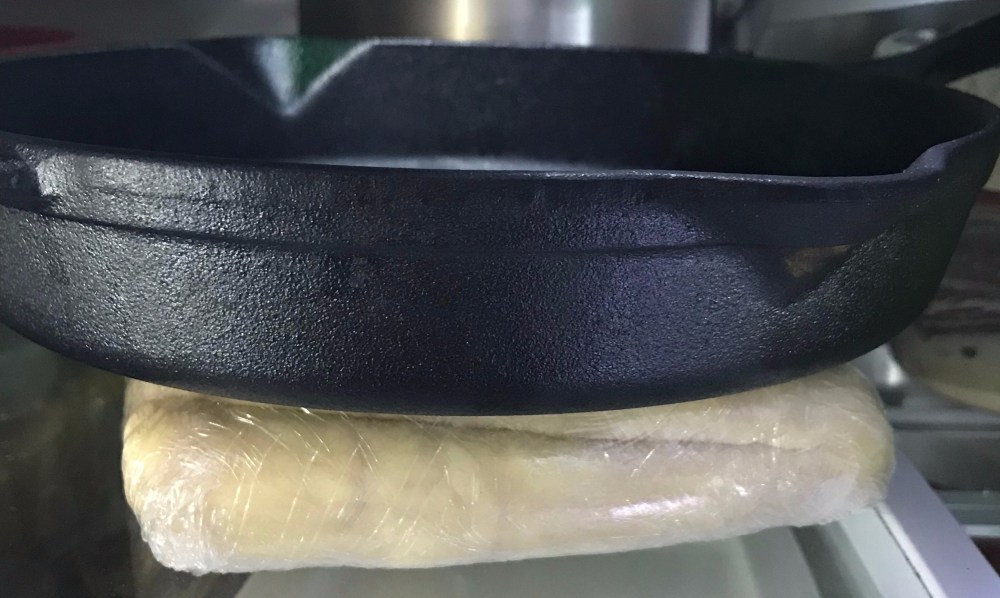
This step is crucial since it gives the butter time to firm up not melt into the dough, the gluten gets a chance to relax and not get too tough to work with, and the weight of the pan helps the layers slightly fuse with each other instead of separating when baked.
The next day, flour your work surface, grab your chilled dough from the fridge and unwrap it. Carefully roll out the dough into a 22 by 9 inch rectangle. Yes I did measure mine with a ruler again, just to be sure that I had my measurements right instead of trying to eyeball it. Be careful not to press the cold brittle butter through the dough, you’ll mess up all the delicious layers that you created the day before. Trim the edges to make a 21 by 8 inch rectangle. Then make little marks every 3 inches on the top of the dough. Do the same thing along the bottom but offset the marks 1 1/2 inches from the ones you made along the top. I once again used a ruler to make sure that my markings were evenly placed.
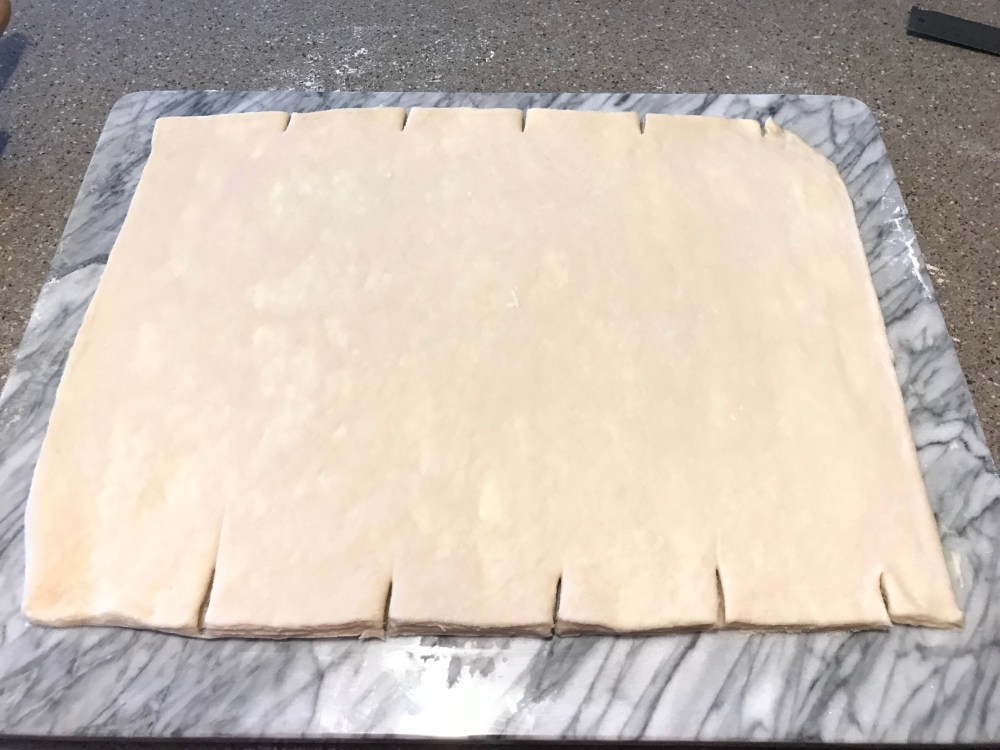
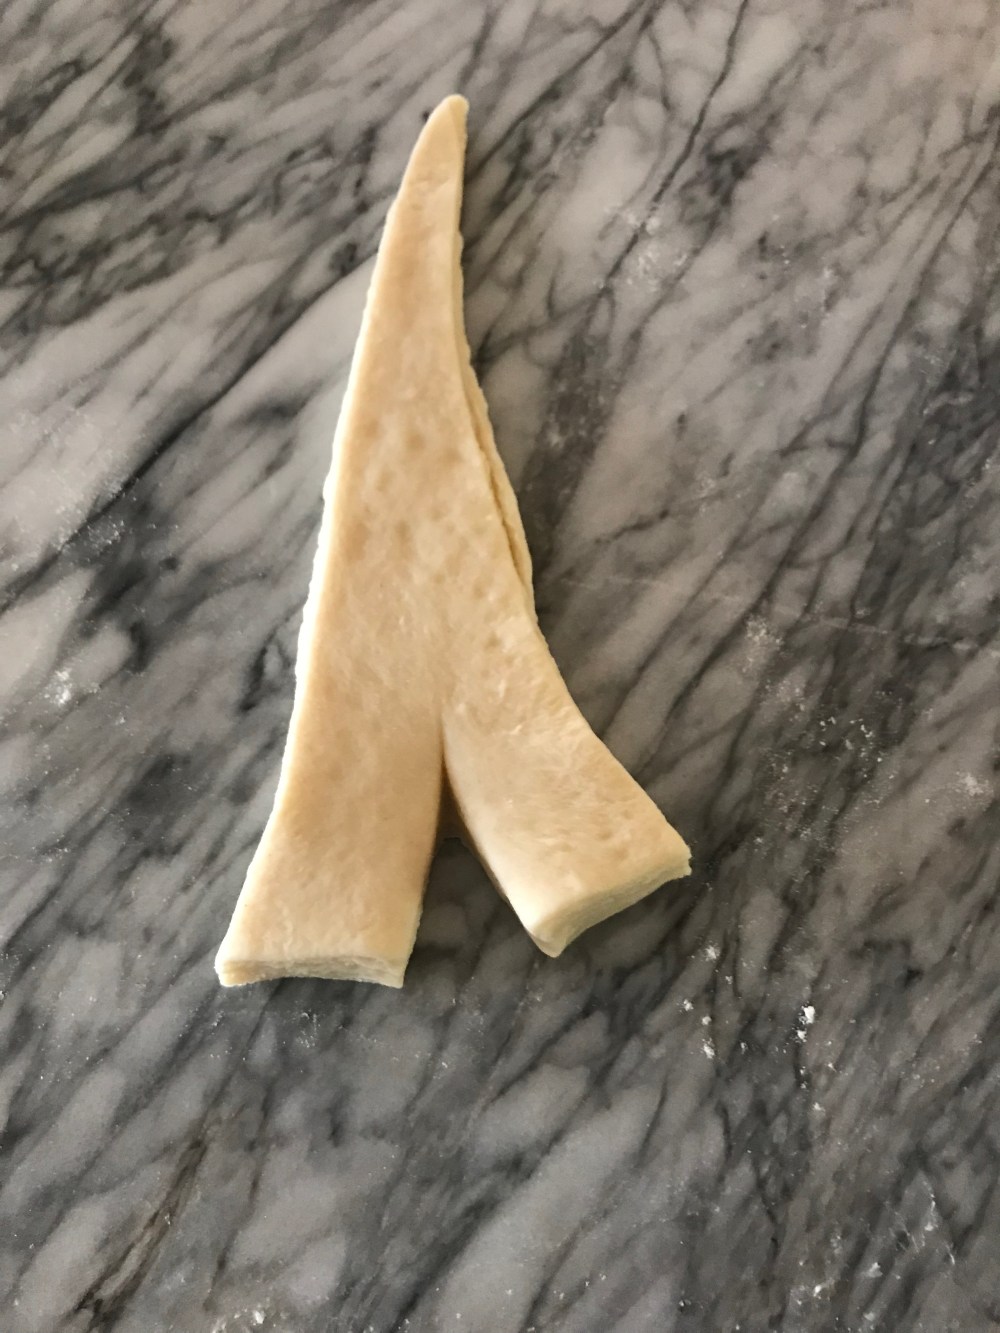
Cut diagonal lines across the dough connecting the marks and forming long skinny triangles. Side note, if you have a marble board like I do or your countertop scratches easily then use either a bench scraper also called a dough knife or a pizza cutter to cut the dough into triangles. Neither one will scratch at all. Then, cut a small slit in the wide end of each triangle and very carefully stretch those pieces apart just a little bit. With the point of the triangle facing away from you, gently roll the two flaps towards the point. Roll the croissants loosely, if you roll them too tightly then the layers won’t have a chance to rise and form properly during baking. Don’t roll them to loosely though either or else they’ll unravel while they bake. I may need a little practice in the rolling department.
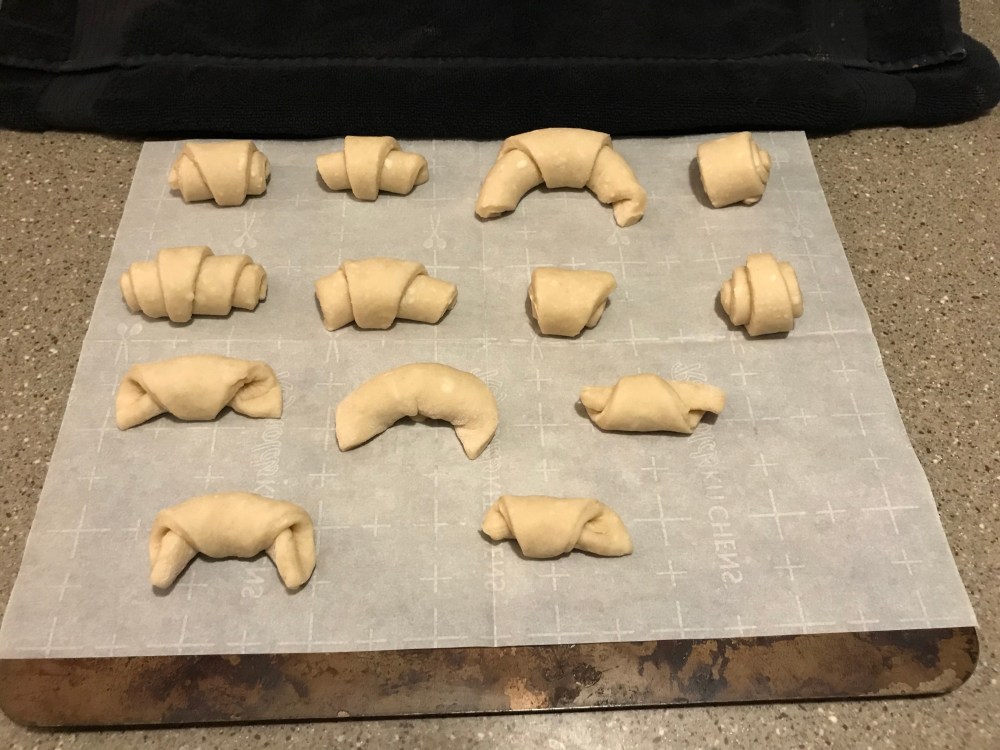
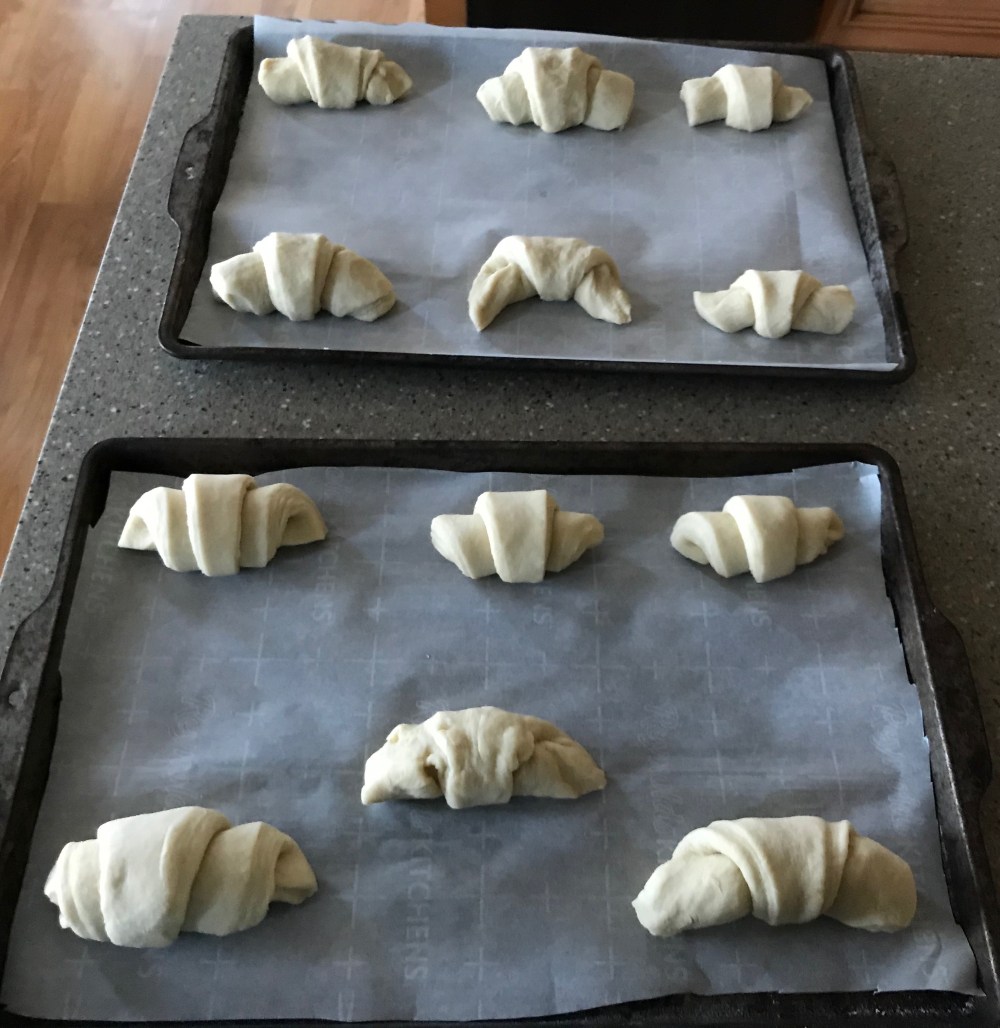
Put them on a parchment lined pan with the points of each one facing down onto the pan and be sure to leave 2 – 3 inches of space between each one. Also, see how mine aren’t all the same size and shape? I didn’t cut my dough into the correct shape and size before rolling them up. They still baked up nicely and with the signature golden crinkly top. Let these rest for one more time for 45 minutes. Meanwhile, preheat your oven to 400 degrees farenheit.
Once the croissants have finished their final rise, brush each one gently with egg wash (1 egg plus 1 tbsp either milk or water.) Bake them for 20 minutes. Rotate the pans half way through to make sure that they all bake evenly. Then reduce the heat to 375 degrees and bake for an additional 10 – 20 minutes until golden brown all over. Remove from the oven and let cool slightly before serving.
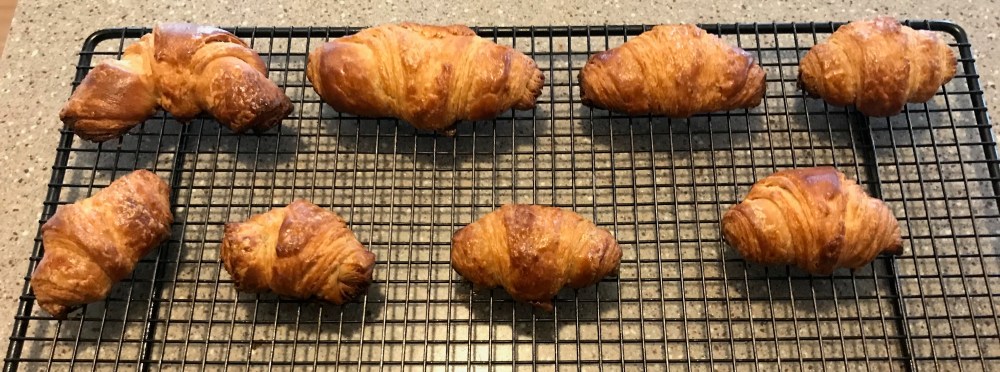 They look good don’t they? From the top, they look delicious but the bottoms got burnt and seeing as I ran out of parchment paper during this attempt, I tried using a silicone mat thinking that would work just as well as a piece of parchment paper, but oh boy, was I wrong! The outside browns quicker to the point of where they burn before the inside even gets the chance to bake properly so always use parchment paper for these.
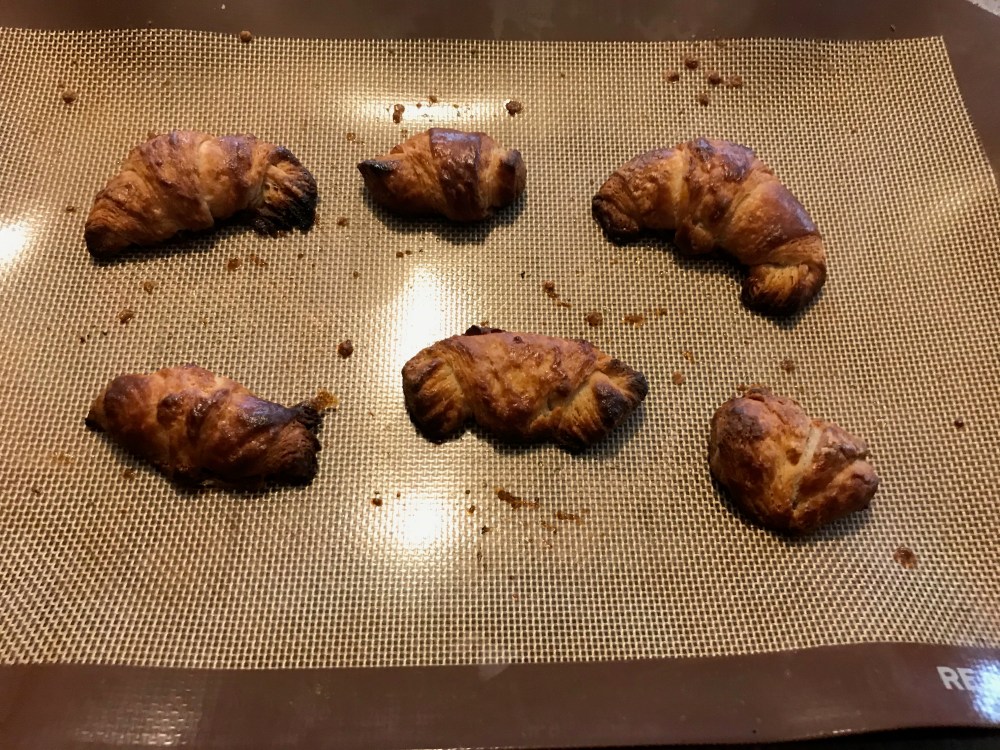
See what I mean? Silicone mats and croissant baking don’t go well together, so learn from my mistake and use parchment paper.
This lead to attempt #3 since the fact that the bottom of my croissants were burnt and mine weren’t exactly shaped as evenly as they should. So I give you my 3rd attempt at croissants.
Attempt #3
Same recipe and process but I did try to shape them differently than the previous attempt.
As before, roll the dough out to a 22 by 9 inch rectangle being careful not to squash the layers. Trim the edges so that you now have a 21 by 8 inch rectangle. Then make the marks 3 inches apart, offsetting the marks along the bottom by 1 1/2 inches.
Cut diagonal lines in the dough, connecting the marks that you’ve made. I used a pizza cutter to do this since it wouldn’t scratch my board like a knife would. You should end up with long skinny triangles just like before and this time I did.

Cut a small slit in the wide end of the triangle and very gently separate the little flaps with your fingers.
Now it’s time to roll them up. Start with the point of the triangle facing away from you, then take the flaps at the top and start to loosely roll the dough up until you reach the end, then place them with the point facing down on a parchment lined pan. Yes I did learn from my silicone idea and got more parchment paper for this attempt.
They aren’t all the same size, but they look better than my last attempt. Same rise time, application of the egg wash, and bake times/temperatures are the same.


Mine still got burnt on the bottom just like last time. They have the crinkly tops and the layers and are perfectly baked inside, but the bottoms still burnt. I’m not sure if lowering the temperature is the answer, so I’m going to go do some more research and see what else I can do to prevent this. Stay tuned for croissant attempt #4.
Remember, if you attempt this recipe or any of the others on this blog, post a picture in the comments and let me know how it went. I’d love to hear about it.
Until next time,
Peace. Love, and Sugar,
Brooke

