
So I’m a little late to the party, but here it is! For the third and final installment of my Halloween baking fun, I give you Bloody Truffles! I had to include one bloody creation in all of this before the end of October (I actually made these on the 30th for the 31st) so why not bloody truffles with little icing weapons in them? I have way too many tubes of blood-red sparkle gel lying around and I wanted a chance to use some of it. I made these the same way that you would make a cake pop but without putting the cake ball on a stick. I got a little too carried away with the sparkly blood before adding the blood covered axes and butcher knives. The gel is overly sweet in large quantities, so don’t use as much as I did if you make these. Now without further ado, here’s my bloody cake truffles!
The recipe that I used to make the cake is from another one of my favorite baking websites called The Icing Artist. I used her basic vanilla cake recipe and it is a delicious cake. Yes, I tried a small piece while making these.
Ingredients (for the cake):
- 1 cup sugar
- 1/2 cup (1 stick) of butter
- 2 eggs
- 1 tbsp vanilla
- 1 1/2 cups flour
- 1 3/4 tsp baking powder
- 3/4 cup milk

Preheat your oven to 350 degrees, then grease your pan very well. I chose to use a 13×9 pan since it was the first pan I found but you can use any cake pan you want.
After your pan is prepped and ready, whisk together the flour and baking soda. Set aside for now.
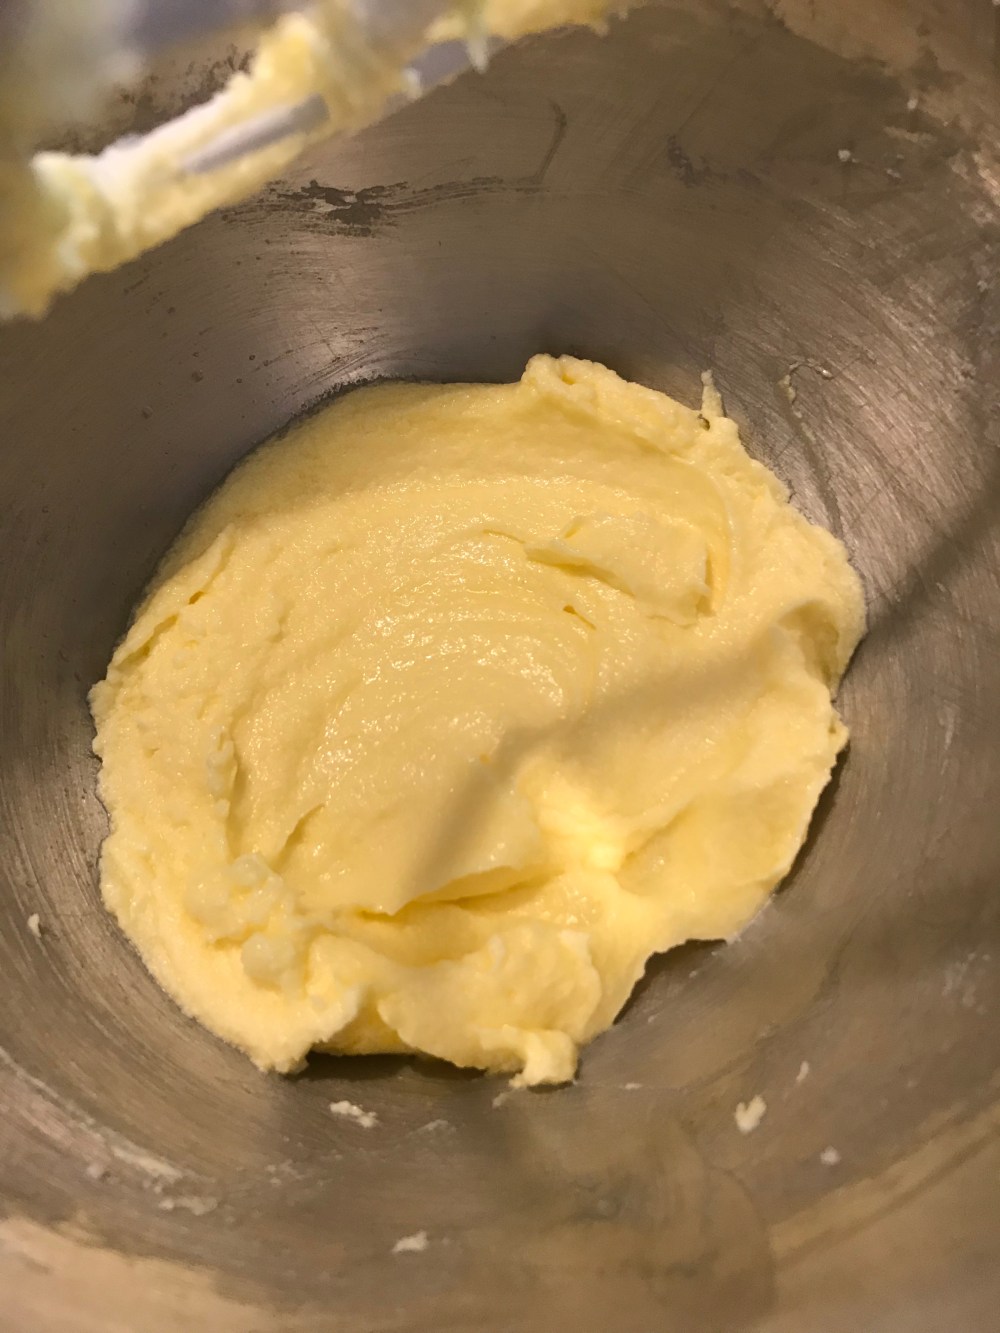
Next cream the butter and sugar together in the bowl of your trusty stand mixer fitted with the paddle attachment on medium speed (a hand mixer works just as well. It just might take a little longer.) Cream these together until light and fluffy.

Once it looks like this (picture above), it’s time to add the eggs one at a time, scraping the bowl after each addition.
Add the vanilla and beat on medium speed until just combined. Next add the flour mixture alternating with the milk, beginning and ending with the flour mixture. Start out on low-speed, unless you want flour to go all over your kitchen. Once everything is starting to look combined, up the speed to medium and beat until the batter looks well mixed.
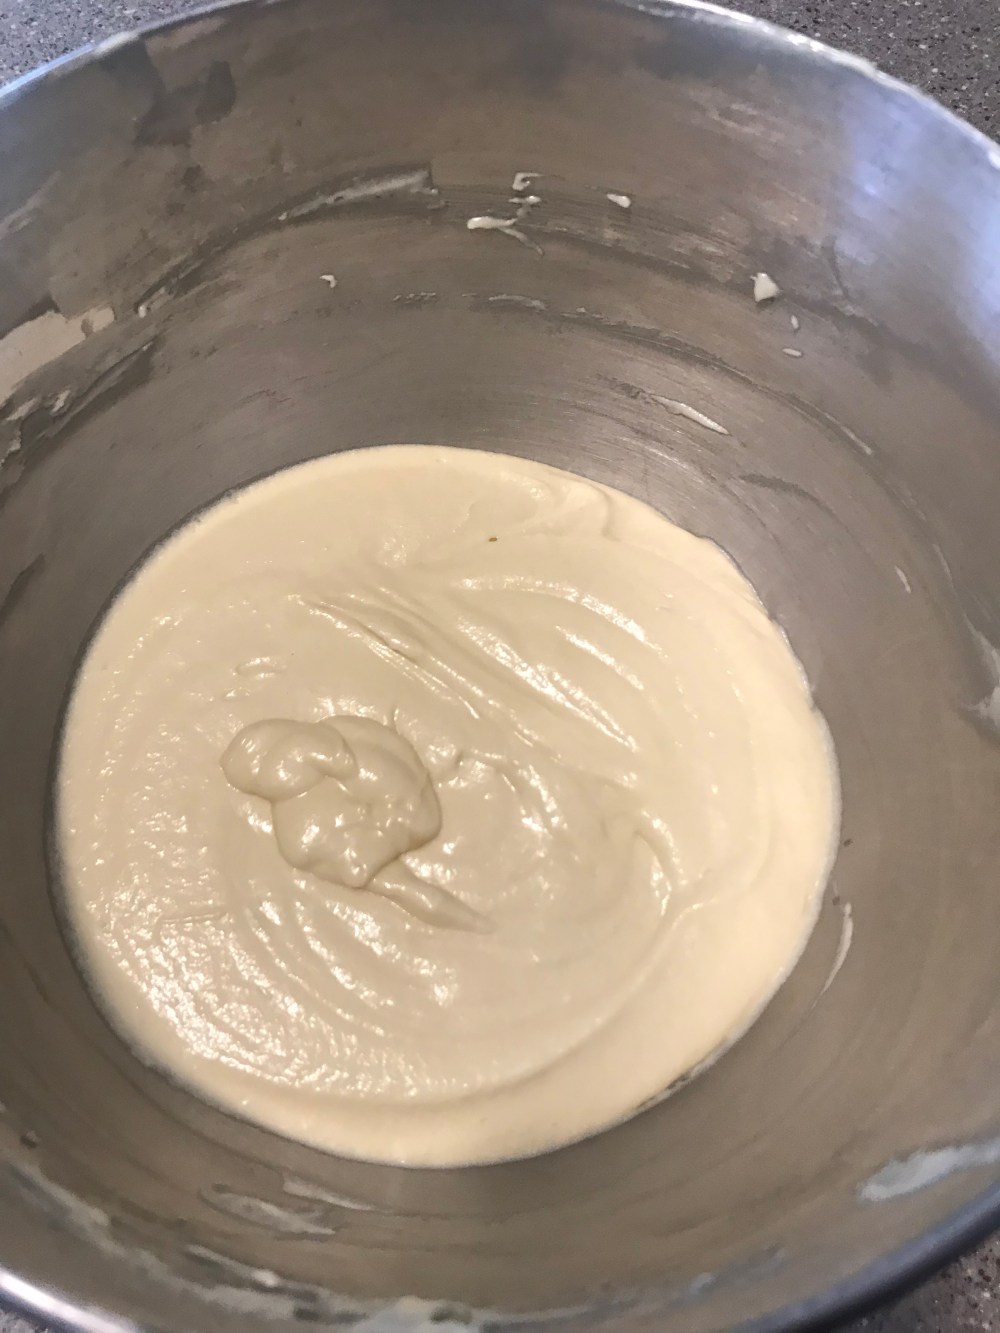
Once your cake batter looks like this, give the bowl one more scrape down just to be extra sure that everything is evenly mixed and not at the bottom of the bowl. Pour the batter into your pan of choice and bake for 30-40 minutes. The timing depends on your oven and the size of your cake pan.
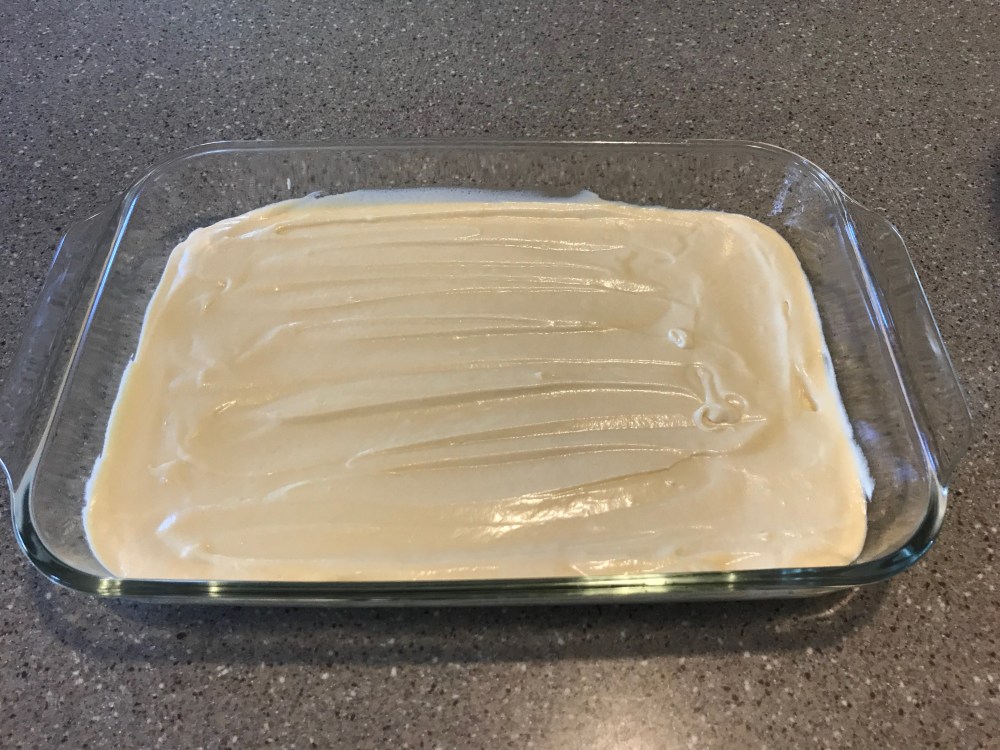
You’ll know your cake is baked when you stick a toothpick or a table knife in the center and it comes out clean.

Looks delicious doesn’t it?
Let the cake cool completely in the pan on a cooling rack. Then it’s time to cut the cake into pieces so it’ll be easier to form into little truffles. I cut my cake into little squares, like the picture below.

Now it’s time to crumble these delicious little cake cubes into smaller pieces. You could this with a spatula but I find it more fun and effective to just do it with your hands. Like Alton Brown always says, “Clean hands are your best kitchen tool.” Combine the cake crumbs with some buttercream (either homemade or store-bought, if you must) I used 1/2 cup of my homemade buttercream to mix everything together.
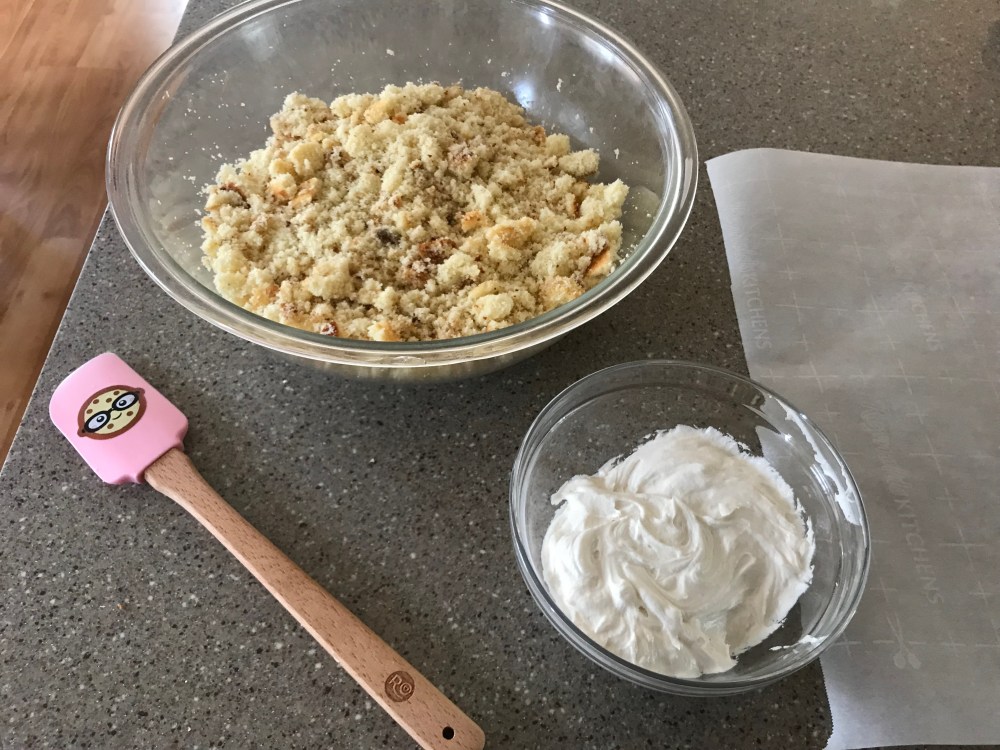
Mix everything until the mixture looks almost dough ball like and everything is mixed well. See picture below. 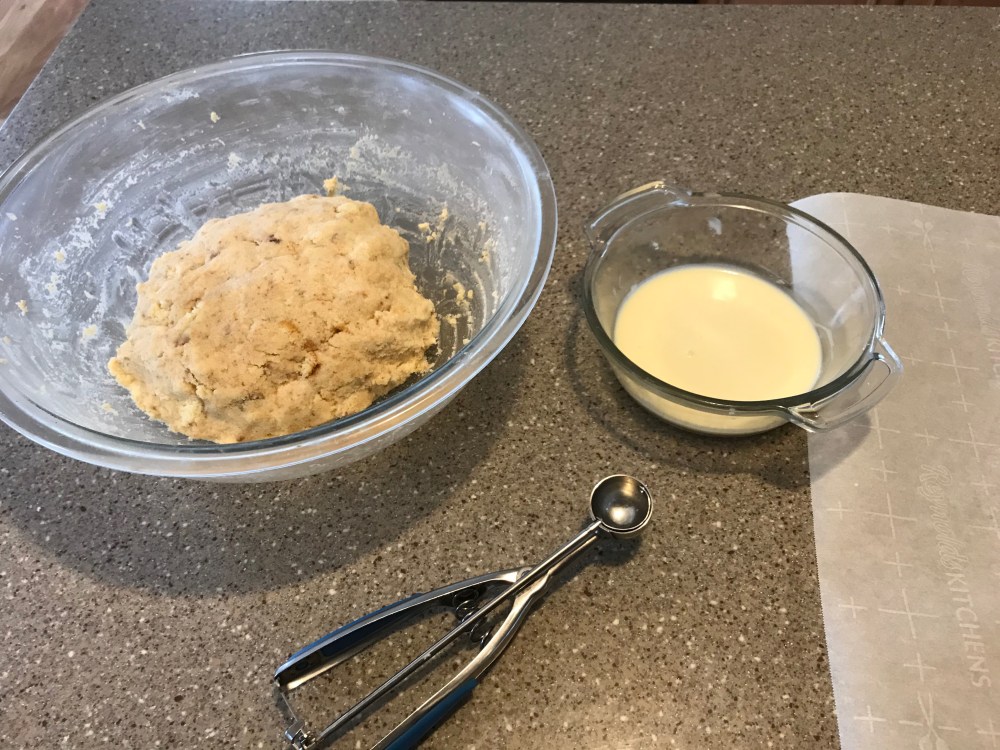
Now it’s time to shape the truffles. I used a 1 tablespoon cookie scoop that is 1 tablespoon to make them all roughly the same size. Scoop all of the cake onto a piece of parchment or wax paper after they’ve all been shaped into little cake balls. Chill to firm them up while you melt your chocolate.
Ingredients (for covering the truffles and decorating them):
- 2 bars of white chocolate – I found that either Lindt or Ghiradelli bars melt the best.
- Blood red sparkle gel
- Axes and butcher knives (candy ones, please)
- Serving plate
Note: Use whatever kind of chocolate you like, I just used white chocolate so that the blood would stand out a little bit better. Also, you can always buy the premade decorations in the baking/seasonal aisle of the craft store. Look for coupons and check for sales!
If you want to make these as cake pops, now you would add a stick to each cake ball.
Time to dip the truffles! Melt the white chocolate in 30 second intervals, stirring in between until all the chocolate is evenly melted. Then using either a fork or candy dipping tools, fully submerge the truffle in chocolate. Slowly pull the truffle out of the chocolate letting the excess drip off for a few seconds, then transfer to the parchment paper so the chocolate can start to set up. If you’re making cake pops, poke holes in a shoebox to put the pops in, so the pops remain upright while the chocolate hardens. Repeat with the remaining truffles until all of them are coated and on the parchment to set. Once the chocolate has started to set a little bit, it’s time to add the decorations before it completely hardens, otherwise it’ll be a lot harder to add the weapons in the top of the truffles.
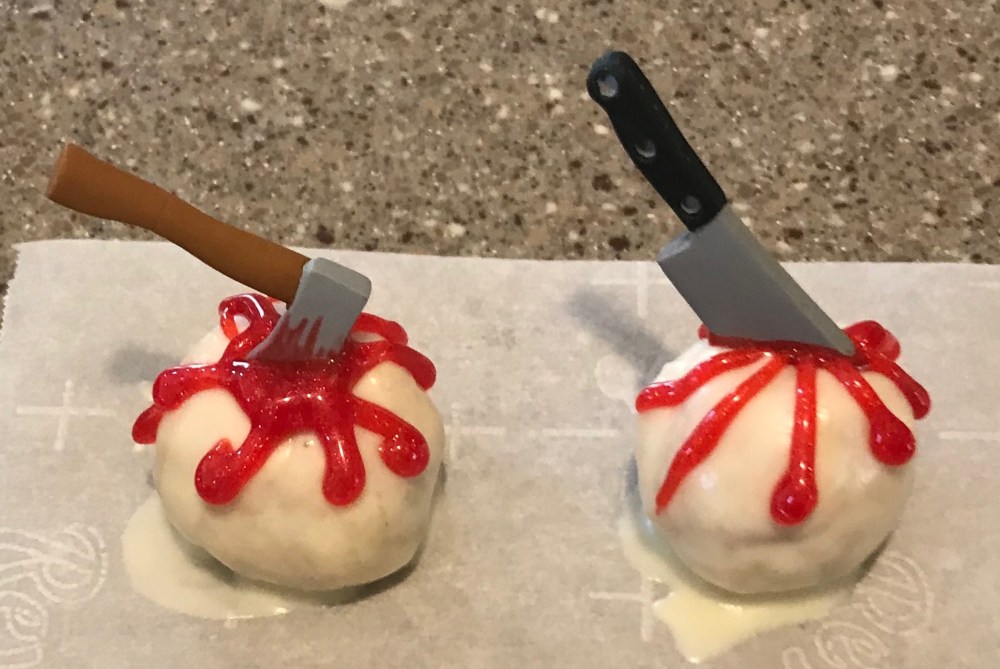
Starting with the sparkly blood add just a little blob of it on top of the truffle. Don’t do like I did and go crazy with the blood, because like I said in the beginning of this post, sparkle gel is extremely sweet in large quantities. Once you’ve bloodied up all of your truffles, just start sticking the axes and butcher knives into the top of each truffle. The way I placed the weapons, the ones with the butcher knives look like they were brutally murdered and the ones with the axes look like they were thrown from just the right angle.
All in all, this was super fun and I haven’t really seen very many Halloween themed cake pops or truffles so I thought I should give it a shot and see what happens. This ends my Halloween baking fun until next year but stay tuned for some awesome fall baking recipes.
These cake truffles/pops can easily be adapted to any holiday! You can use any flavor chocolate or any color candy coating and there are plenty of sprinkles and candy decorations for any holiday you can imagine!
If you make these or any of my other posts, leave a picture or a comment below so that we can all see your amazing creation!
Until next time,
Peace, Love, and Sugar,
Brooke

