
Happy Fall everybody! This is one of my favorite baking times of the year besides Christmas. I’ve never, ever been a fan of Halloween, yet I love Halloween baking. It’s the one time of year where I can make my baking as gory and creepy as I want, show off my skills a little bit, and shock people when they find out that I made it. The truth is I normally can’t do scary, since I scare easily! I’m not a fan of anything Halloween related, but I always get so excited when places like Michael’s and Joann start stocking all of their Halloween baking supplies. All the severed finger decorations, bloody axe decorations, blood-red sparkle gel (all of my baking has a little bit sparkle in it somewhere, what can I say I love sparkles and glitter!), spooky cake and candy molds, Halloween colored sprinkles are too much fun for me. So all month-long, I’m going to be posting all of my fun, gory, Halloween baking. The first one is something traditional, not gross and bloody, the traditional Jack O’ Lantern! Now onto the recipe!
The recipe that I used comes from How To Cake It. I’ve been watching a lot of her videos lately and decided it was time to try out one of her recipes. Here’s the link to it, How To Cake It Ultimate Vanilla Cake.
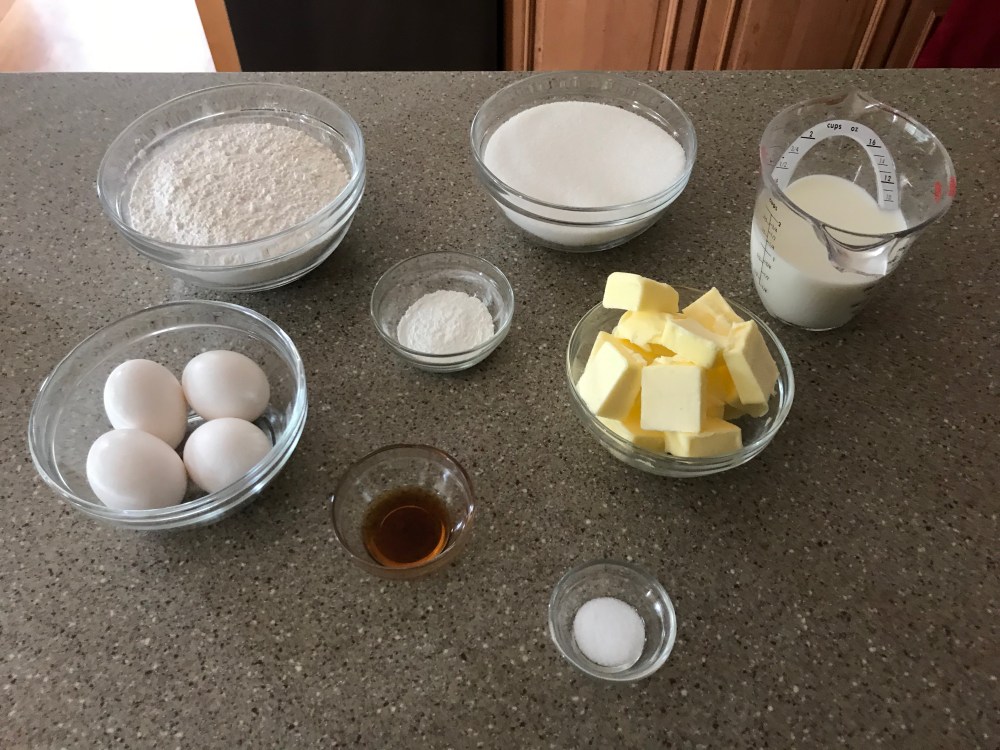
Ingredients:
- 2 1/2 cups all-purpose flour
- 2 1/2 tsp baking powder
- 1/2 tsp salt
- 1 cup (2 sticks) butter, at room temperature
- 2 cups sugar
- 1 tsp vanilla extract
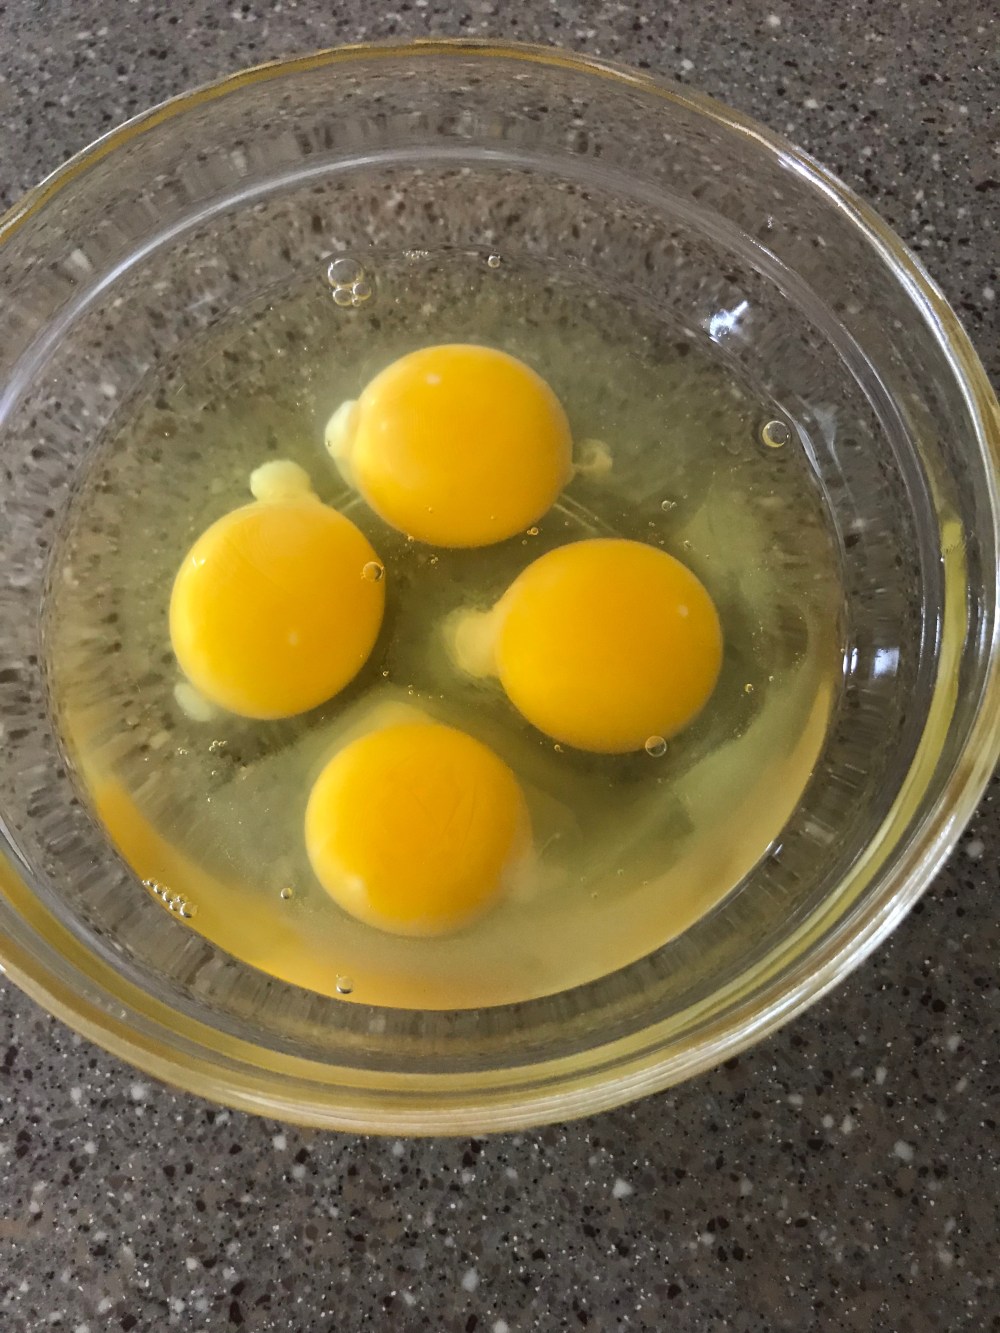
- 4 eggs, at room temperature
- 1 cup milk
Preheat your oven to 350 degrees F and prepare your pans. I used a sphere pan to get the nice round shape of the pumpkin and because I’m really not ready to try carving a cake. The tricky part was lining both halves of my pan with parchment paper when they’re both round.
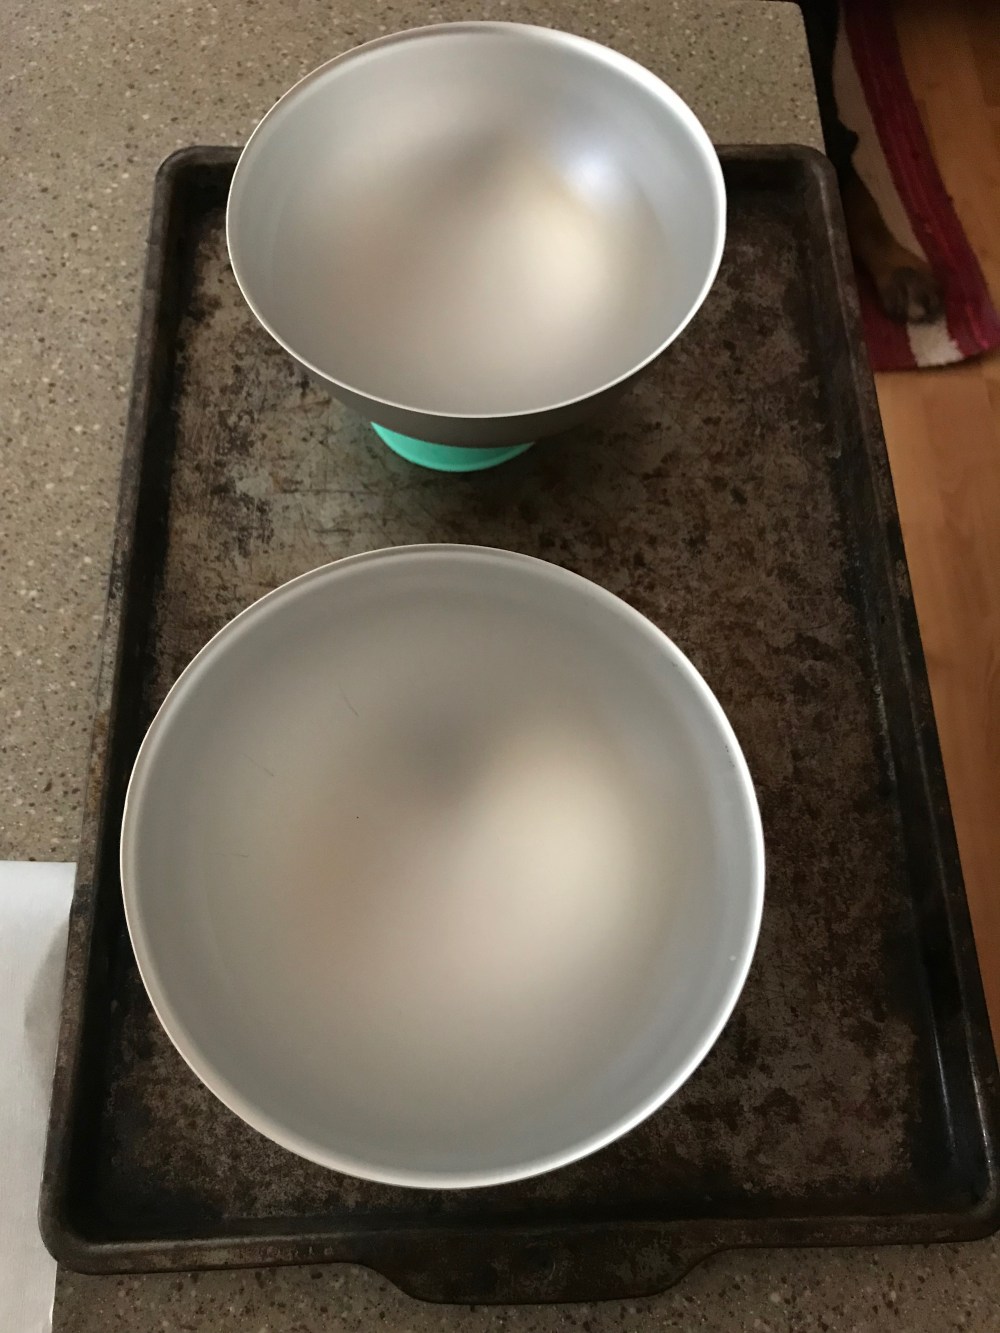
See what I mean? It took me a few minutes to figure out to get parchment paper in the bottom of these pans, but I decided on tracing one of the halves onto a piece of parchment paper with a pencil.
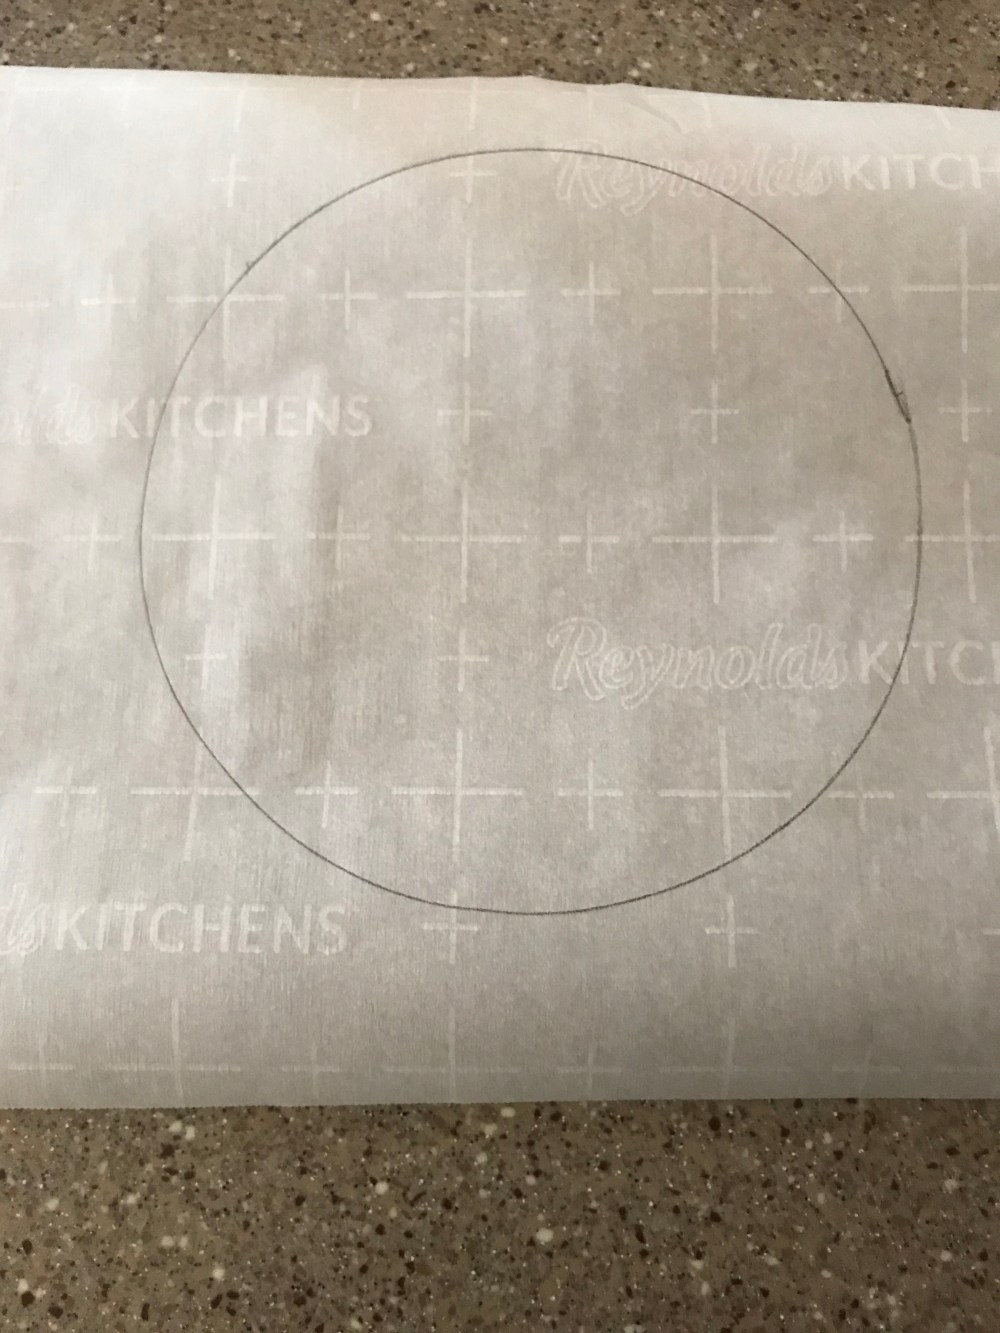
Now, just fold the parchment paper in half and cut around the pencil lines to cut out the circle. Do this a second time so that you have 2 circles. After you have your 2 circles, cut both circles in half and each half in half, so the circles are divided into 4 triangles like the pictures below


Make sure that both halves of the pan are very liberally sprayed with non-stick spray or coated very liberally with butter then lay your circles, pencil side down in the bottom of each half and set aside for now.

I almost forgot to mention that since these aren’t flat on the bottom, place them on the silicone rings that come with the pan to keep them level while they bake and to keep the rings in place set them on a cookie sheet. Now onto the cake batter!
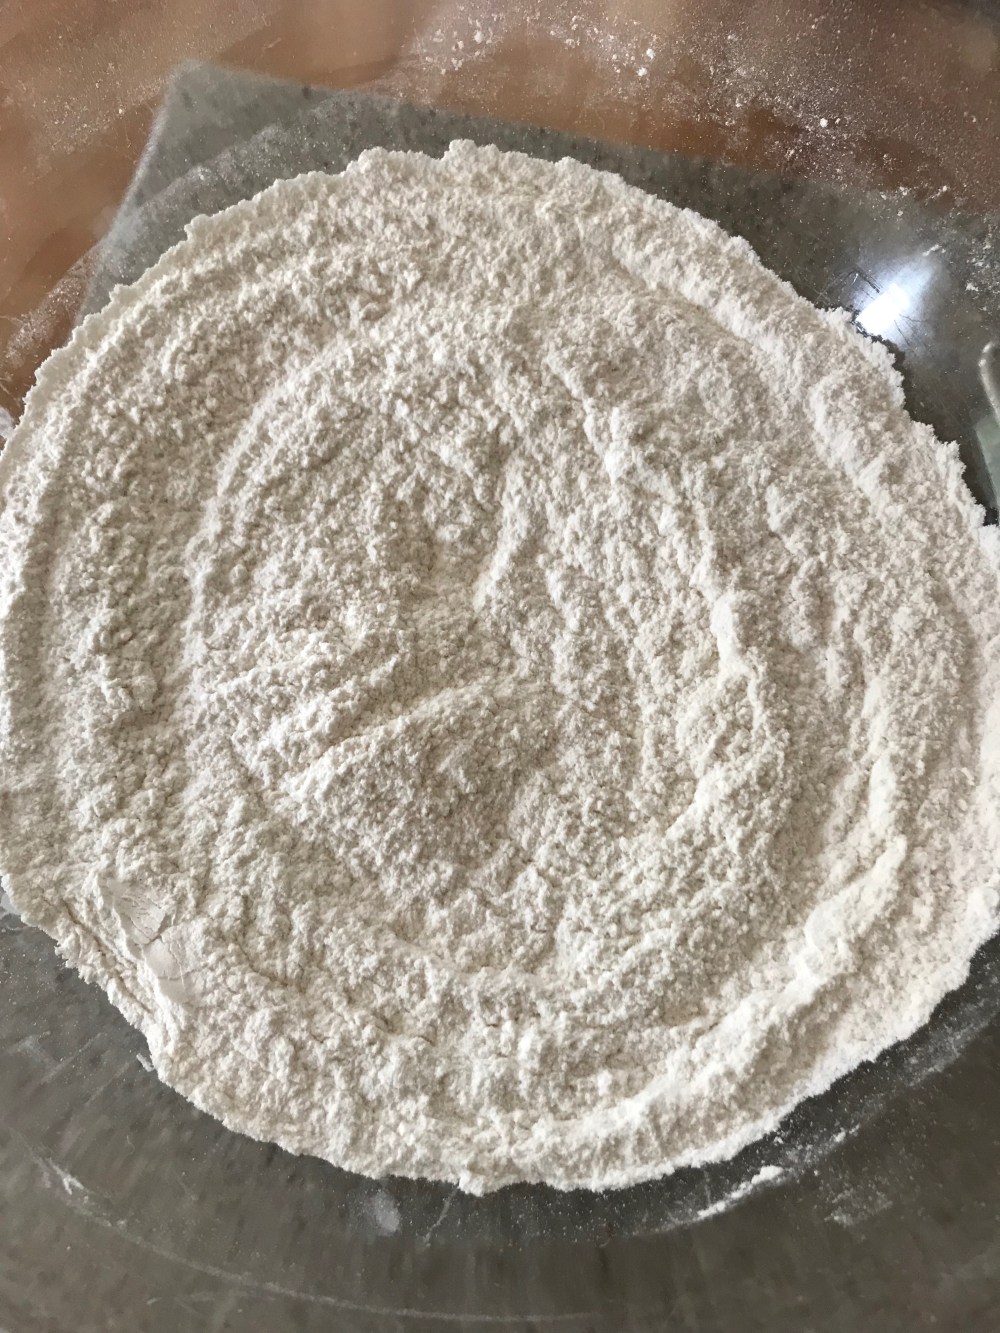
Start by sifting the flour, baking powder, and salt into a bowl. Then whisk to combine and set aside for now.
Now, in the bowl of your trusty stand mixer fitted with the paddle attachment (you can always use a hand mixer but it will probably take longer), add the butter, sugar, and vanilla. Beat together on medium speed until light and fluffy, this should take about 8 minutes.
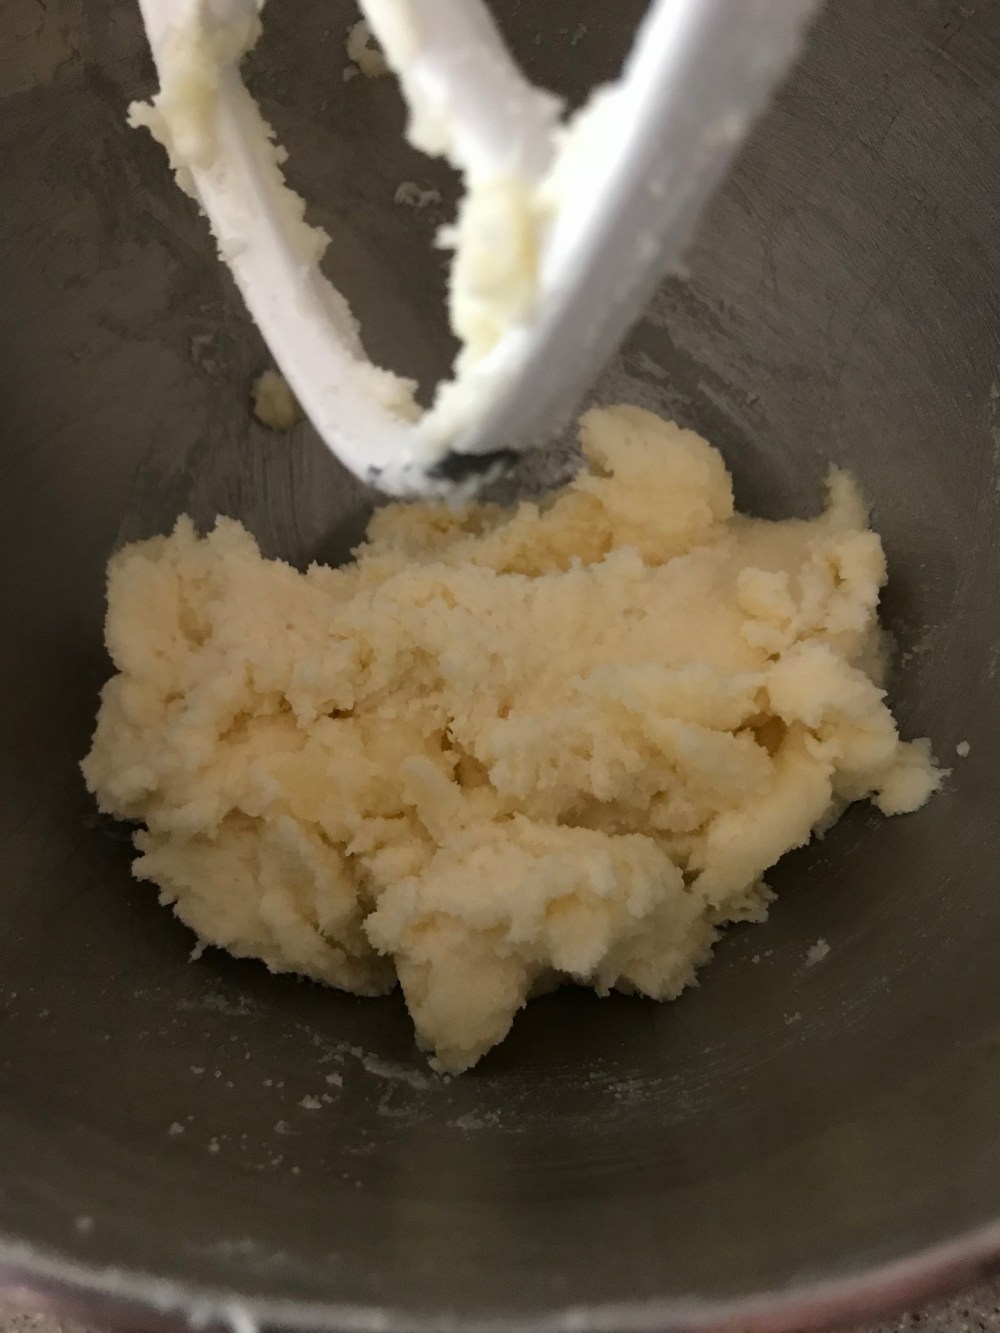
Once it looks like this, start adding the eggs two at a time and beating well before adding the other two. Scrape down the sides in between adding the eggs to make sure that everything is well incorporated.
Now, it’s time start adding the flour mixture alternately with the milk. Add the flour mixture in four parts and the milk in three parts, beginning and ending with the flour so that all of it gets mixed in properly and doesn’t get stuck to the bottom of the bowl.

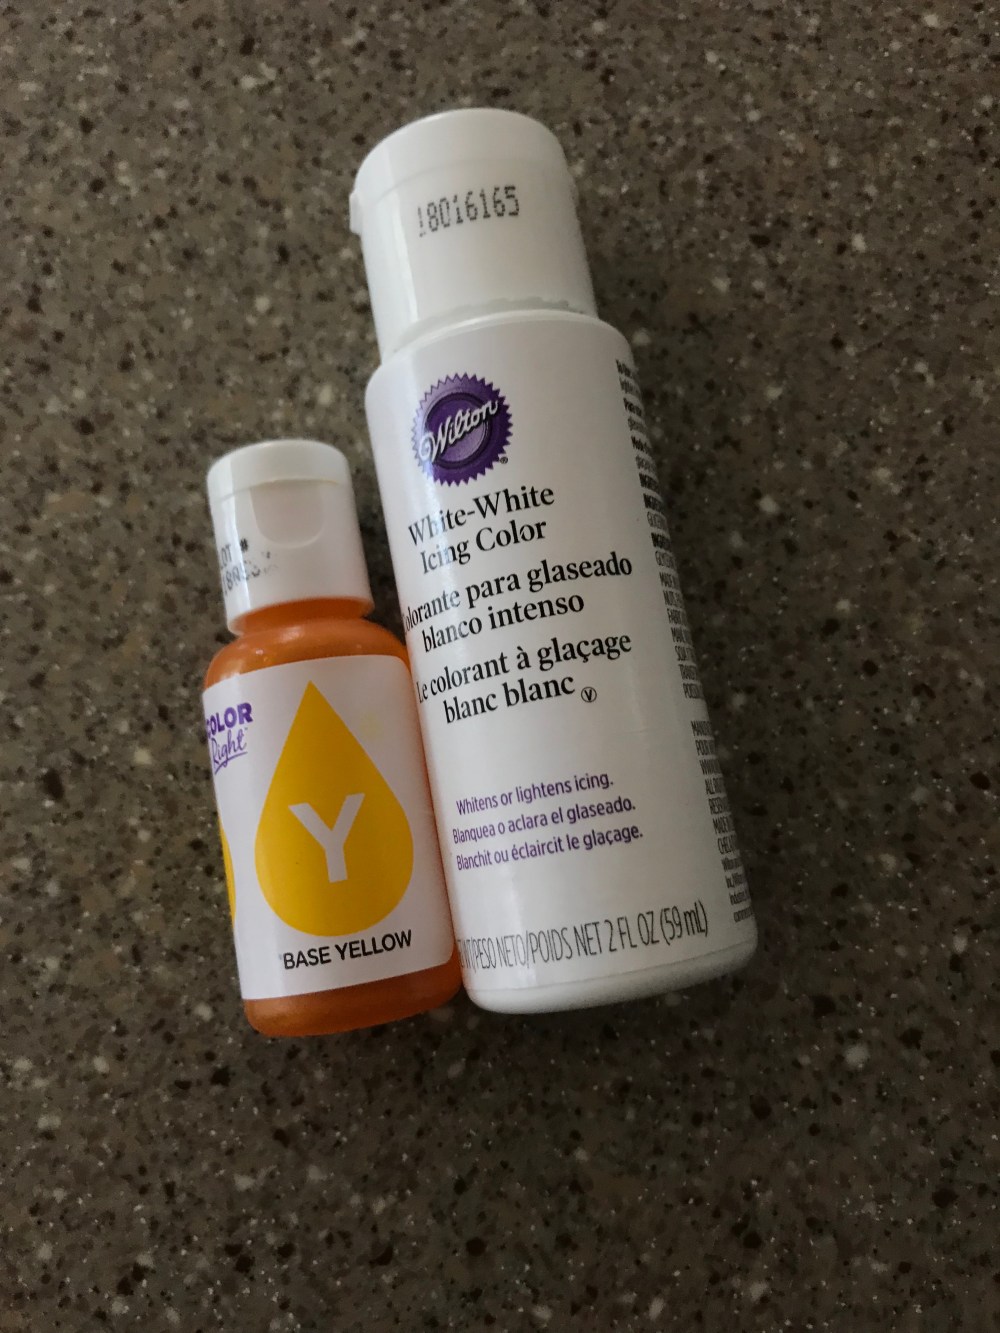
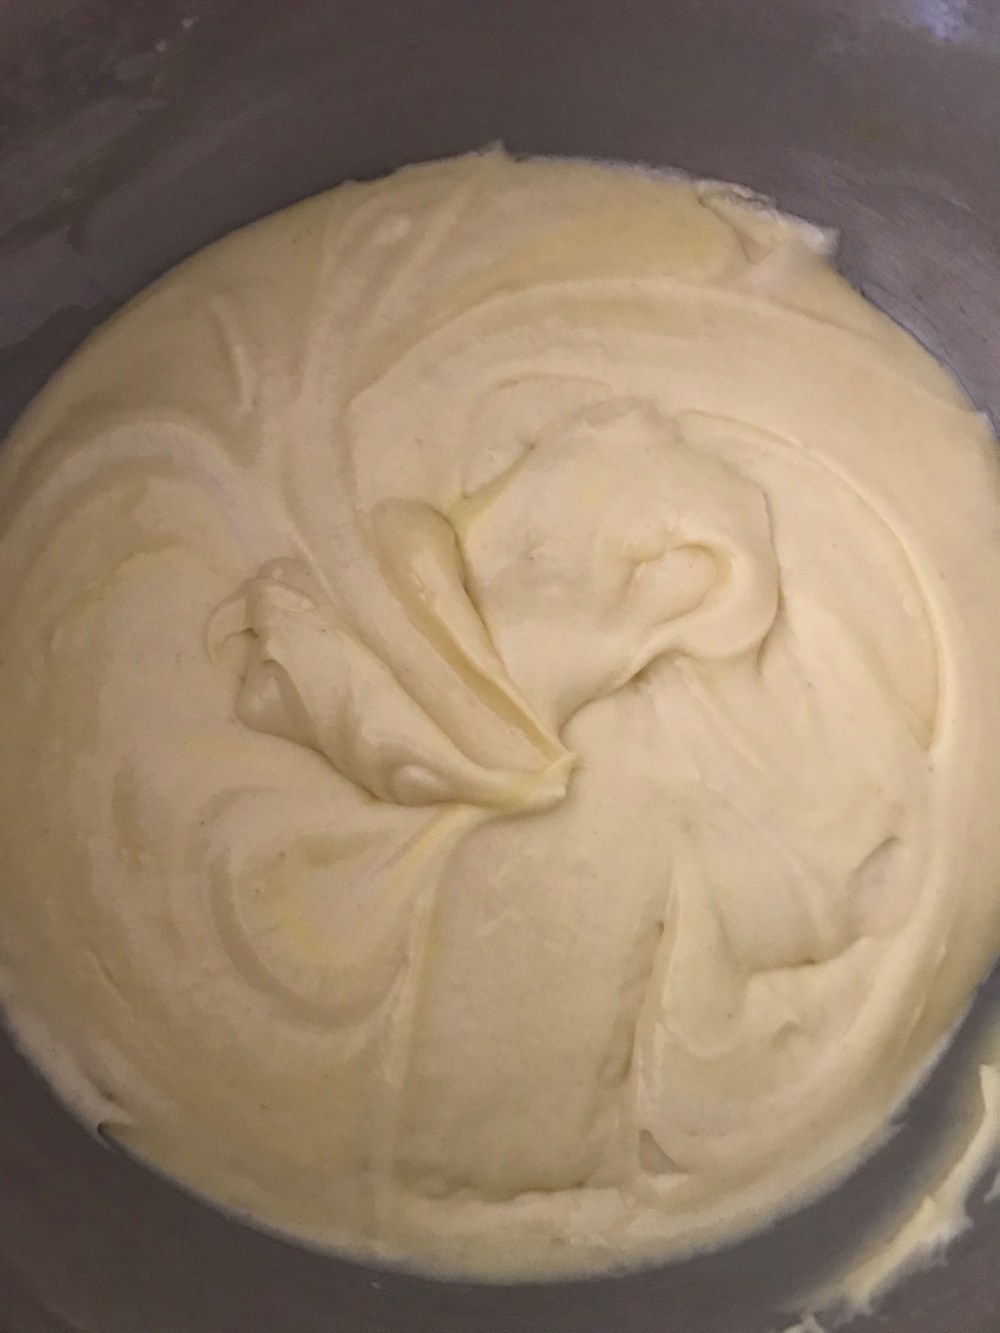
Once all of these ingredients have been added be sure to scrape down the sides and bottom of the bowl to make sure that everything has been mixed in well enough. To make mine look more like the inside of a pumpkin, I added one drop each of yellow and white food coloring and mixed all of it in by hand. If you do this with a mixer, you’ll risk over mixing your cake batter – not a good idea.
When all the color is evenly mixed in, it really looks like the inside of a pumpkin after all the guts are scraped out – minus the seeds, of course!
Now evenly divide the batter between both halves of the cake pans. My pans were a little full, so the cakes baked over the edge of the pans a little bit. Bake the cake halves for 45 minutes to an hour or until a knife inserted in the center each half comes out clean. Bake times depend on your oven and the size of the pans you use. Mine took an hour since the sphere halves were a little small and I over filled them. The cake still turned out amazing.
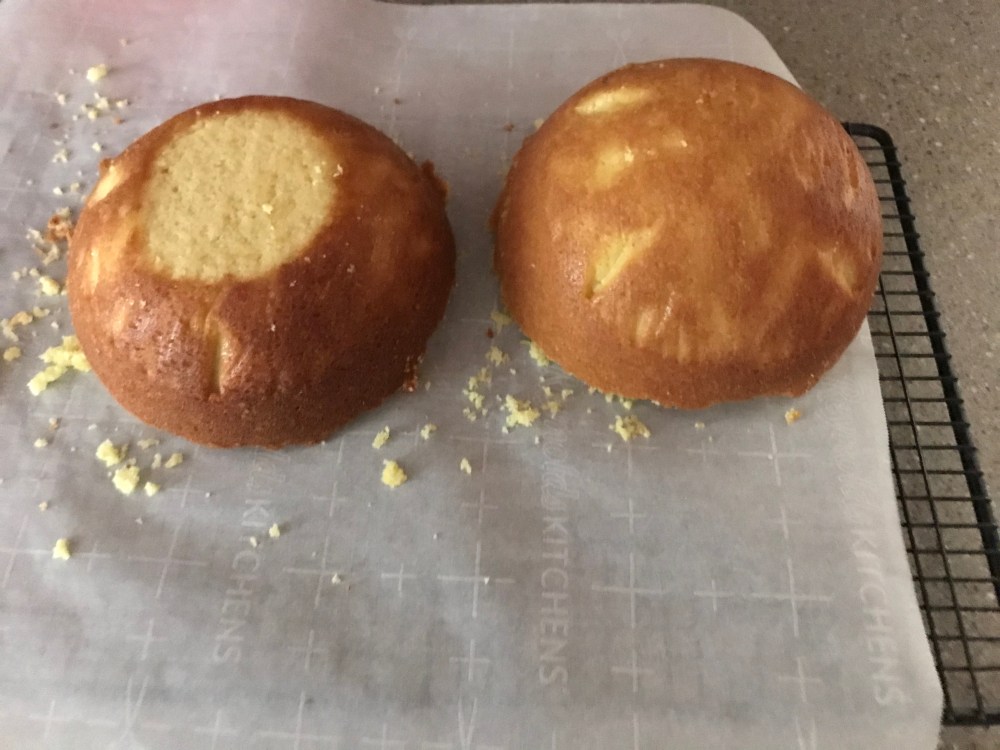
Once the cakes are out of the oven, let both halves cool until the pans are cool to the touch. Take a serrated knife and carefully level off the tops of the cakes, then gently invert the pans onto another cooling rack lined with a piece of parchment paper, peeling the parchment paper off the bottom of each half. Pick one of the halves to slice off a little bit of the bottom so that your pumpkin will sit flat on whatever you decide to serve it on. Once you’re done all of that, the cakes should look like the picture below.
Once both halves of the cake are completely cooled, its time to frost the whole thing. To frost mine, I used my go to buttercream recipe. The only thing that I did to my buttercream was add some orange food coloring to get the right color of pumpkin skin. It’s available on my recipe page if you want to check it out.
To frost the cake, take the half with the flat part on the bottom and flip it so you see the top of the cake. Take a little bit of buttercream and spread it to the edges with a flat icing spatula. Then when the frosting is smooth, it’s time to add the top of the sphere and smooth out any buttercream that oozes out the edges from attaching the 2 halves together.
Time to frost the whole thing, which is actually really difficult since it’s not shaped like a regular cake. This is where having an angled/offset spatula comes in handy. Not only does it keep your hands out of the frosting, it also makes it a lot easier to get around curves of the sphere. If your frosting isn’t completely smooth, don’t freak out because pumpkins aren’t completely smooth on the outside. As you’ll see in the picture below, my frosting isn’t completely smooth. You just need something for the fondant to stick to.
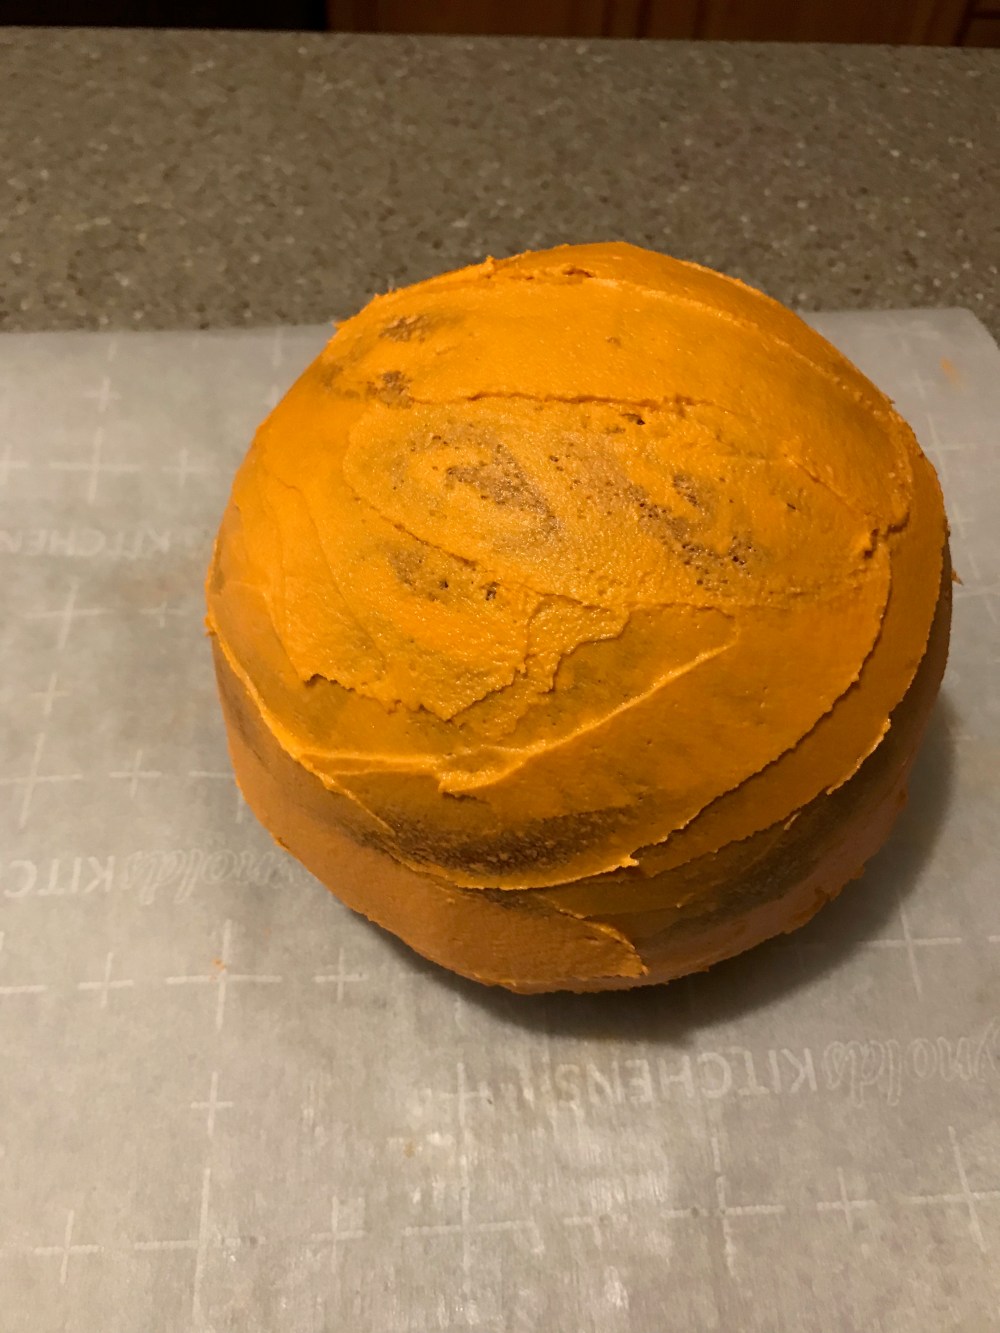
See how mine isn’t completely smooth? That’s ok, it’s an awkward shape to frost and if you’re going for a more realistic look like I was, then this is perfect. You want the buttercream to firm up a little before the next part, so pop the whole thing in the fridge to chill.
While the cake is chilling, it’s time to get all the fondant dyed and the face cut out so that it can firm up before you attach it to the cake. I used store-bought fondant for this because, it was easier to work with and my homemade fondant was hard as a rock (which can’t be saved at that point.)
In addition to the fondant, you’ll also need:
- A rolling-pin – I use a clean piece of pvc since it does the same job as one of those fondant rolling pins you could buy at the craft store, it’s also a lot cheaper
- Some cornstarch to sprinkle over your work surface, so the fondant doesn’t stick
- Some rubber gloves – trust me unless you want to spend a week trying to scrub food coloring off your hands, use these.
- Some Gum-Tex – If you knead a little bit of this into your fondant, it’ll be stronger and more elastic making it easier to work with and it won’t tear as easily.
- A template to help with cutting out the parts for the face. If think you can free hand the face, go for it!
- Orange, brown, and black food coloring – be sure you’re using gel food coloring because liquid food coloring will turn the fondant really soft and extremely hard to work with.
- A roll and cut fondant mat – You don’t necessarily need this but you’ll see a little later why this comes in handy. You can always just lay a piece of parchment paper down and work with your fondant on that.
- A sharp pairing knife
- Sculpting tools and a ball tool – for adding the details to the pumpkin and the stem.

Divide your fondant into 3 balls. One large ball, this will be the one that you’ll cover your cake with and 2 smaller more equal sized balls that will be used for the face and the stem.
Start kneading each ball of fondant to make it more pliable. If you try to use it right out of the box, it’s going to be a little bit hard, so knead it a few times letting the heat from your hands warm it up.
Once all of your fondant is kneaded, take the larger of the 3 fondant balls. With gloves on start by adding 3 drops of orange food coloring to it and kneading until the color has been evenly worked in. Keep going until it’s the color that you want, at this point, I added one drop of brown food coloring to it since a lot of the pumpkins that I’ve seen aren’t just straight up orange, it’s a darker shade of orange.
Next, take the smaller ones. Dye one brown with a little bit of green for the pumpkin stem, and the other one black for the facial features. Once all of that is done, take a very small amount of Gum-Tex and knead it into each of the pieces of fondant. This makes your fondant stronger and stretchier, which will make covering your cake easier and the decorations will hold up better.


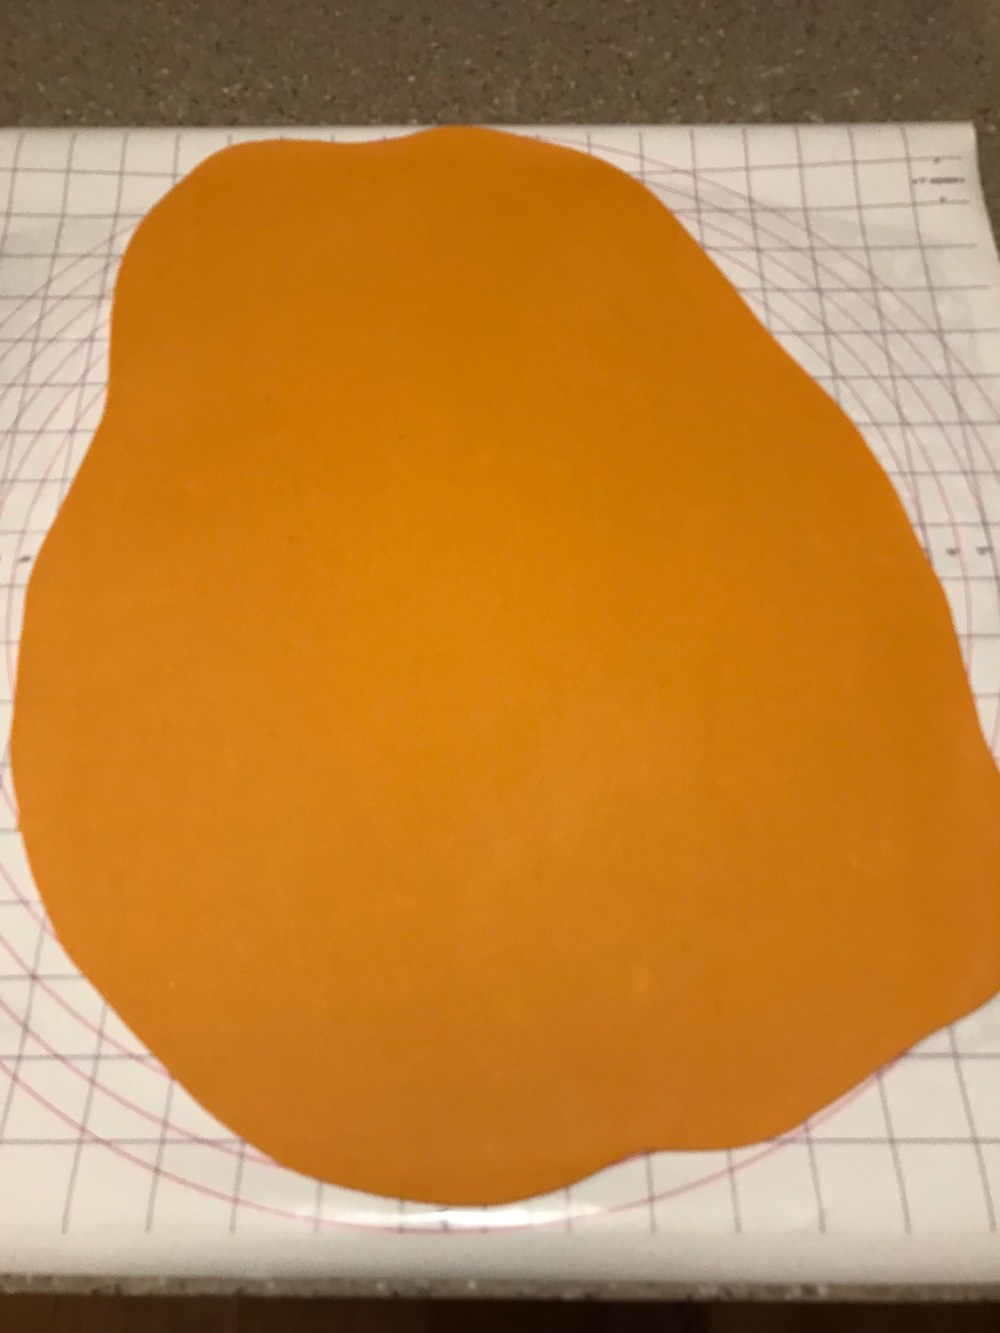
Once you’re happy with the color of each of your fondant balls, take the orange one and roll it out so that it’s twice the size of your cake, this is where the fondant mat comes in handy. If you take a look at the pictures above the mat is has circles marked with different measurements so that you can roll your fondant out to the exact size that you need. Roll the fondant out so that it’s even in thickness and big enough to cover your cake. Like the picture below.
Gently roll it back up on your rolling-pin and drape it over the cake. Smooth the fondant to the cake with your hands, gently pulling the fondant to evenly cover the cake. If it tears a little bit, don’t worry about it (mine did, but I just made that back of my pumpkin) pumpkins aren’t completely smooth so it’s no big deal. Once the cake is covered, take a sharp pairing knife and trim away the excess. Tuck the edges underneath the cake the best that you can. Here’s what mine looks like so far.

It’s starting to look like a pumpkin isn’t it? Just a few more things to do until this Jack O’ Lantern is complete.
To firm up the fondant, stick it in the fridge for a little bit while making the facial features and the stem for the pumpkin. Putting the fondant covered cake into the fridge will help the fondant firm up a little, making it easier to add the face and extra details to the cake without ripping or tearing the fondant.
Now onto making the face. Take the black fondant and roll it out to an even thickness, then take the template, see pictures below.


Lay the pieces over the fondant and with a pairing knife cut around the pieces of the template. If you’re going free-handed for this part, more power to you. I’m not stopping you, I just prefer to use a template so that I know the eyes are the same size and the mouth looks right.
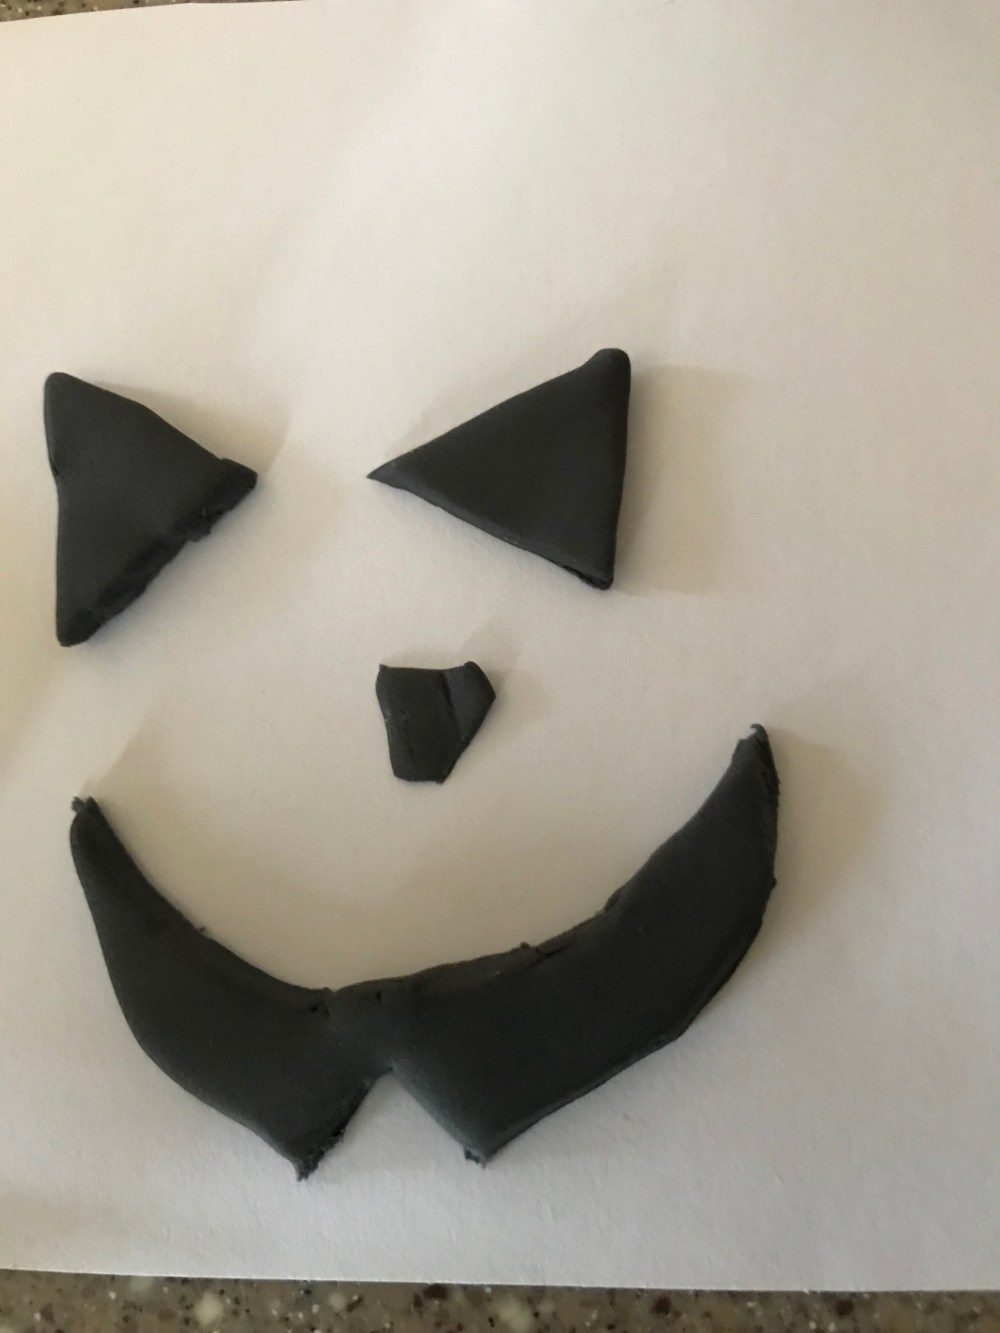 Here’s what the face for my Jack O’ Lantern looks like. Pretty awesome looking right?
Now onto the stem, take the brown fondant and form it into a small rounded square. To make it look more like a pumpkin stem, I took my sculpting tools, using the pointed part of the smaller one, I just made a bunch of vertical and diagonal lines all over the stem. Then using the smaller end of my ball tool, in the little spaces where the lines intersect. Just push gently then gently roll the tool in small circles, leaving a small indent. See picture below.
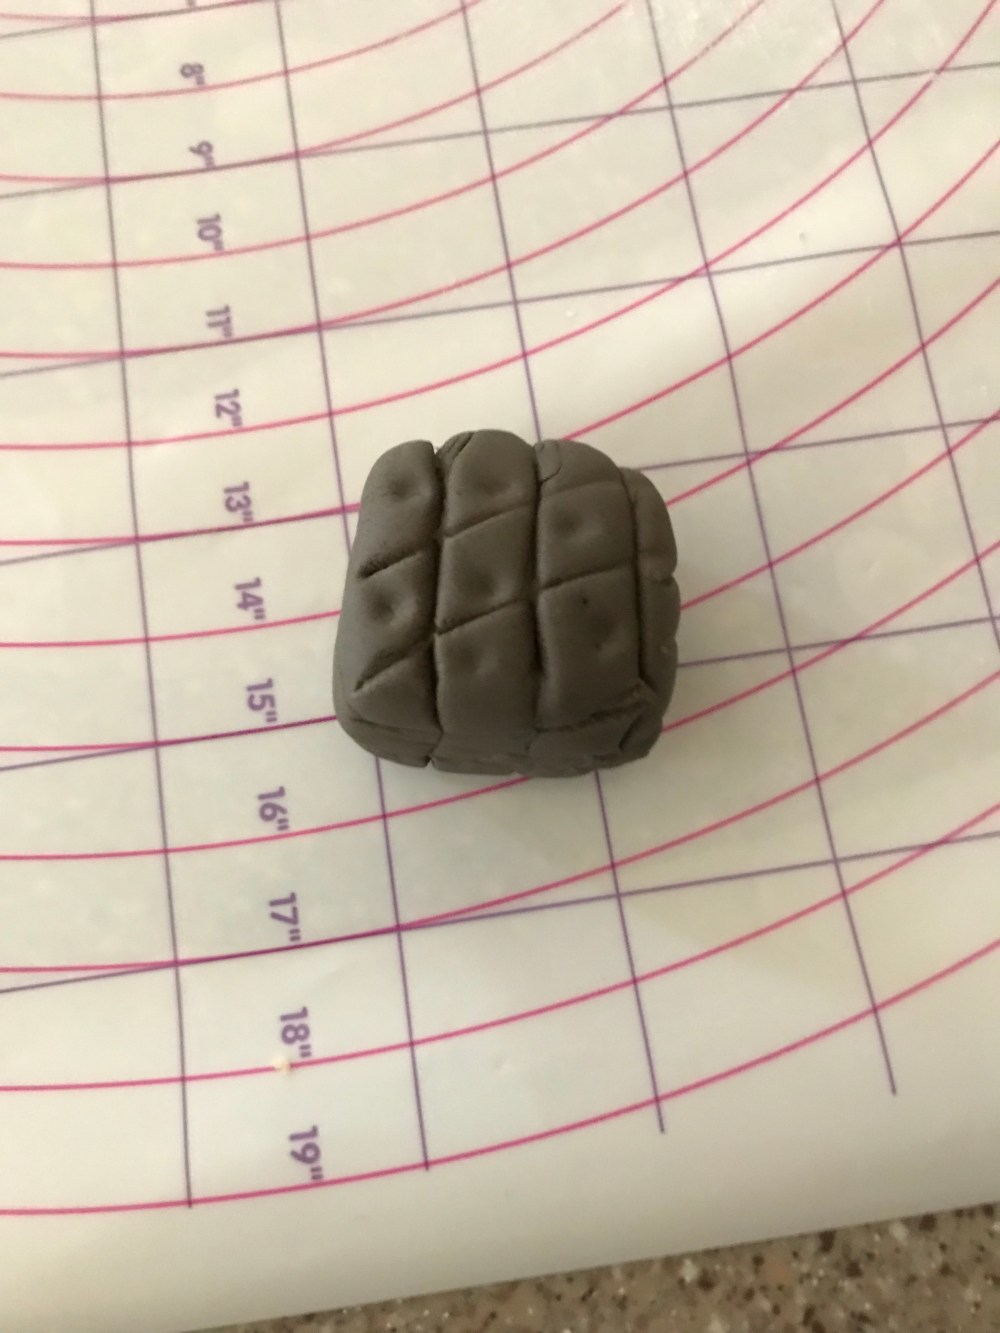
Not too much of a realistic looking pumpkin stem, I know but it works for what I’m doing with it. I also made a bigger hole on top of the stem with the larger end of the ball tool so that the top looks like where it comes off the vine. To support the weight of the stem when it’s time to put it on the pumpkin, I stuck a lollipop stick in through the bottom of the stem. Then to enhance the color, take a small amount of piping gel or you could lemon extract if that’s all you have on hand. Add a drop of brown for the stem in one bowl and in a different bowl add a drop of black then stir together and with a small clean paint brush, paint the food coloring over the stem and face.
Now it’s time to start adding the stem, face, and other details to this Jack O’ Lantern.
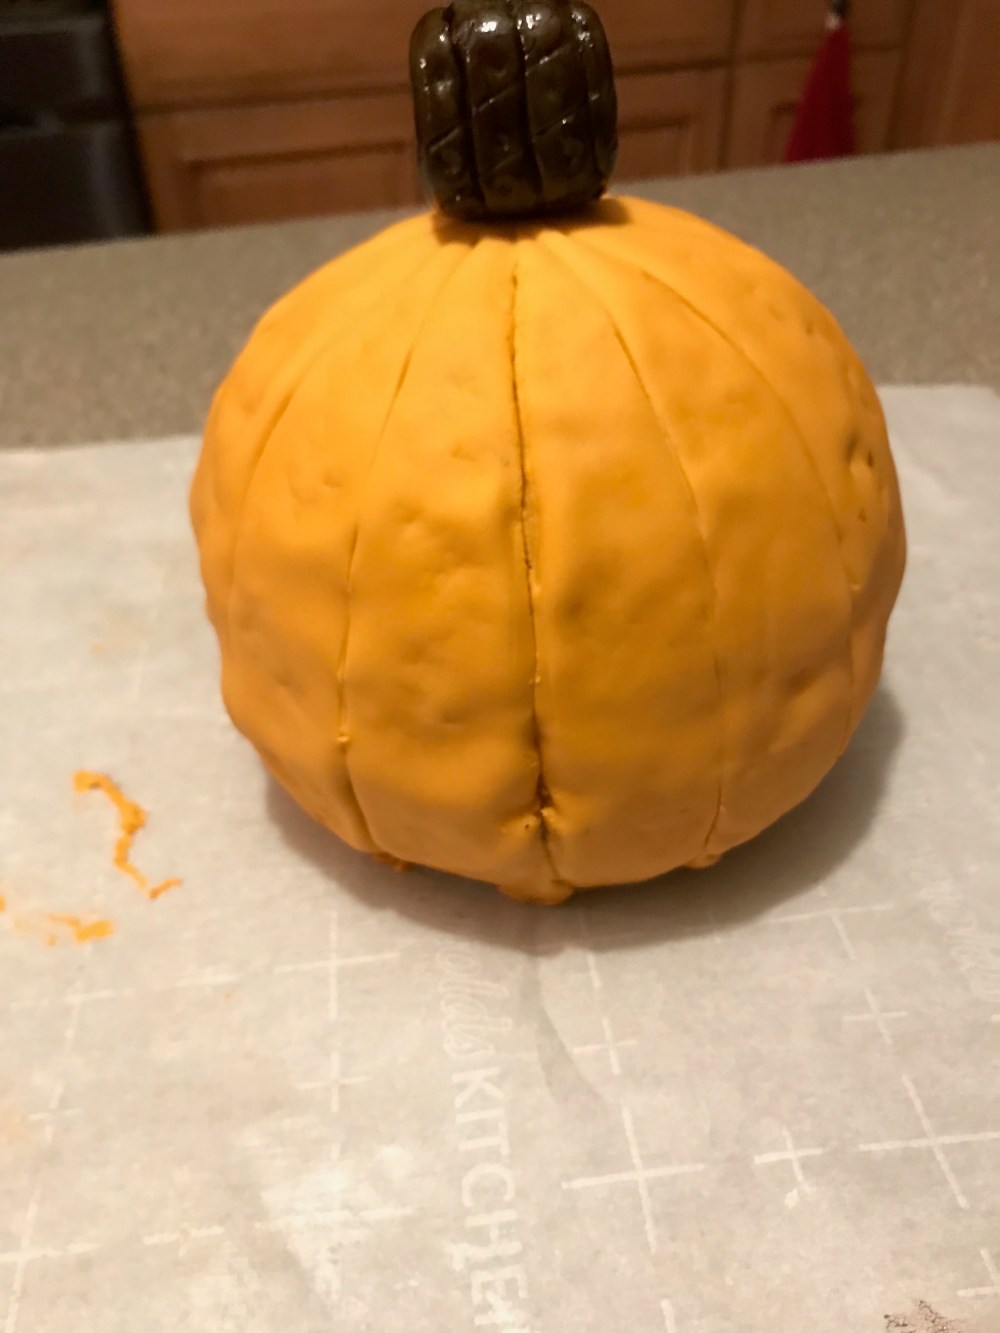
Take your cake out of the fridge and stick the stem in the top of the pumpkin, next it’s time to add the signature lines are always all over a pumpkin. So to do this, I took the pointed end of my larger sculpting tool and starting at the edges of the stem dividing the pumpkin into four equal pieces. Then, I added one or two more lines in between to complete the look.
Here’s what it looks like so far, if you’re like me and like to have visuals while you’re baking and decorating a cake.
To get all the bumps on the skin, I just took a small piece of foil and crumpled it into a ball. Then gently yet with even pressure, I pressed the foil all over the pumpkin.
Now it’s time to add the face to this pumpkin to complete the jack o’lantern look.
To attach the face to the pumpkin, you can use either piping gel or lemon extract. The only difference between these two is that lemon extract, while it has great hold once it dries is that it completely evaporates. Where as piping gel which, also has excellent hold when applied to fondant, it doesn’t evaporate just dries really hard. I chose to use piping gel to attach the face to my pumpkin, which I will say worked amazingly but only use a thin layer so that it doesn’t ooze out of the edges when the face is applied to the pumpkin.
 Here’s what mine looks like but I feel like it’s missing a little something. It’s not orange enough to me, the fondant looks like a pale orange. So I took a very small amount of lemon extract, 2 drops of orange food coloring, and a clean brush to brush on a little more color to the pumpkin. All the little bits that didn’t dissolve in the lemon extract didn’t go to waste either, I took those on my brush and added them in random spots all over the pumpkin for darker spots.
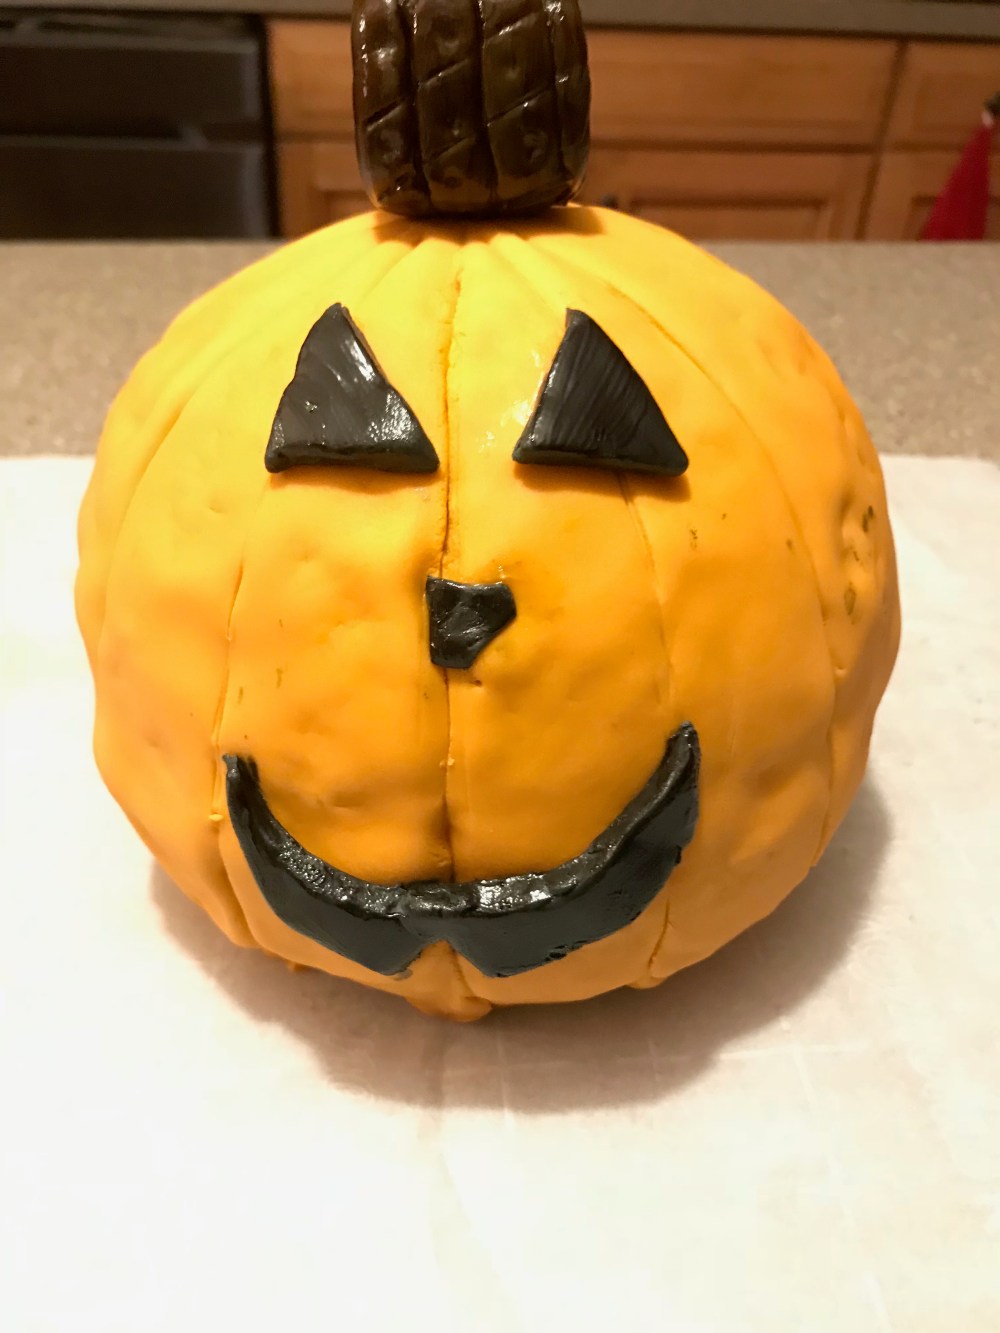
Here’s the finished product. See picture below.

I meant to make the face a little scarier but it didn’t work out the way I wanted it to. I’m still very happy with my jack o’lantern. Stay tuned for my next Halloween baking project.
Until next time,
Peace, Love, and Sugar,
Brooke

