
I’ve been wanting to make one of these for a while now, but wanted to master cream puffs first. Before I started this blog, I tried making cream puffs (which at the time I thought was a fairly easy task, but I was wrong). The first time, I made the dough, called patè choux, the exact way that the recipe said. My downfall was that I over baked them, paranoid that they weren’t baked properly. So I tried again, and to correct my first attempt, I shortened the baking time. Now this idea backfired and I had under baked my cream puffs. Neither one was very pretty to say the least. Under baked, they’re still raw in the middle and over baked, they’re rock hard and inedible. A few tries later, I perfected the cream puff. Now, as with the first try for every recipe, mistakes were made which you’ll see later in this post. The recipe I used was from Cooking Channel, here’s a link if you want to try it – Croquembouche.
Now onto the recipe!
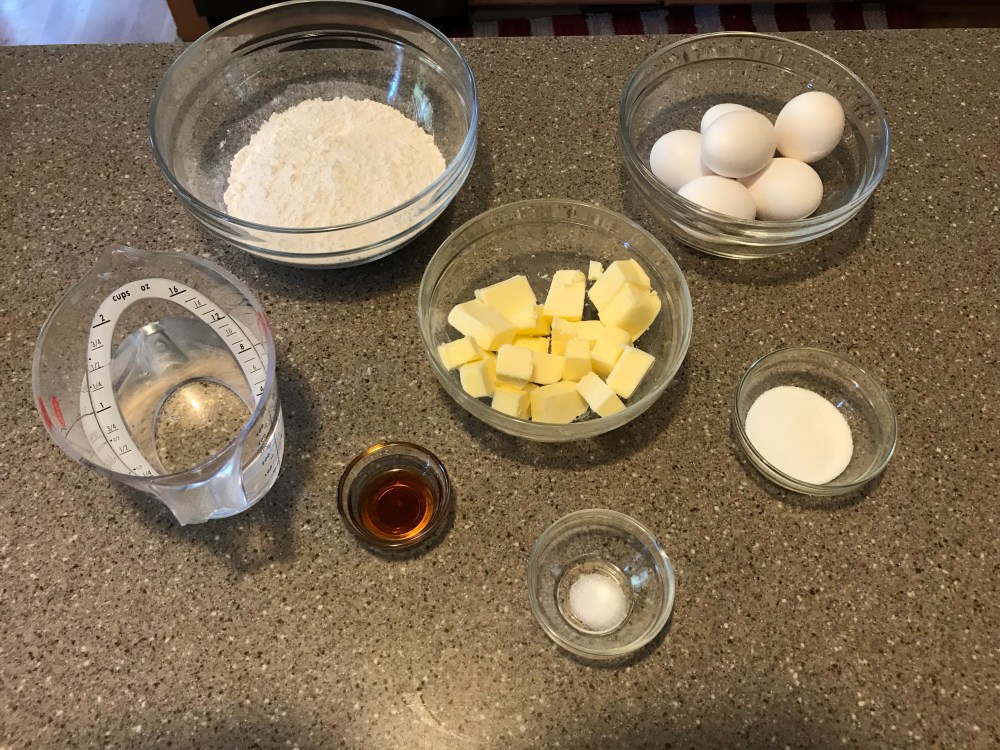
Ingredients:
Cream puffs:
- 3/4 cup (1 1/2 sticks) butter
- 4 tsp sugar
- 1/8 tsp salt
- 1 1/2 cups all-purpose flour
- 6 eggs, lightly beaten
- 1 1/2 tsp vanilla extract
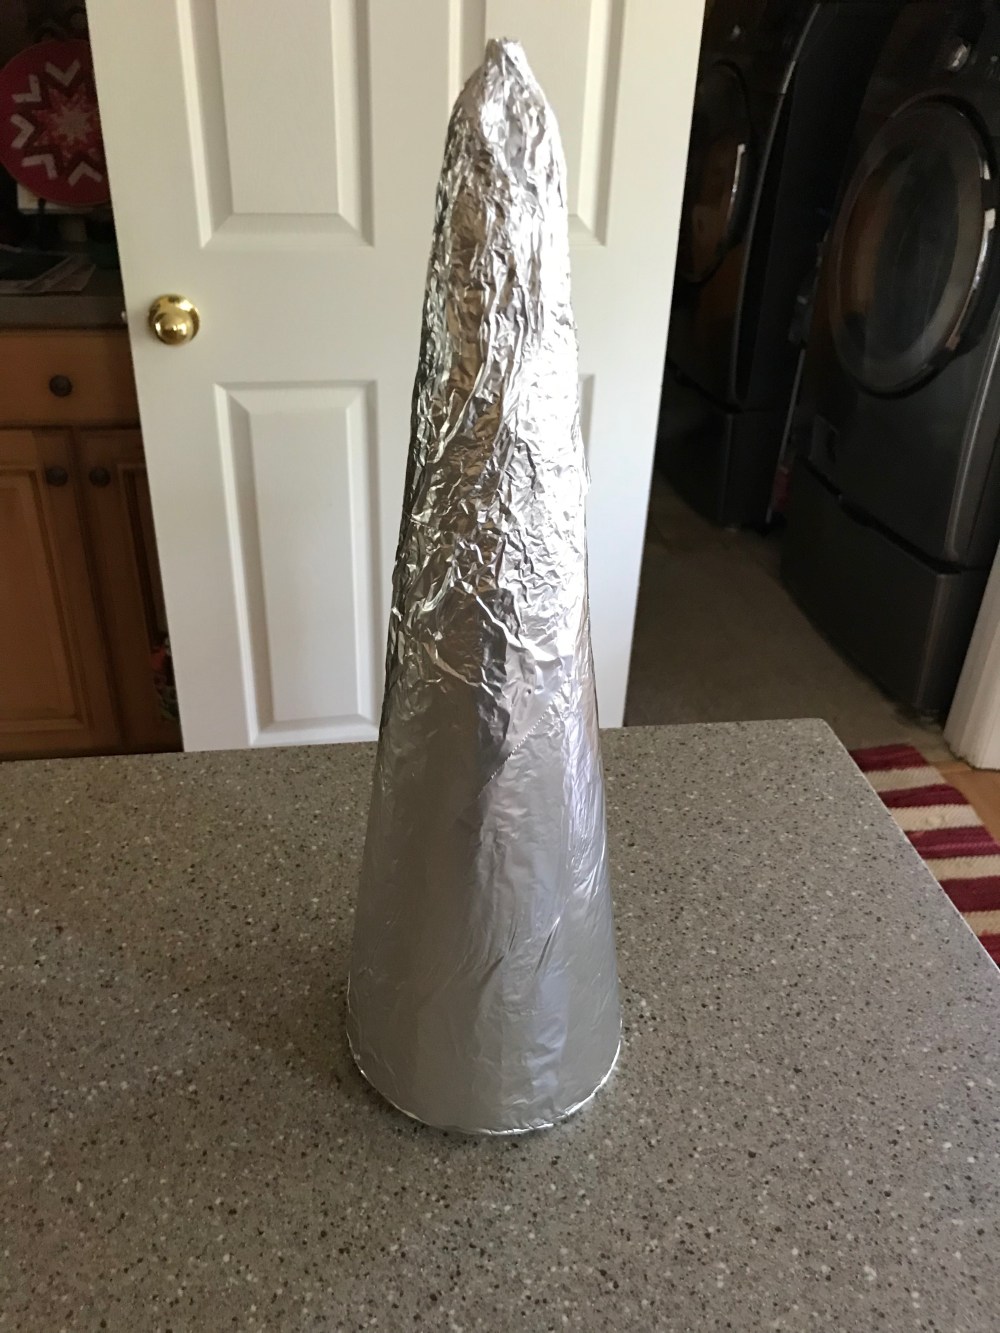
Preheat your oven to 375 degrees F and line your pans with parchment paper and set aside. And since I wasn’t going to try to free hand a cone shape the first time, I wrapped a styrofoam cone from the craft store in aluminum foil. See below.
In a medium saucepan, combine the water, butter, sugar, and salt.
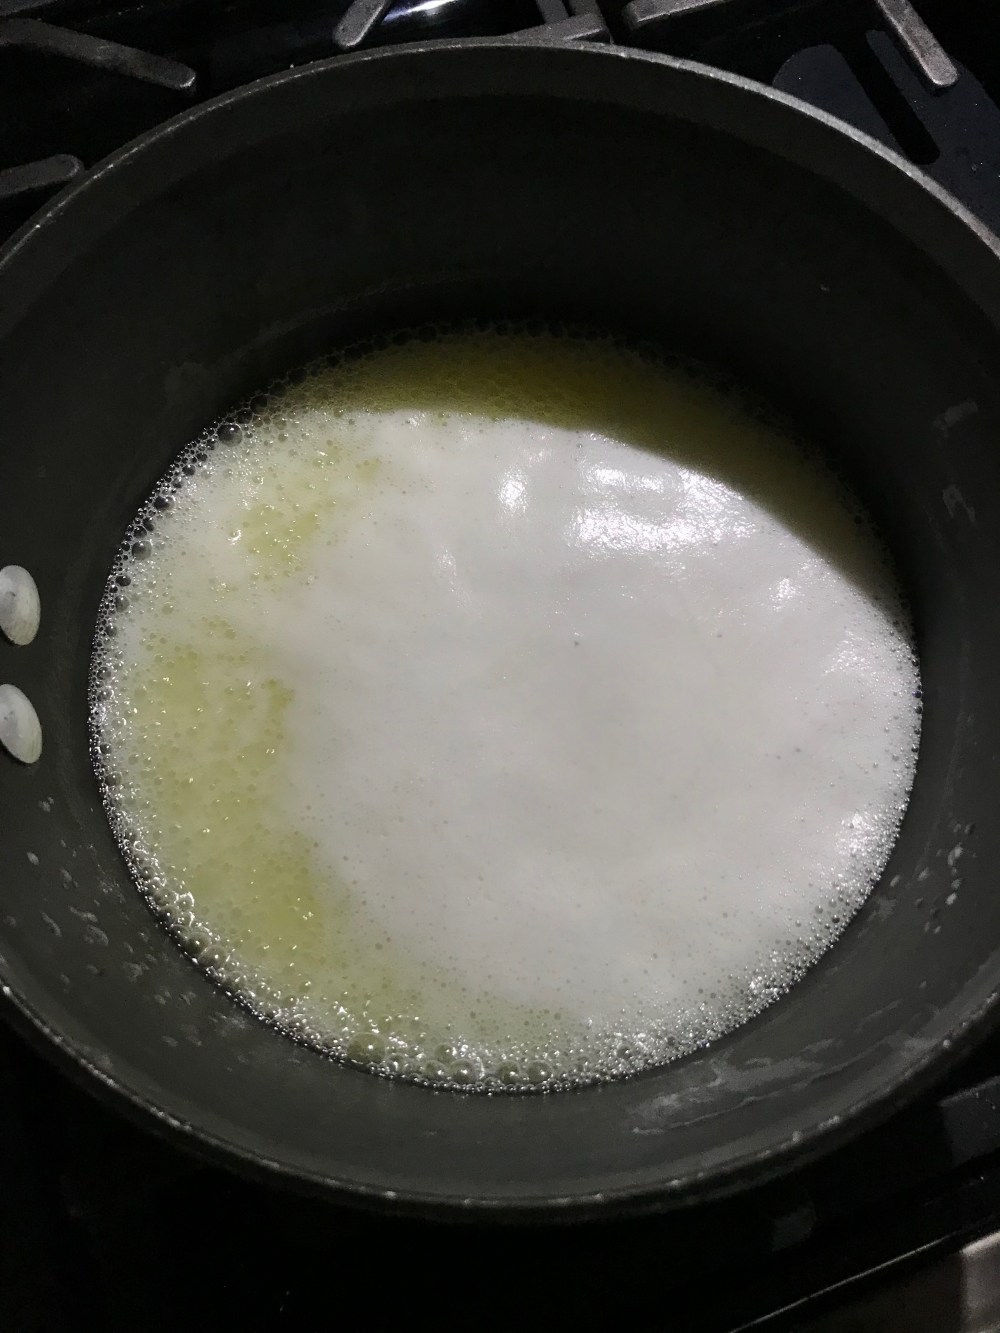
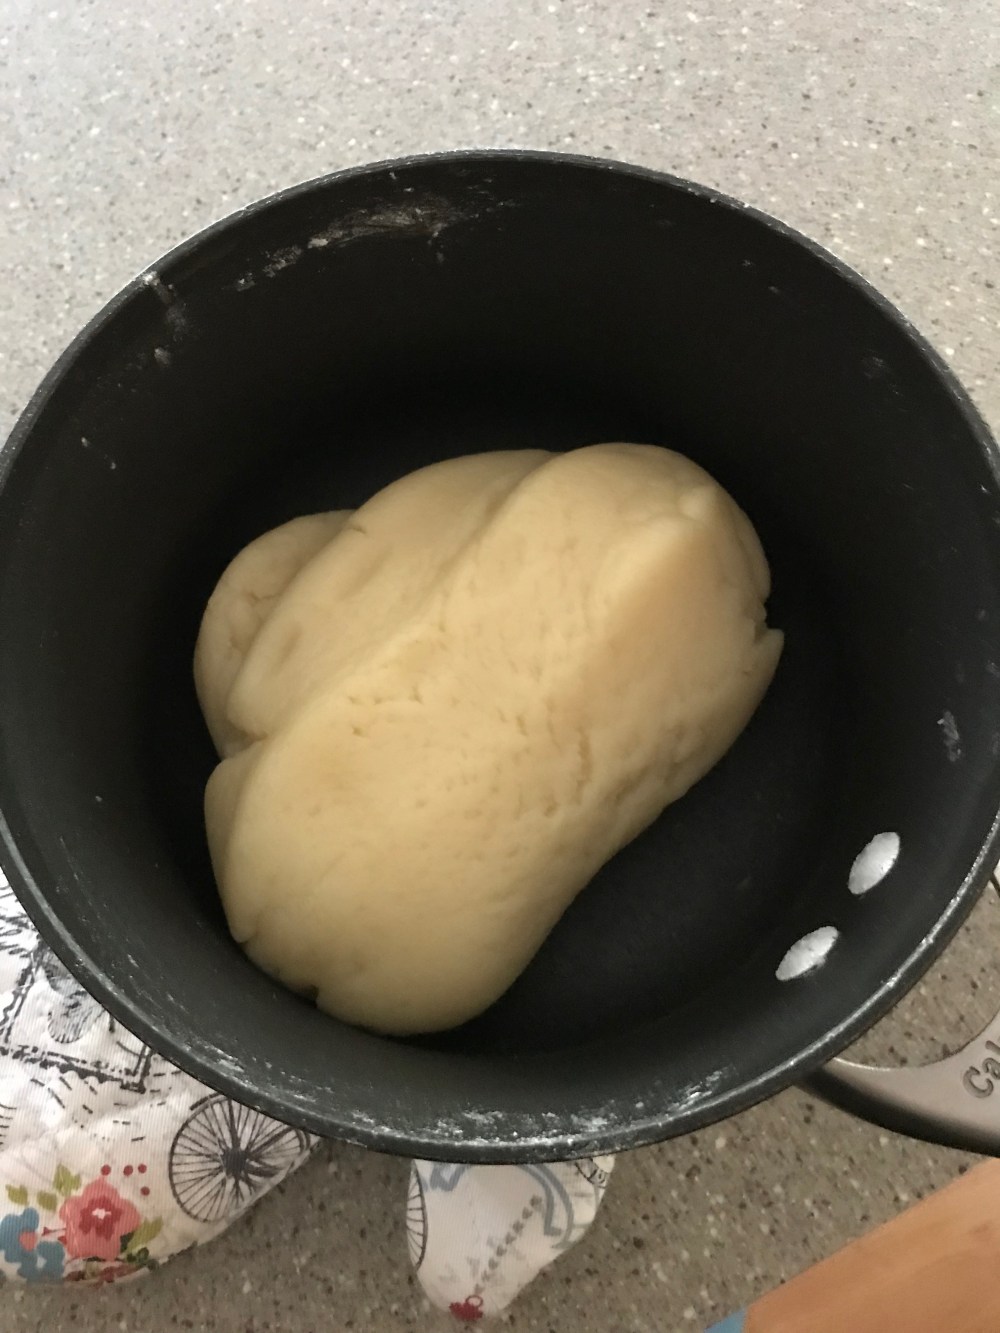
Bring to a boil, like in the picture above, then pull the pan off the heat and add the flour all at once and mix until the mixture forms a dough ball like the picture below.
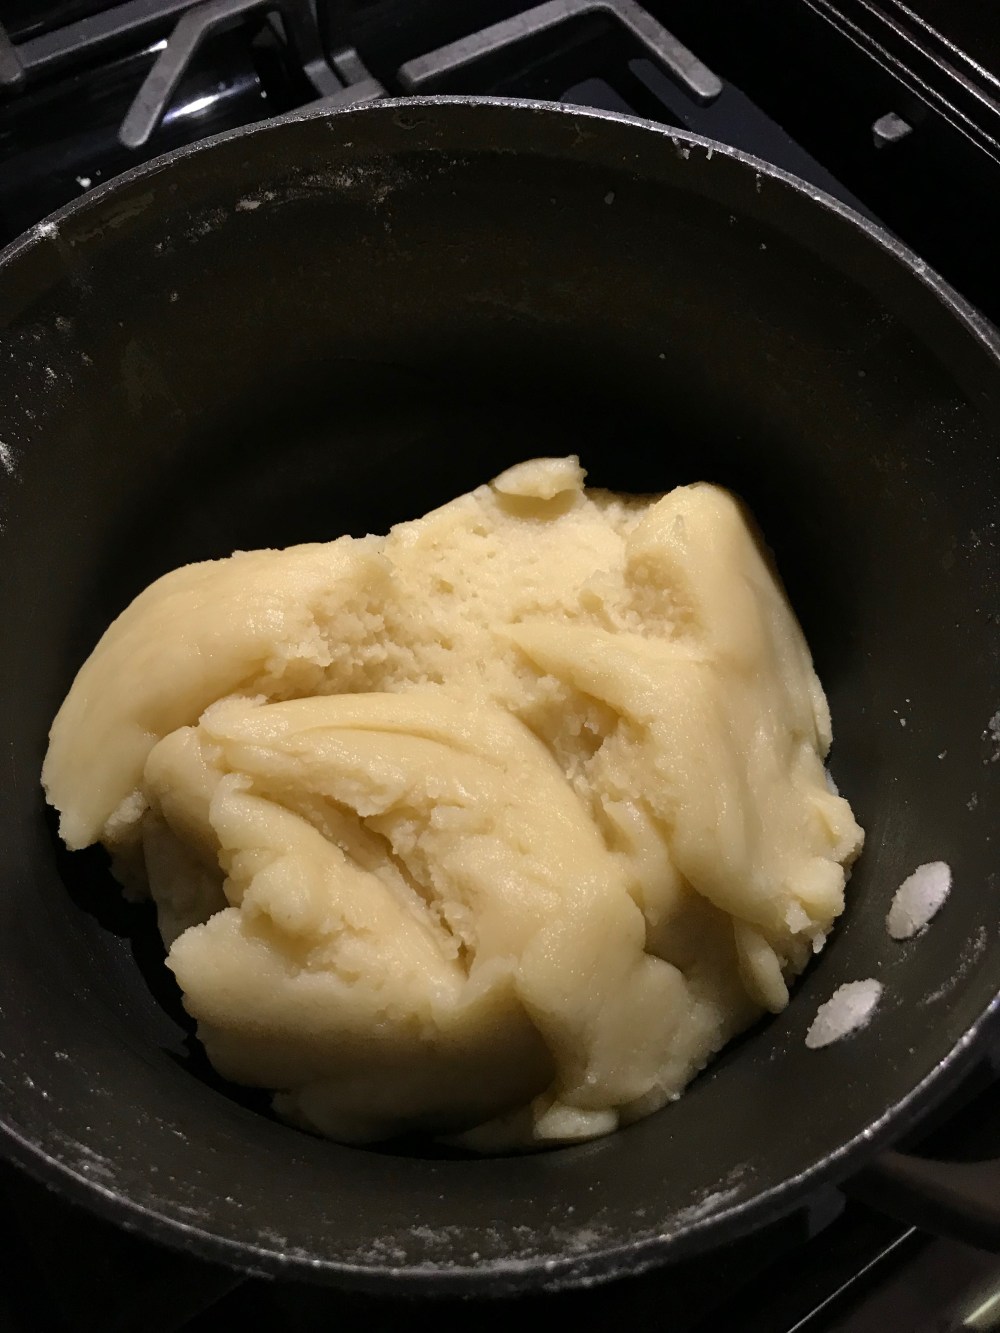
Once your dough reaches this stage, put the pan back on the heat for one or two more minutes to dry out the dough a little more. Drying out the dough allows it to absorb more egg, which in turn makes the cream puffs lighter and fluffier when baked. Once the dough has dried out a little bit, you’ll know it’s drier because the dough won’t look as shiny on top as it did was when the flour was first added.
Once, your dough looks like the picture above, it’s time to start adding the eggs the equivalent of one at a time.
In the bowl of your trusty stand mixer fitted with the paddle attachment (or you could do this by hand but it will take longer), place the patè choux dough, and one of the eggs (approximately 1/4 cup of beaten egg).
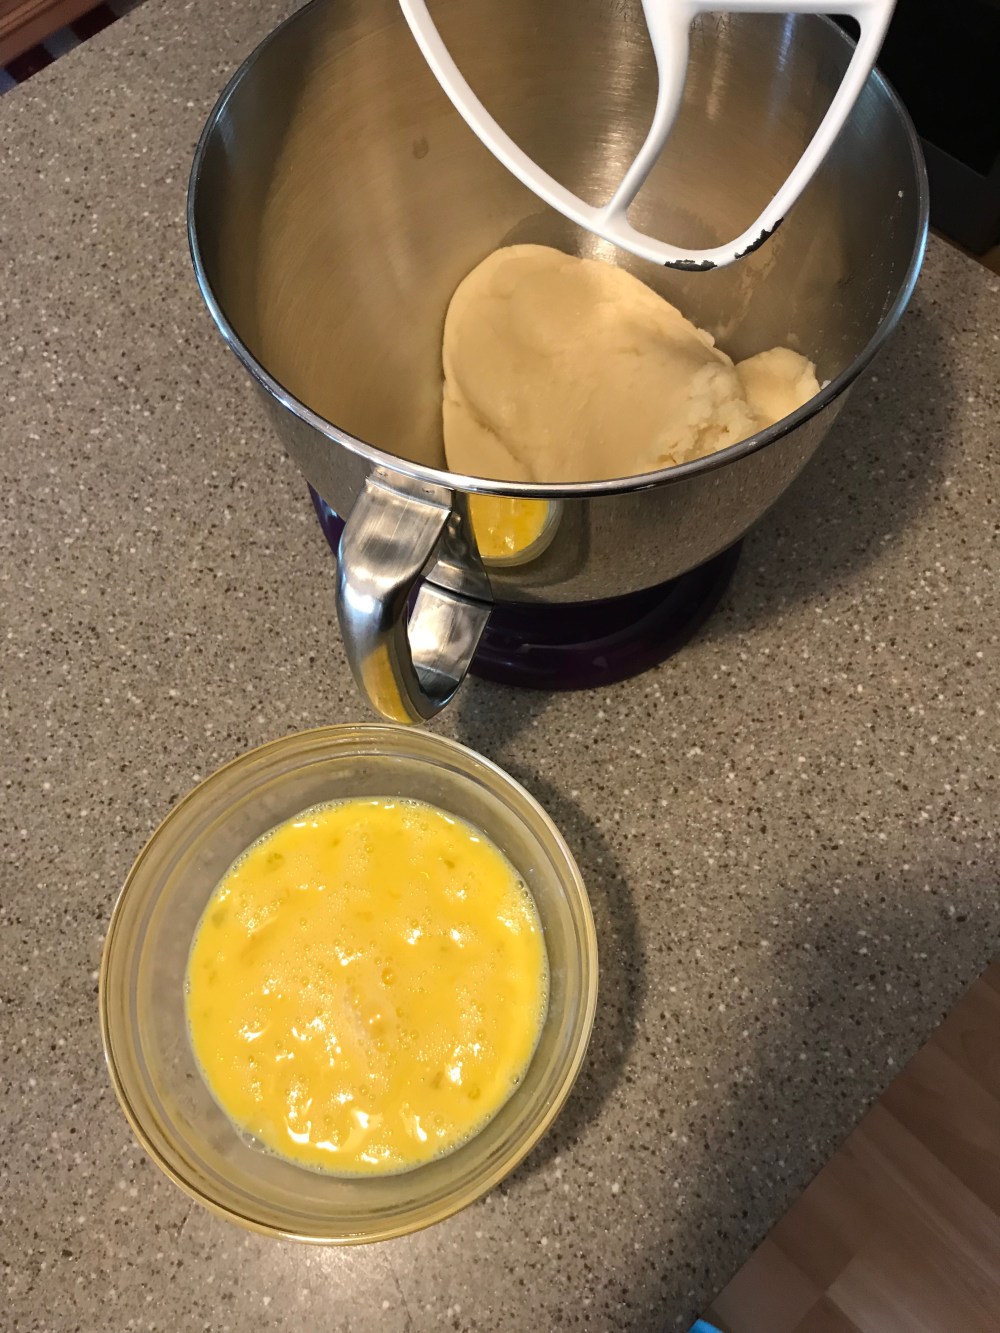
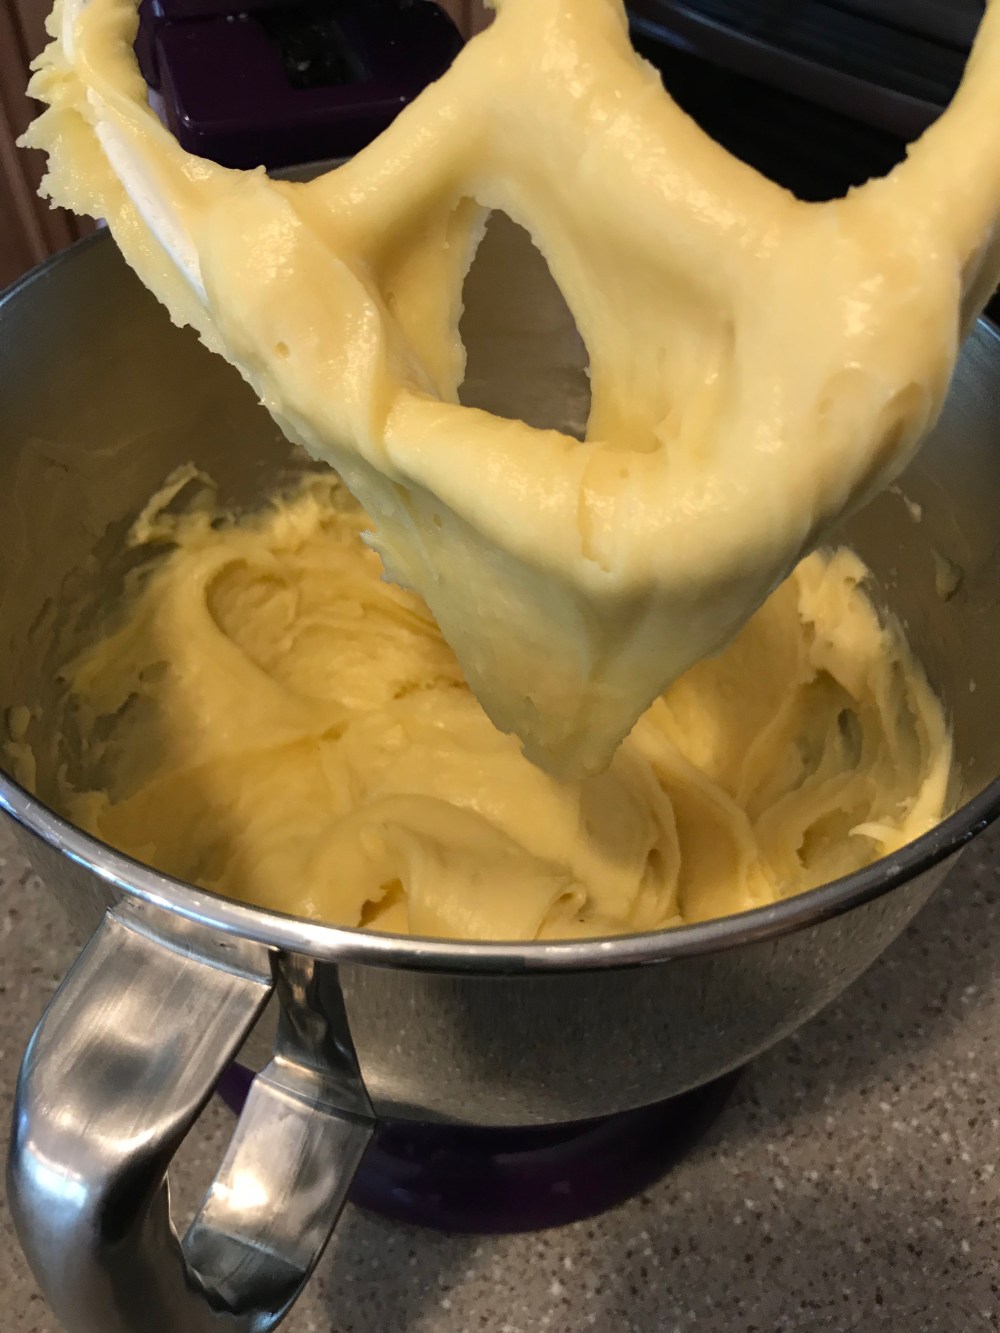
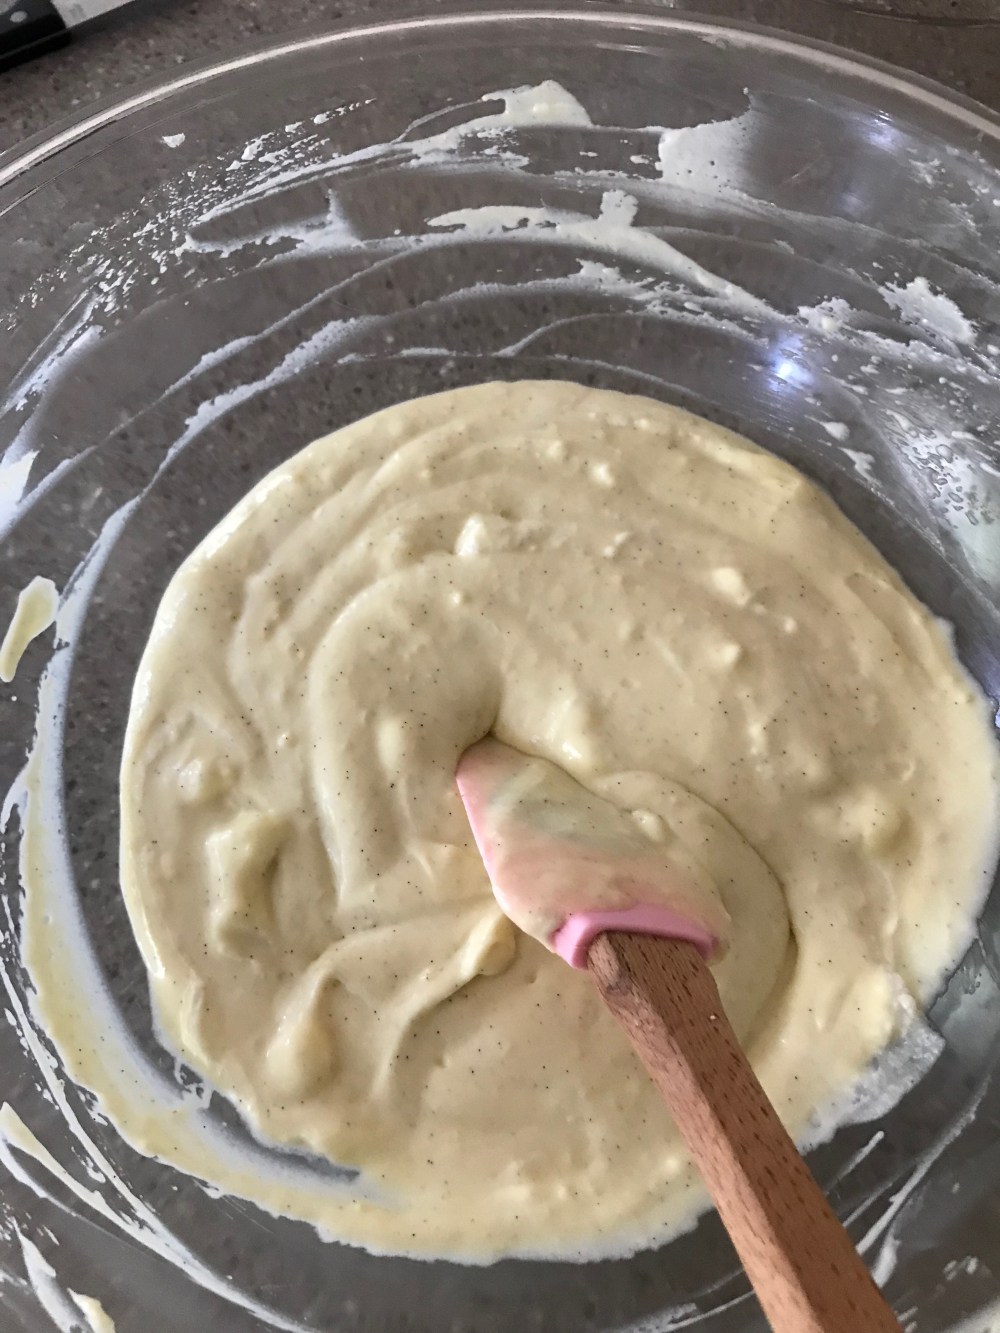
Beat on medium speed until the egg is fully incorporated, then continue adding the eggs one at a time, beating until each one is incorporated. After the third egg has been added and mixed in, it’s time to add the vanilla and enough egg to get the patè choux dough to fall in thick ribbons off the paddle/spoon. You may not need all the eggs, so do not add them all at once!
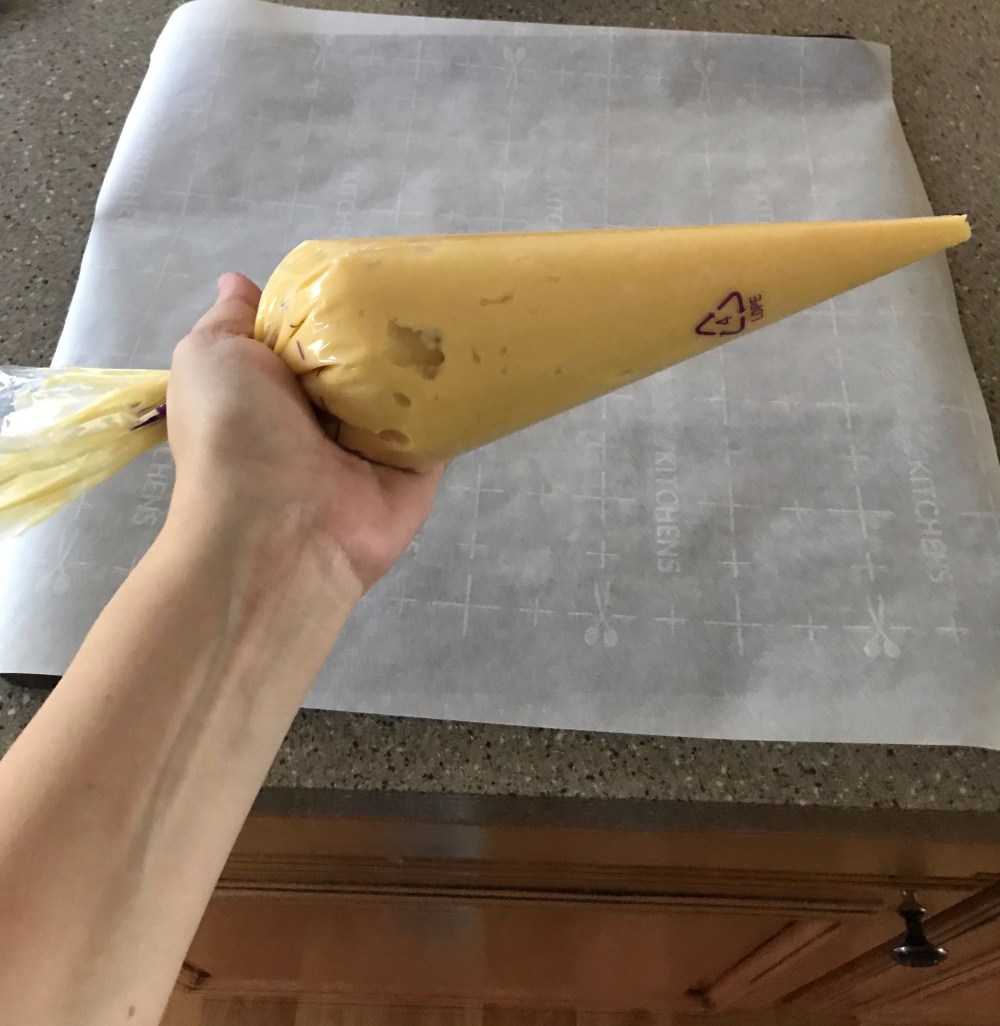
Now spoon your finished patè choux dough into either a piping bag or a ziplock bag with one of the ends cut off. Remember to put the bag in a glass and fold the end over for easier spooning.
Pipe the dough into one inch balls. This was my first mistake, I made mine too big which you’ll see in the next picture. They baked up just the same but mine were not at all evenly sized or shaped.
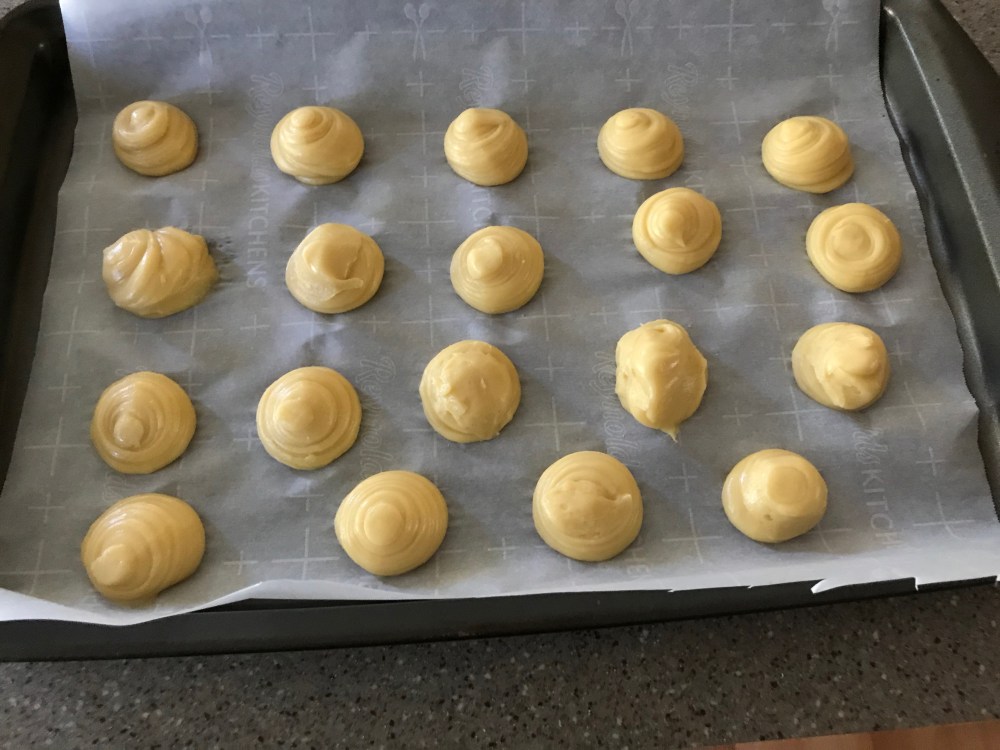
See what I mean? I got a little carried away piping out my cream puffs but they’re all evenly spaced for the most part. To flatten the little pointed tops, lightly dampen your finger tip with water and gently press down on the points. If you don’t do this, your cream puffs won’t have that signature rounded top to them.
Bake your cream puffs for 25-30 minutes or until golden brown.
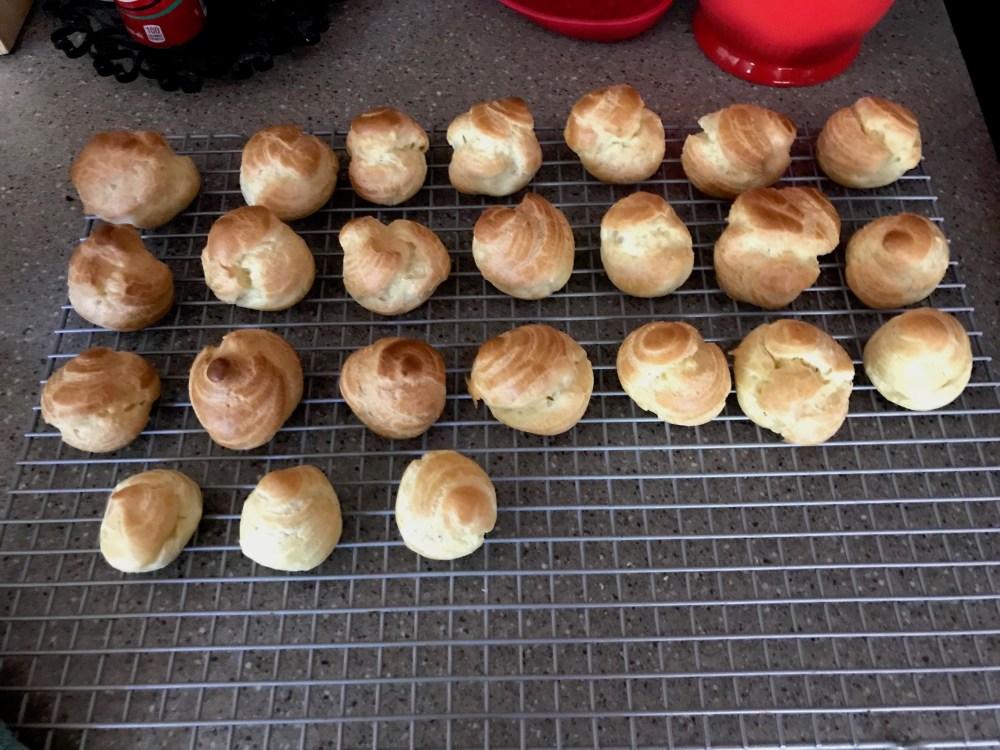
Let these cool on a wire cooling rack until they’re cool enough to handle. Cooling them on a wire rack helps the puffs keep their shape as they cool and with the air circulation the bottoms won’t get soggy before you’re ready to fill them.
Now it’s onto the pastry cream filling. YUM!
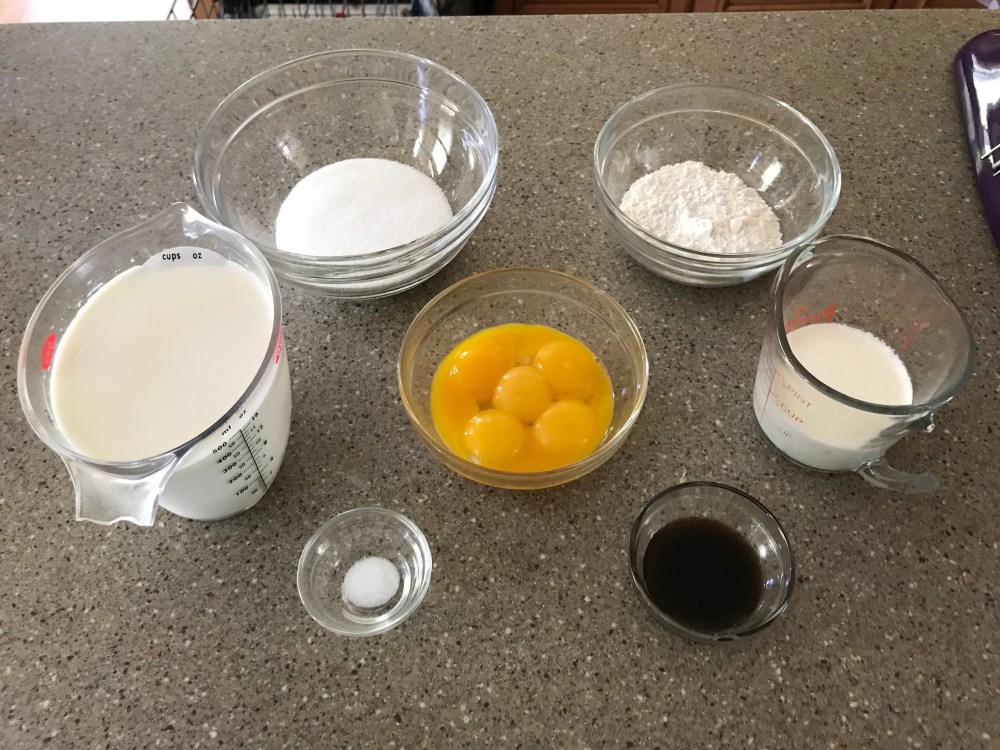
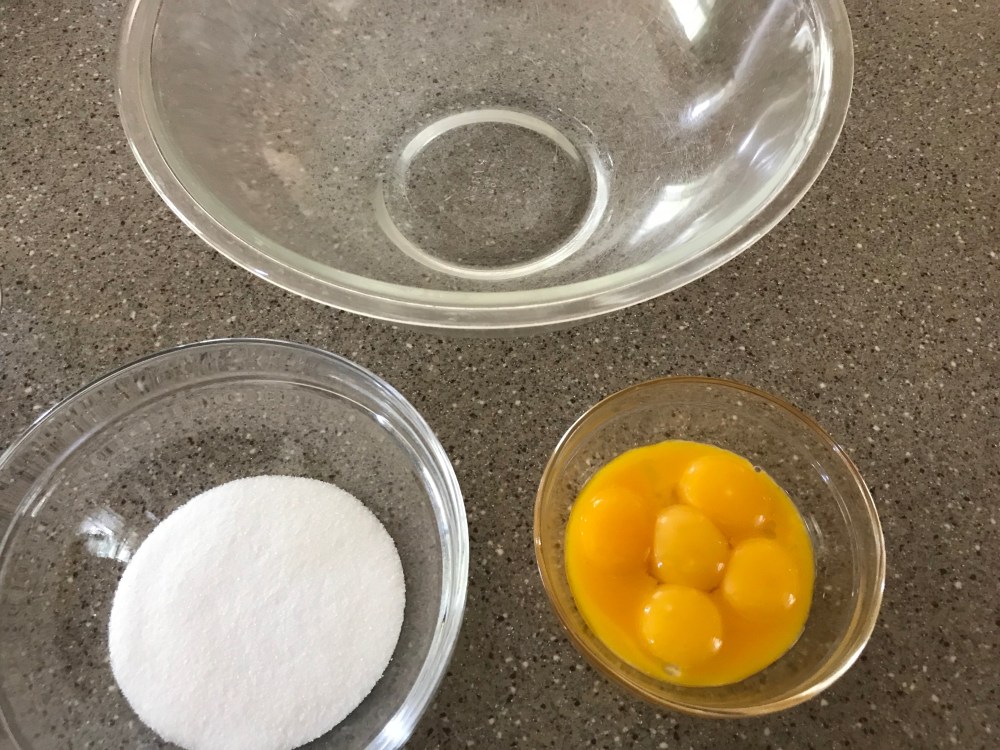
Ingredients:
- 2 cups milk
- 1 vanilla bean split lengthwise or 1 tbsp vanilla bean paste
- 6 egg yolks
- 1/2 cup sugar
- 1/3 cup all-purpose flour
- 1/8 tsp salt
- 1/2 cup heavy cream, whipped
In a medium saucepan, combine the milk and vanilla bean or vanilla bean paste (I used vanilla bean paste because it’s what I had on hand.)
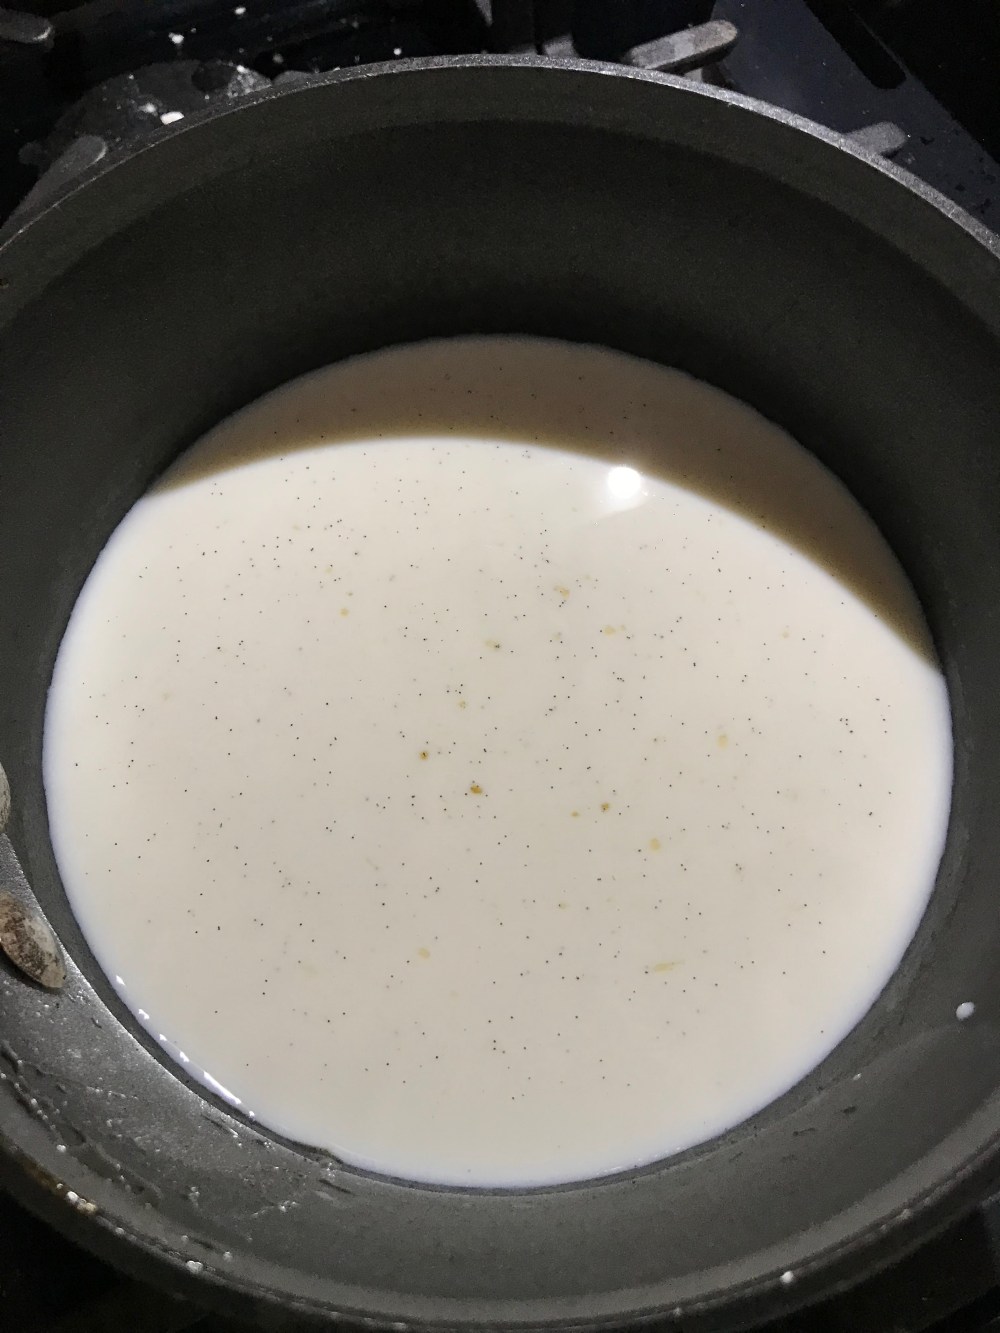
Bring it to just at a boil. Turn off the heat, put the lid on, and let vanilla infuse the milk for 10-15 minutes.
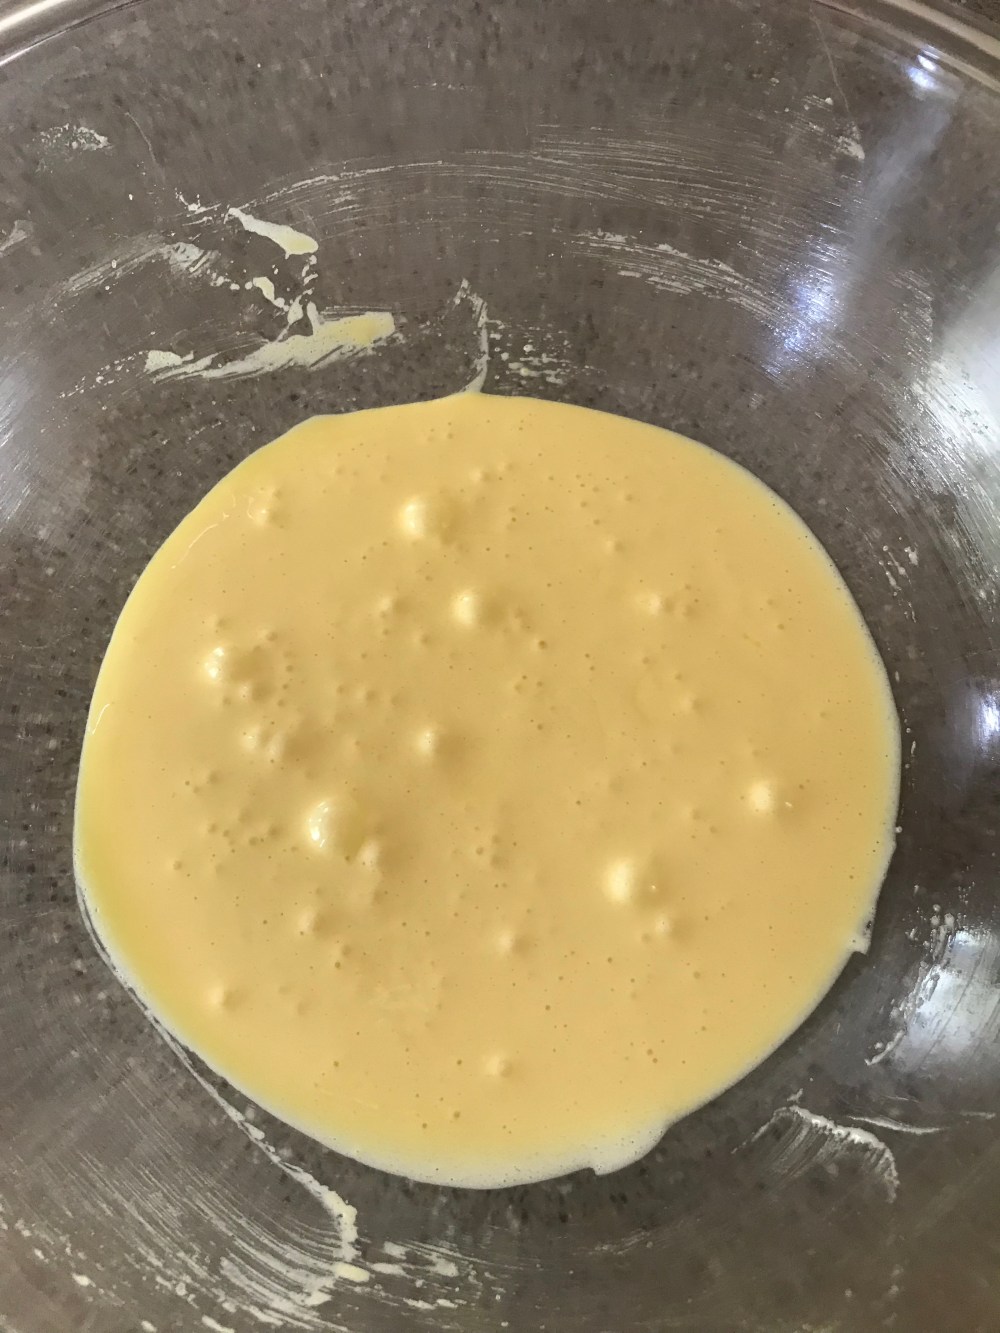
While the milk and vanilla are doing their thing, place the egg yolks and sugar in a large mixing bowl.
Whisk until the egg yolks are a very pale yellow color and fall in thick ribbons off the whisk. It should look like the picture below.
Once you’ve reached this stage, start gradually adding the flour and salt until well combined.
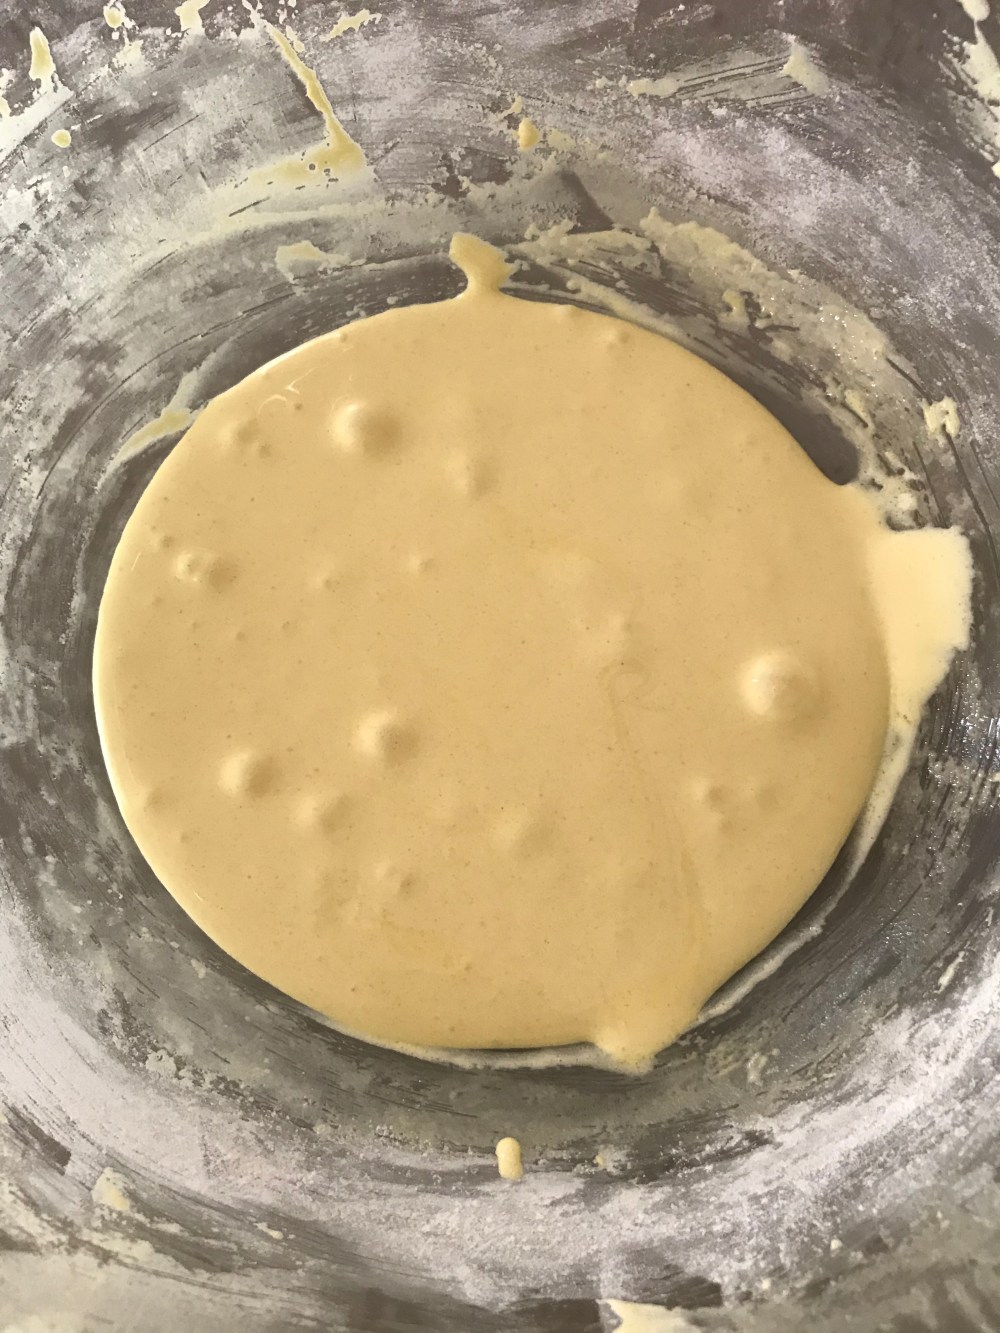
Next, add the hot vanilla milk (take out the vanilla bean first, if using) very gradually while whisking constantly so that you don’t scramble the eggs.
Once all of the milk has been added, pour the mixture back into the pot and bring to a boil over medium heat whisking constantly until the mixture thickens. Strain and chill in the fridge with a piece of plastic wrap pressed down on the surface to prevent a skin from forming while it cools.
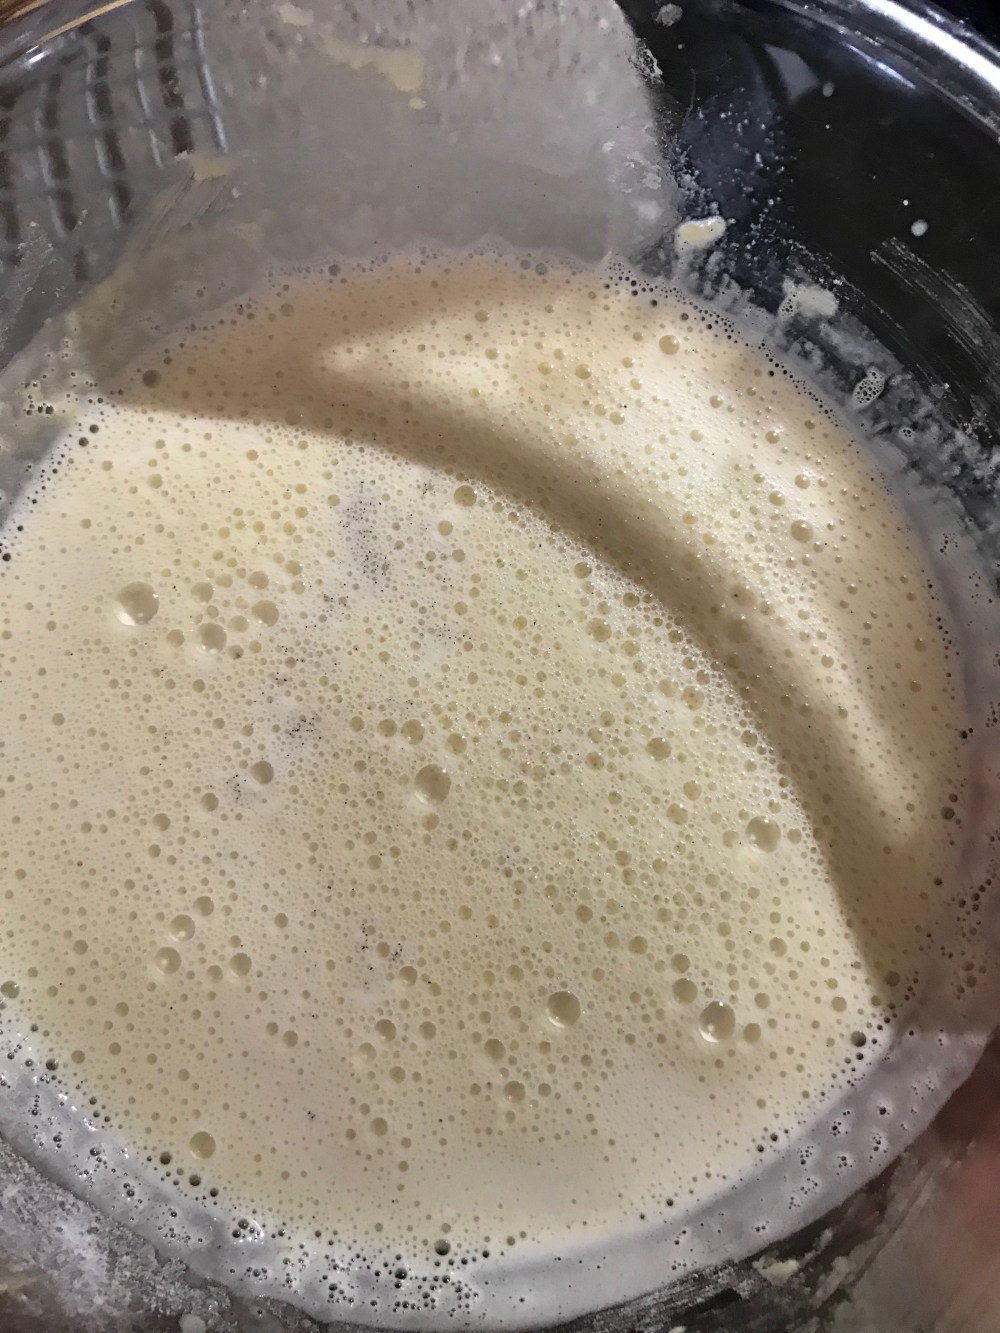
While the pastry cream is cooling, whip the heavy cream and keep it in the fridge until ready to use.
Once the pastry cream is chilled, gently fold in the whipped cream until there’s no white streaks left.
Spoon/pour the pastry cream into either a piping bag or a ziplock bag with one of the ends cut off.
To make filling the cream puffs easier, I took a pairing knife and cut a small X in the bottom of each puff so that it would be easier to fill the puffs.

Just take your filling and poke the end of the bag into the center of the X applying even pressure on the bag as you slowly pull the bag towards you, being careful not to overfill them. If that does happen (and yes I did that a few times), just take the flat side of a knife and run it over the bottom of the puff to smooth out the overflow.
Now it’s onto the difficult part, in my opinion that is, seeing as until I attempted this recipe I didn’t have any experience working with hot sugar. There isn’t a lot of pictures for this part, because it’s extremely hard to cook the sugar to the right temperature, take pictures and not burn myself all at the same time. This is also where my second mistake was made (which you’ll read about a little later).
Ingredients and Equipment:
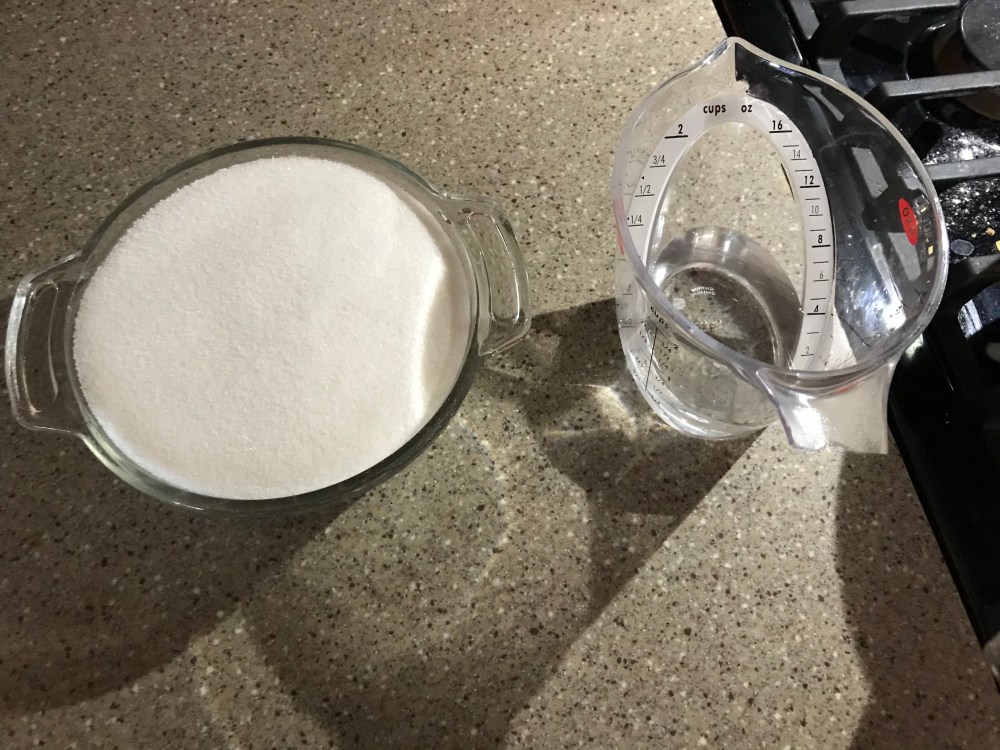
- 3 cups sugar
- 1/2 cup water
- A large saucepan
- Candy thermometer (I highly recommend that you get one of these before attempting this recipe, it’s an extremely useful tool for this type of thing)
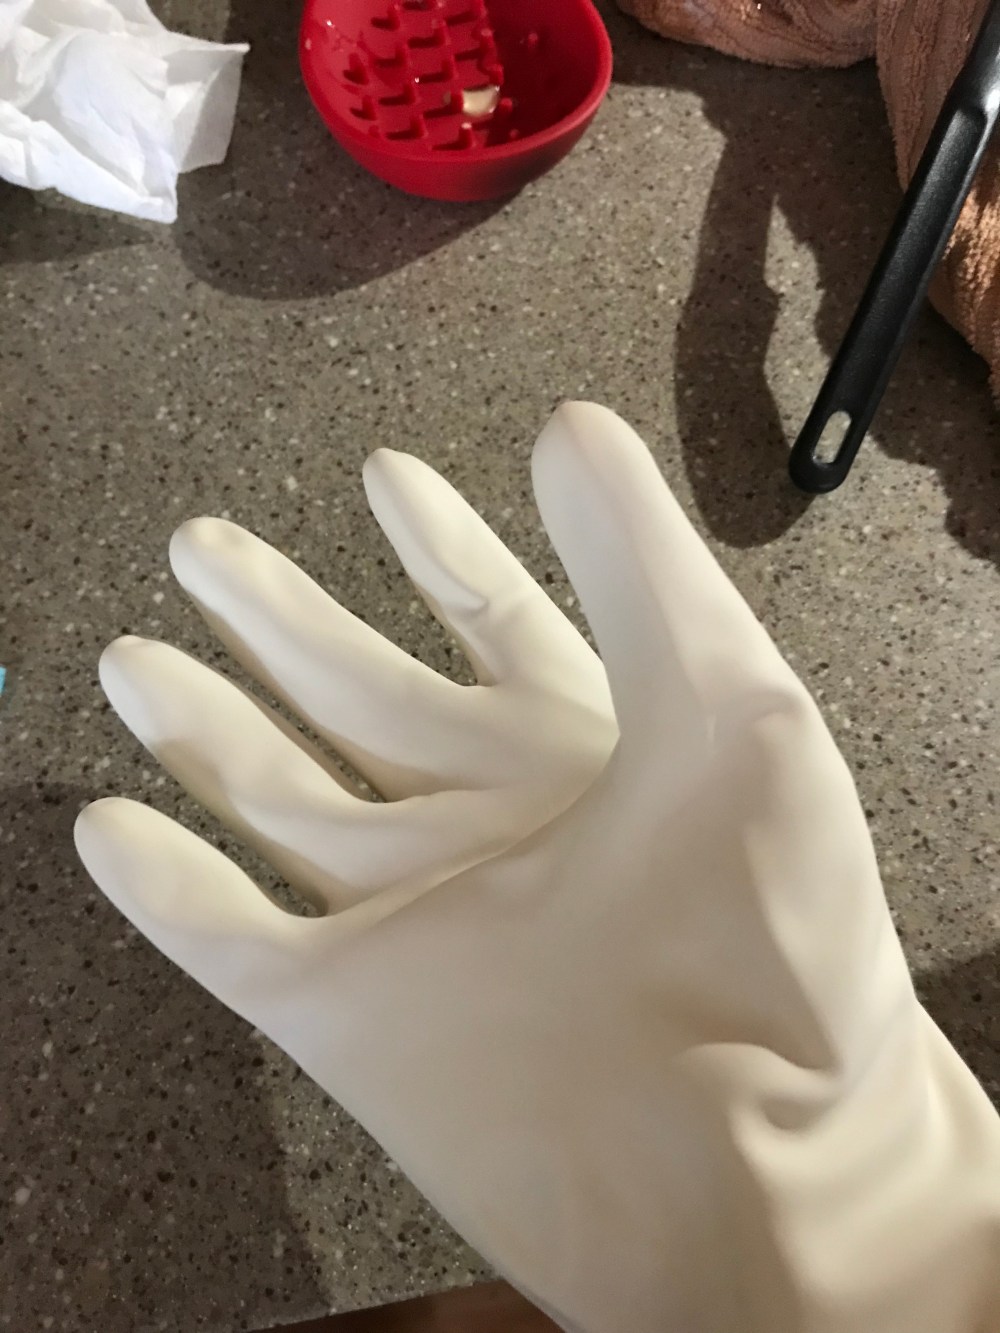
- Heat resistant food safe gloves
 In a large saucepan, combine the sugar and water. Over medium low heat, bring to a boil, once the sugar has completely dissolved and the mixture is boiling, don’t stir it. Sticking a foreign object into the sugar at this point will cause it to crystallize, and if that happens, there’s no saving it. The only option you have at this point is to start over. Once the sugar starts to caramelize, clip your candy thermometer to the edge of the pot, and boil the sugar until it reaches 340 degrees F. At this point, turn off the heat and transfer the caramel to your work station.
Now it’s time to assemble this delicious tower. Safety first, it’s now time for those heat safe gloves that I mentioned earlier. Like the picture below.
Take the filled cream puffs and dip just the bottoms in the caramel and attach them to the cone in a ring making your way up the cone until you get to the top (or run out of cream puffs – oops!), then take the leftover sugar and drizzle it over the tops of the cream puffs in strands using either a fork or whisk. Now here’s where my second and final mistake occurred. I noticed that my sugar was setting too quickly, but being that until now I’ve had zero experience with hot sugar, I didn’t think anything of it and just reheated it on the stove on low until it was a liquid again and kept going until I was happy with how it looked. Then a couple of days after I finished my croquembouche (cream puff tower), I came across a video from my favorite baking blog, Bigger Bolder Baking. It was titled How To Make caramel, Troubleshooting Guide and Video. By watching the video and reading that post, I realized why my sugar got hard and set up so quickly. I didn’t fish out any crystalized bits of sugar before making mine which became my downfall in that part. I’ll definitely be remembering that for next time.
Anyway, here’s how mine looked, pictured below.
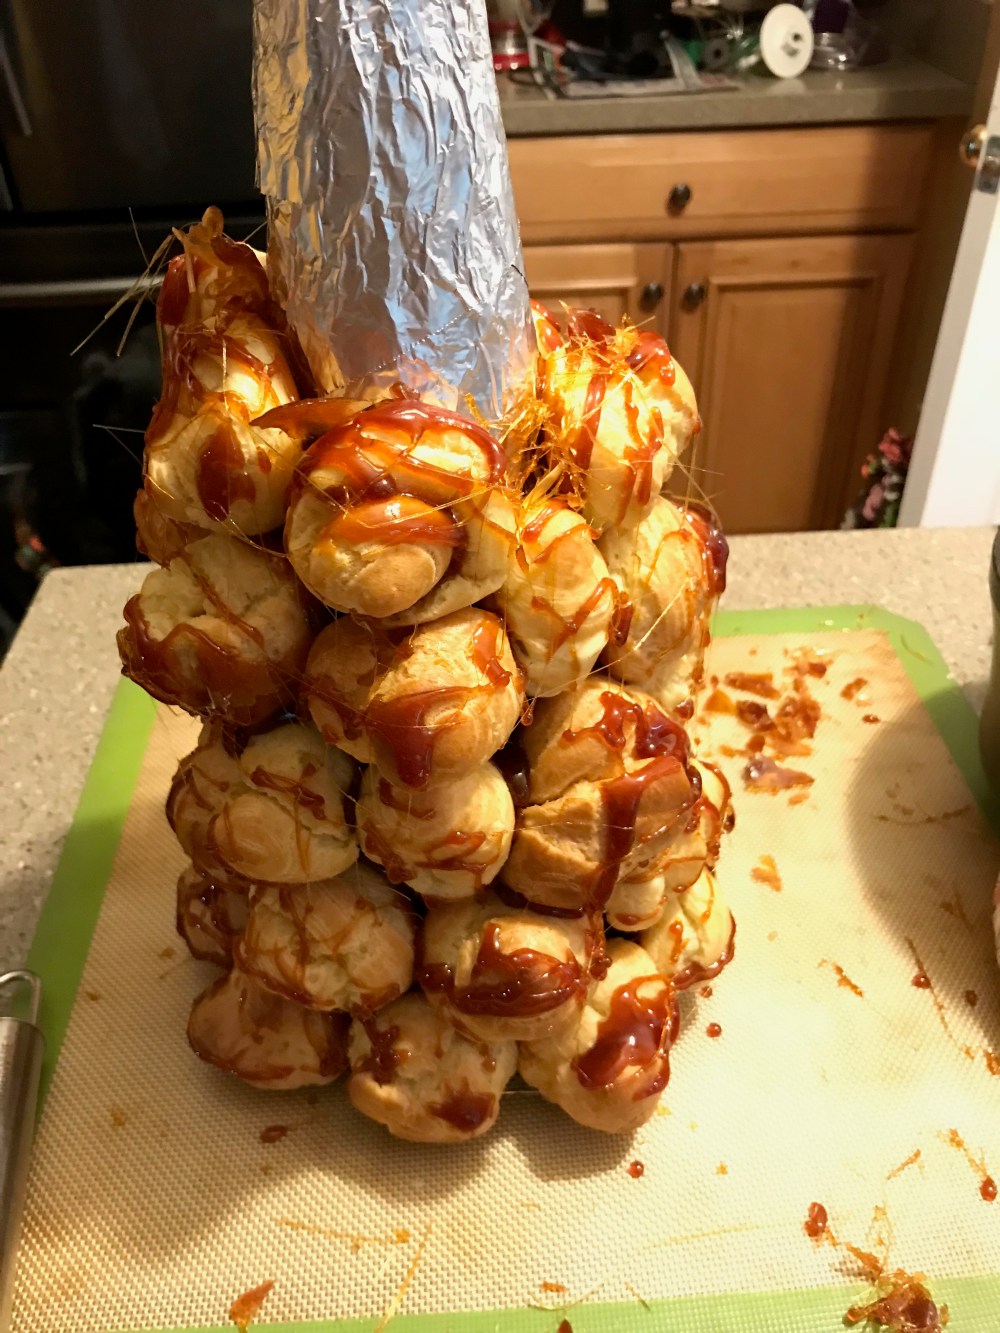
So needless to say I have some work to do until I can perfect this recipe, but that isn’t going to scare me away from trying again and again, until I’ve perfected this one. I either need a smaller cone or more cream puffs, for starters. And I’m going to practice until I get my caramel just right!
Until next time,
Peace, Love, and Sugar,
Brooke

