
One day last week, I really wanted a churro but I didn’t want my entire house to have that gross, stale fry smell that always comes with frying something, nor did I want something heavy and greasy. So I had to find a different way to satisfy my churro craving. My search led me to my favorite baking blog, Bigger, Bolder, Baking. Her churro recipe is amazing and they are light, crispy and absolutely delicious! Onto the recipe!
Ingredients:
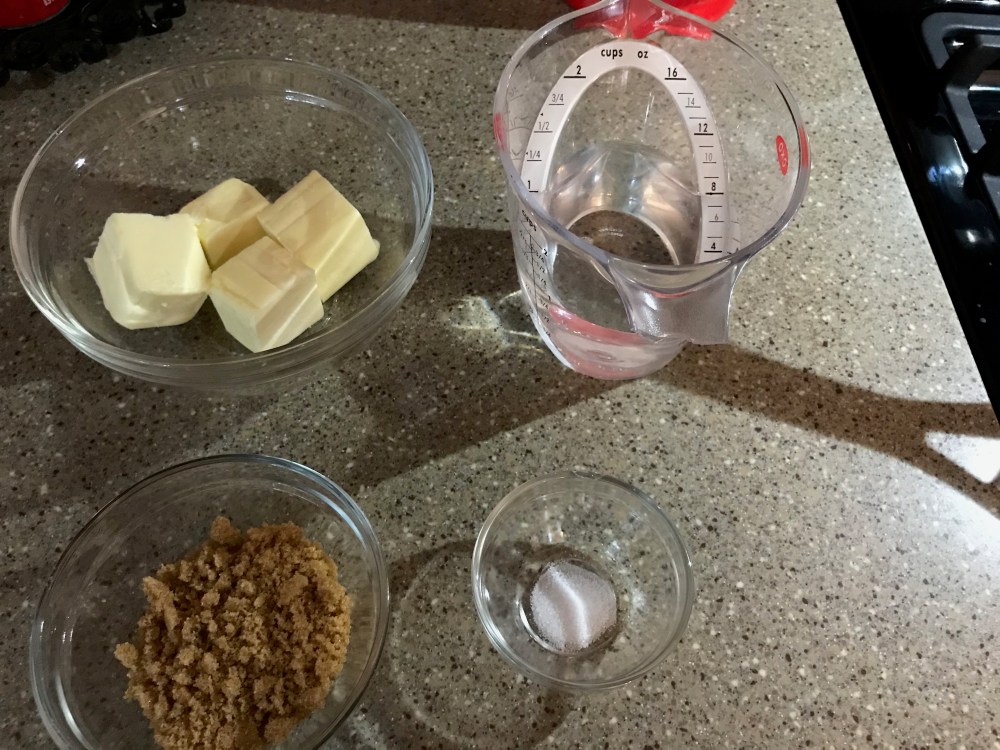
- 1 cup water
- 1/2 cup (1 stick) butter
- 1/4 tsp salt
- 1 cup all-purpose flour
- 3 eggs at room temperature
- 2 tbsp brown sugar (white is ok if you don’t have brown, you’ll still get the same result)
- 1/2 tsp vanilla extract
Coating:
- 1/4 cup sugar
- 1/4 tsp salt
- 1 tsp cinnamon


Preheat your oven to 400 degrees F and line 2 baking sheets with parchment paper. Set them aside for now.
The dough is just a pate a choux dough, the same dough used to make eclairs, cream puffs and beignets.
Next, in a medium saucepan over medium heat, combine the water, brown sugar, salt, and butter.
Heat the mixture until the butter is melted and everything has come to a simmer. It should look like this before you add the flour.
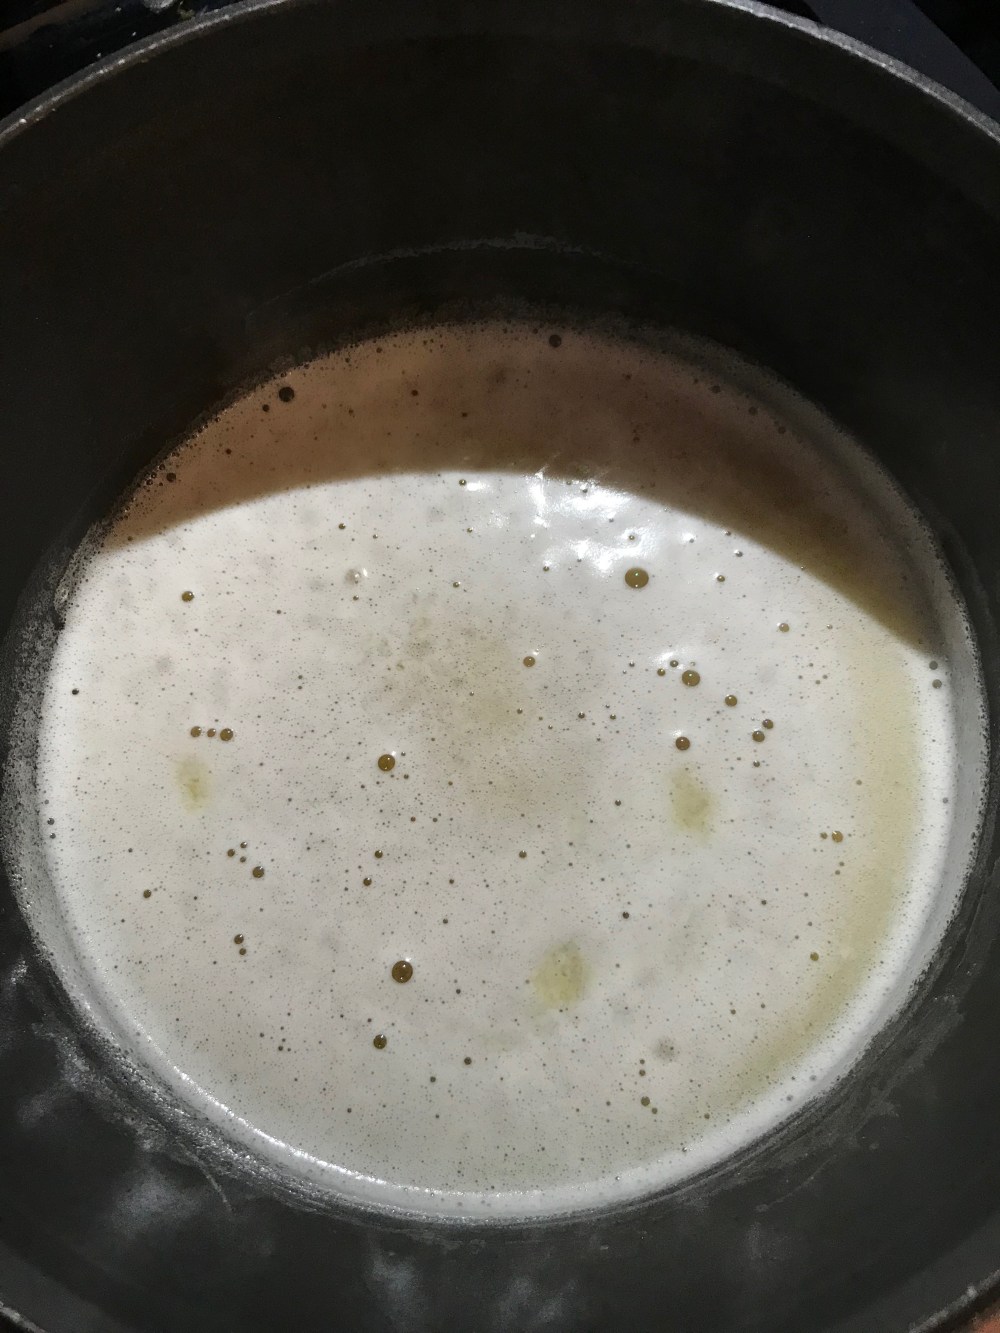
Now its time to add the flour and whisk until there’s no lumps of flour remaining and a dough ball has formed. It should look like the picture below.
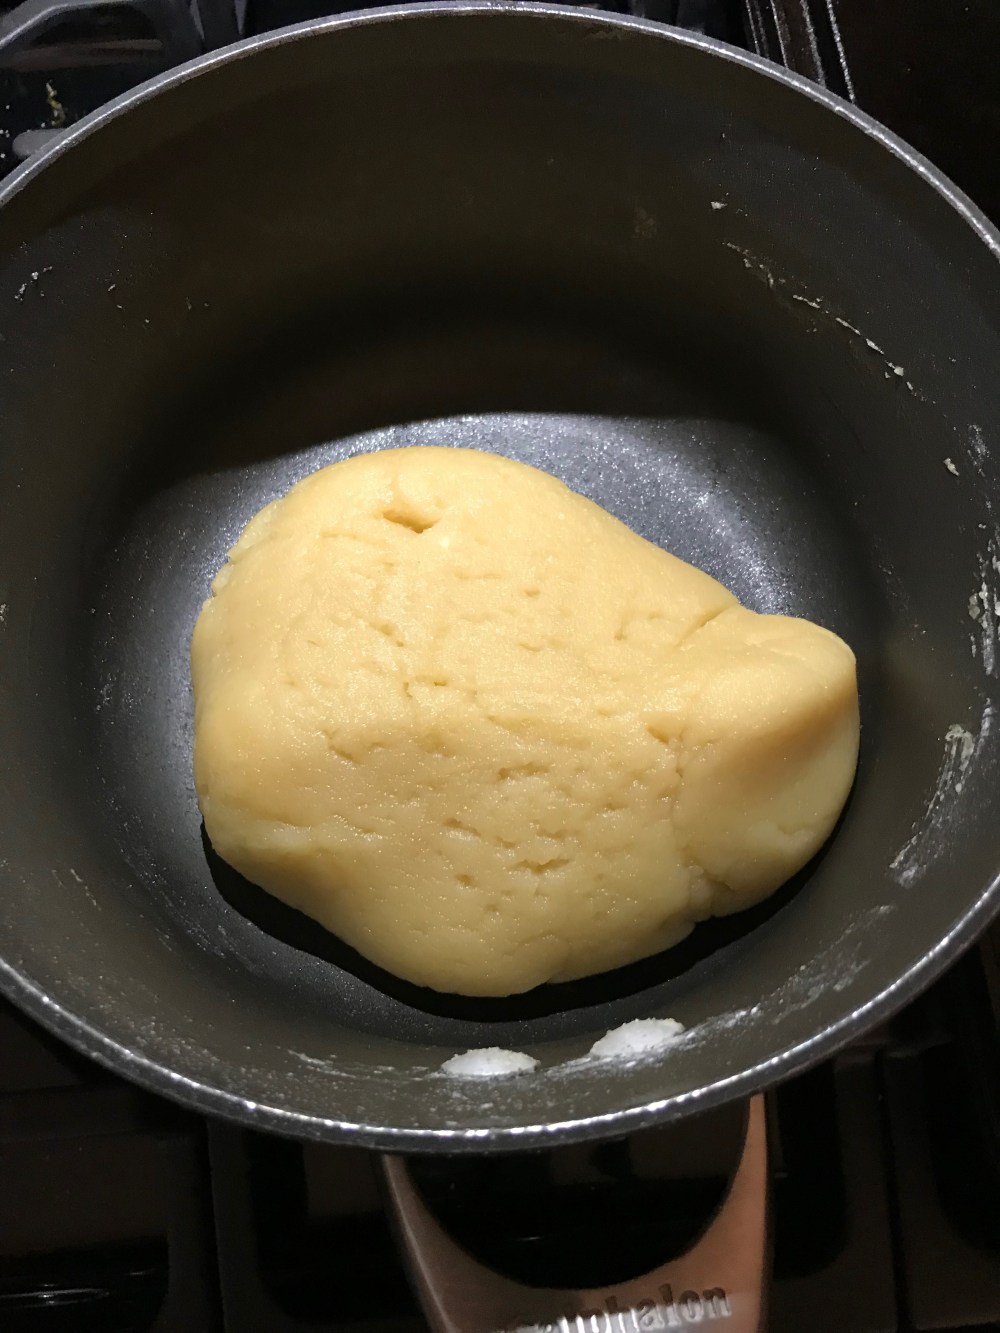
Once it looks like this, turn the heat to low and cook the dough for one more minute to fully get rid of the flour taste. At this point, a whisk isn’t going to get the job done, so I used a wooden spoon to stir the dough around. Don’t do this for more than one minute or you’ll risk overcooking your dough, which you don’t want. Set this to the side to cool down a little. While the dough cools down, combine the eggs and vanilla in either a small bowl or cup and lightly whisk them together.
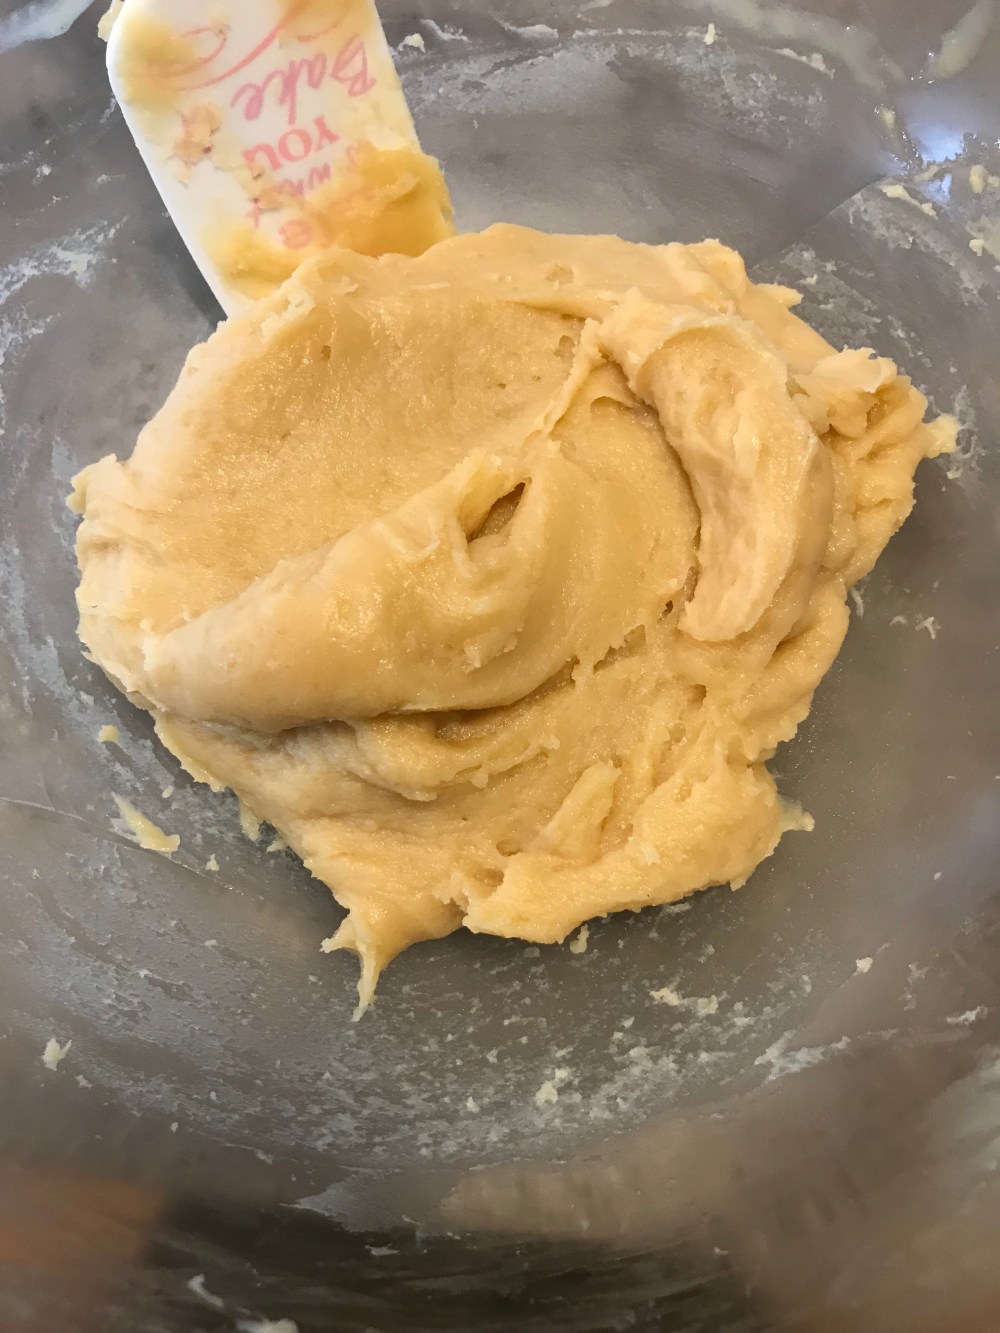
Next, transfer the dough ball to a large mixing bowl and slowly add a little bit of the egg/vanilla mix and stir the dough until the egg is completely incorporated and your dough looks like the picture below.
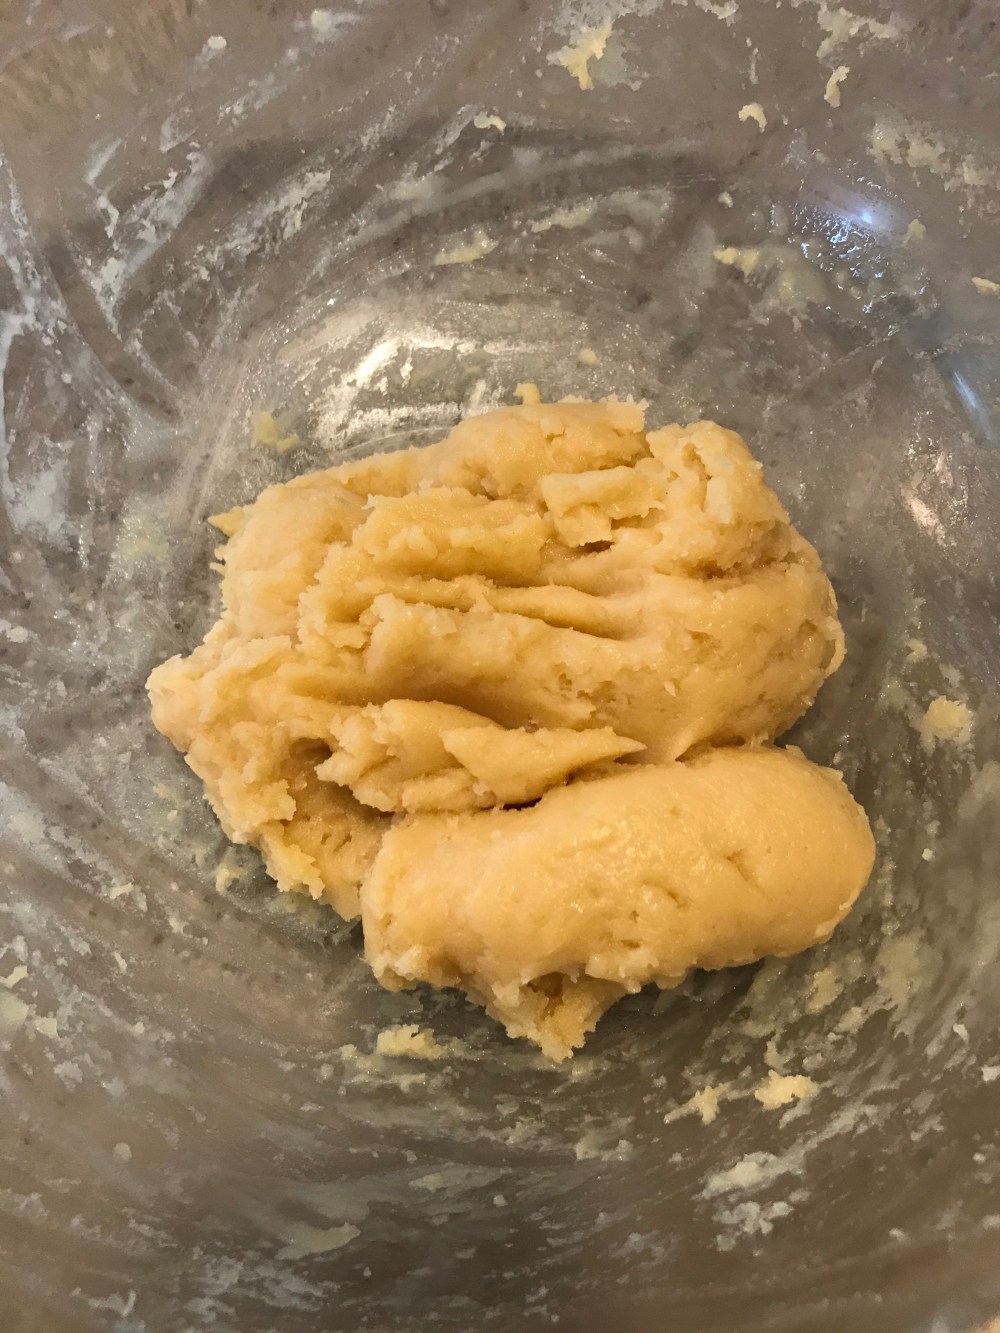
Keep adding your eggs little by little until everything is evenly combined.
When your dough looks like the picture above, it’s time to transfer it to a piping bag fitted with a star tip. I used a 1M tip to give my churros those classic ridges that are always on a churro. A 1M tip is just a large open star tip that is also amazing for getting the adorable frosting swirls on cupcakes. If you don’t have any piping bags, you can always use a ziplock bag fitted with the same tip.
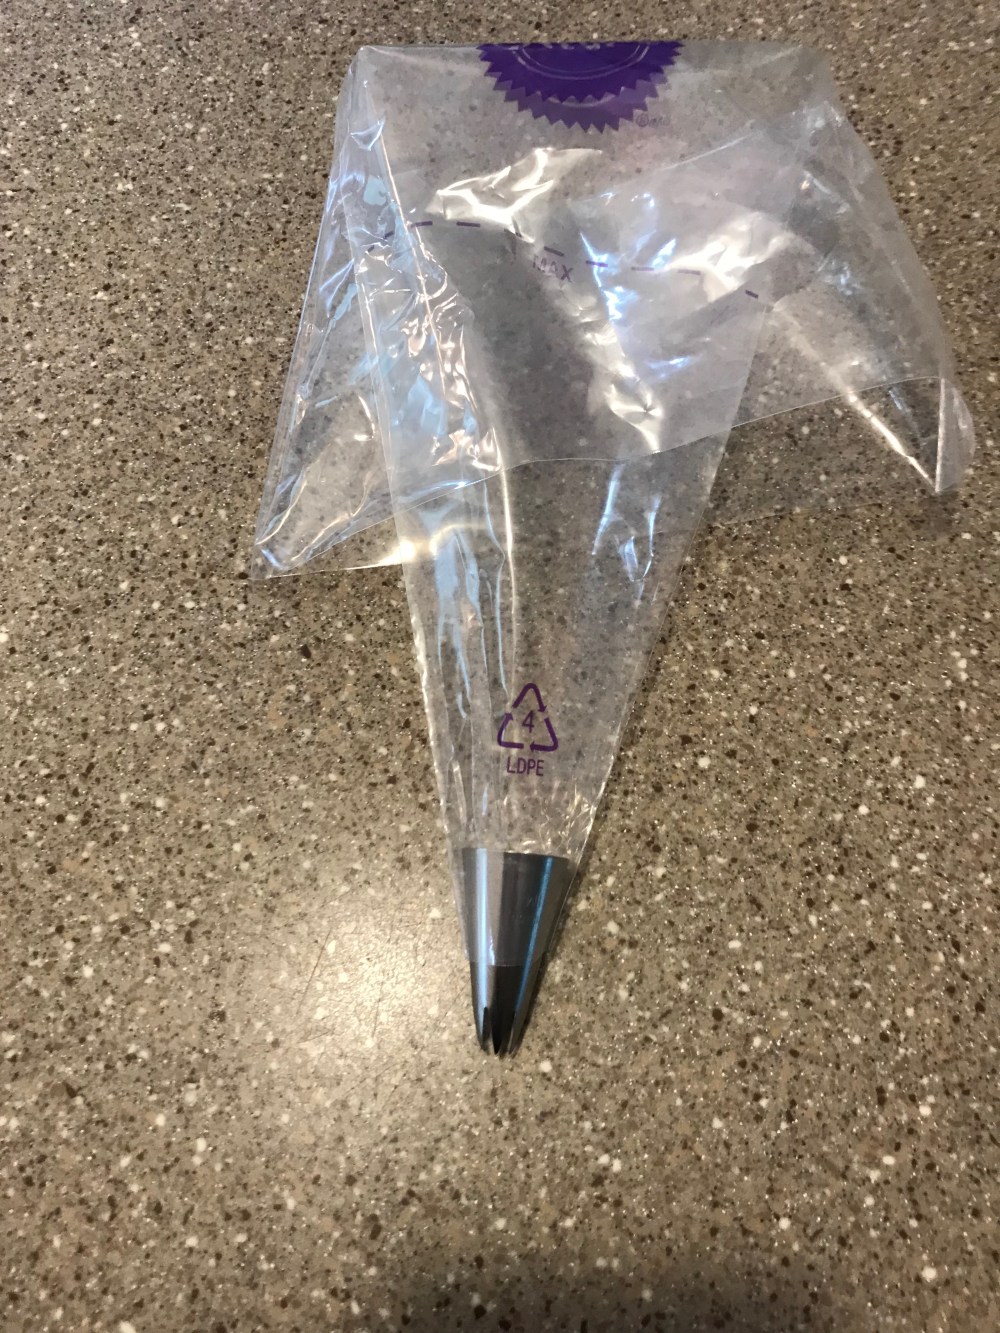
After you have your bag ready to go, fold down the top a little bit (see picture above), this not only makes it easier to fill the bag but keeps the top of the bag clean and prevents what’s in the bag from coming out the top and going everywhere. I find that it’s much easier to fill your bag if you stand it up in a glass and either spoon or pour your batter/filling/frosting in, rather than trying to fill and hold the bag at the same time. Trust me, it’s a lot messier trying to hold the bag in one hand and fill it with the other one.
Pipe your dough into long, fat churros. You can make them fatter by adding a little pressure to the bag while slowly piping out your churros. After you get them to your desired length, stop applying pressure and pull the bag away. Be sure to leave at least 2 inches between each churro so there’s room for them to puff up and slightly expand while they bake.
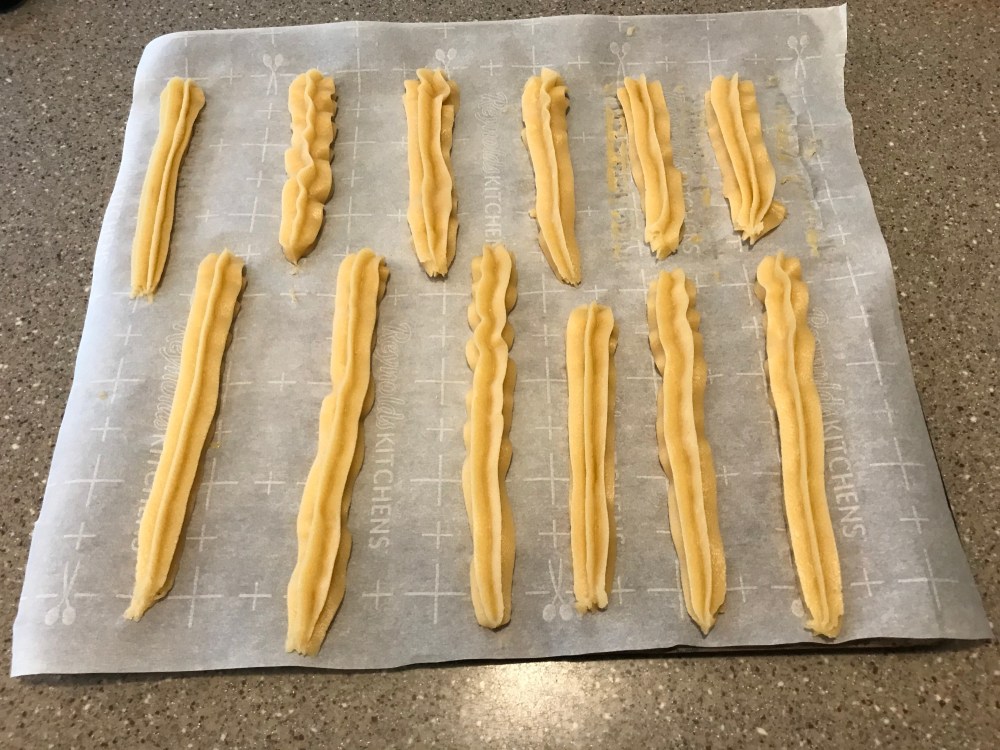
Here’s mine before they got baked. Yeah, they’re not exactly even in size, I still need some practice in the piping department. But they all baked up beautifully. To get the ends of your churros to look like mine, just dip the tips of your index finger and thumb in a little bit of water & pull the ends left by the piping tip together into a nice rounded point. Why the water? Patè choux is a very sticky dough so if you just used dry fingertips to form the ends on your churros, the dough would stick to your fingers, so using the water prevents you from having sticky, batter covered fingertips. Bake your churros for 18-22 minutes or until they’re golden brown all over. If they’re not golden brown, they’re not done. Yes, I have made that mistake before! Once they’re baked, turn off the oven and let them sit in there for 10 minutes. This lets the churros dry out just a little bit, so when you take them out of the oven they hold their shape and not fall flat as they cool.
While those are in the oven, it’s time to prepare the signature cinnamon sugar coating. Combine the cinnamon, sugar, and salt in a ziptop bag. While the churros are still warm, gently toss them in the cinnamon sugar and lay them out on your serving plate. If you don’t toss them in the cinnamon sugar while they’re still warm, the coating won’t stick as well. This is also where the ridges on them come in handy; they hold onto the coating in between each of them, so you get all that yummy cinnamon sugar in each bite.


Don’t they look delicious? Even better, there’s no gross deep fryer smell. I’ll definitely be making baked churros from now on, these didn’t last long at all in my house. They’re delicious, fairly easy to make and clean up after!
The recipe I used also has a recipe for a hot chocolate dip to go with the churros, but I didn’t make it this time. I will probably make it next time though, because churros and chocolate sound amazing together!
Until next time,
Peace, Love, and Sugar
Brooke

