
I didn’t know this kind of thing existed, until I saw it on the Food Network YouTube channel, so I watched the video to see how this type of cake was even possible. Let me tell you, this was super cool to watch and after the video was over, I had decided that I wanted to attempt this awesome recipe, so I did a good amount of research on it. The recipe calls for a half sheet pan, so I measured my oven to be sure it would fit. It did, and so I was finally ready to make my first attempt at this amazing cake. So without further ado: my attempt and success at a vertical layer cake.
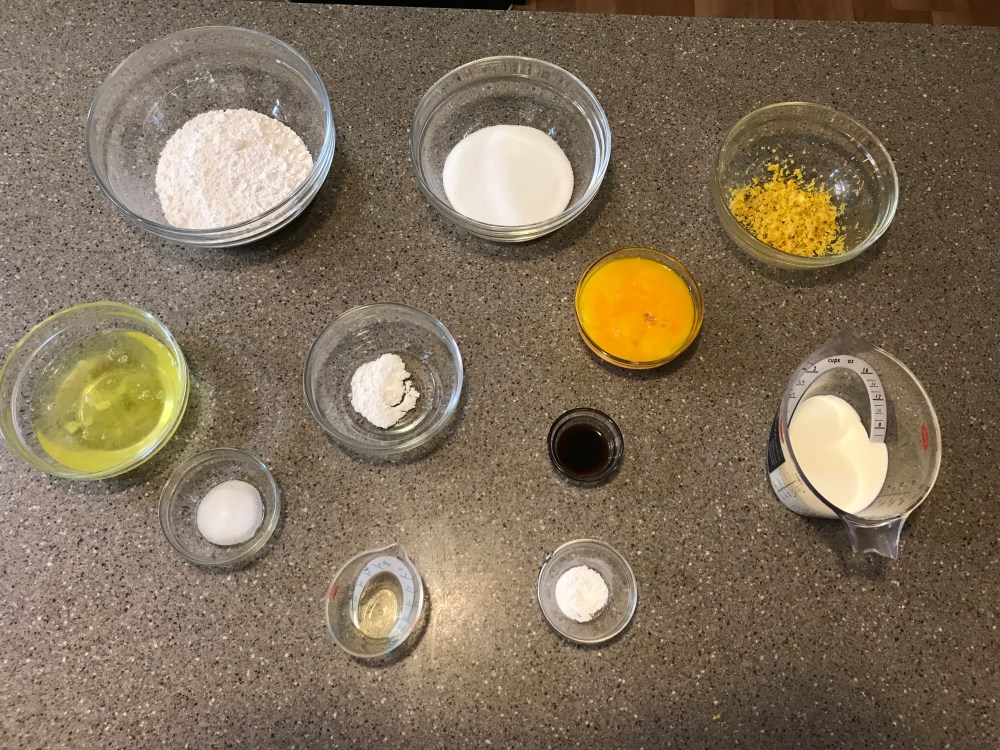
Ingredients:
- 3/4 cup heavy cream
- 1 cup all purpose flour
- 1/2 tsp baking powder
- 1/2 tsp salt
- 7 eggs, separated plus 3 egg yolks
- 1 tsp vanilla
- 1 tbsp lemon extract
- Zest from 2 lemons
- 1 tsp cream of tartar
- 3/4 cup granulated sugar
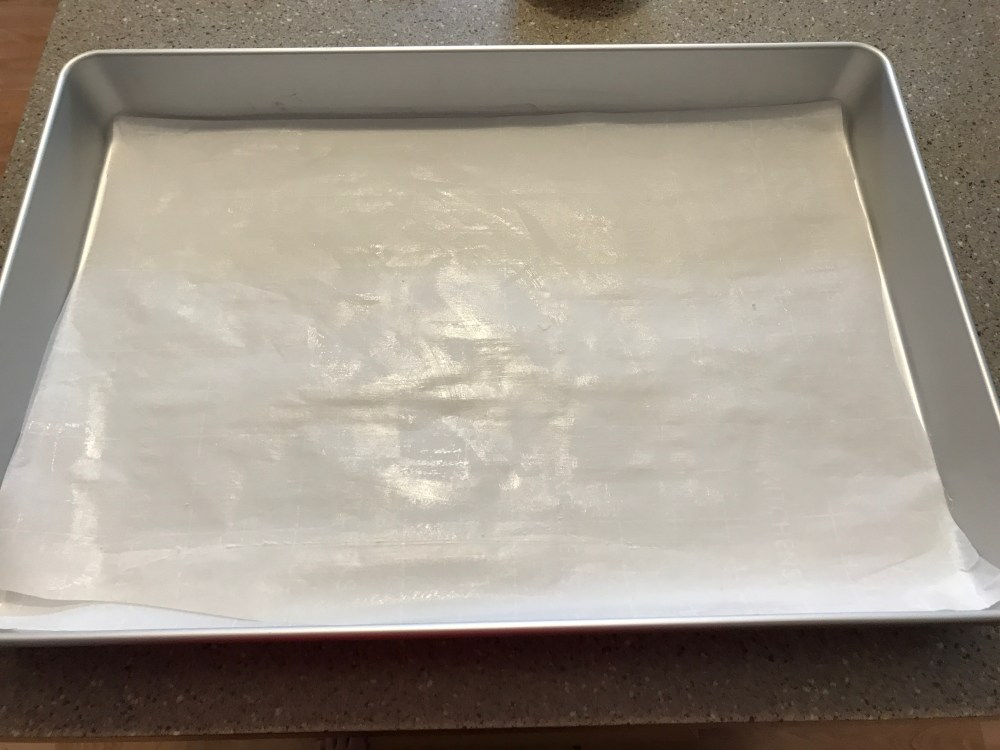
Start by preheating the oven to 400 degrees and greasing just the bottom of a rimmed half sheet pan. Read the care instructions on your pan; mine said cooking spray will damage it, so I used butter. Line the bottom of the pan with a piece of parchment paper and grease the paper as well.
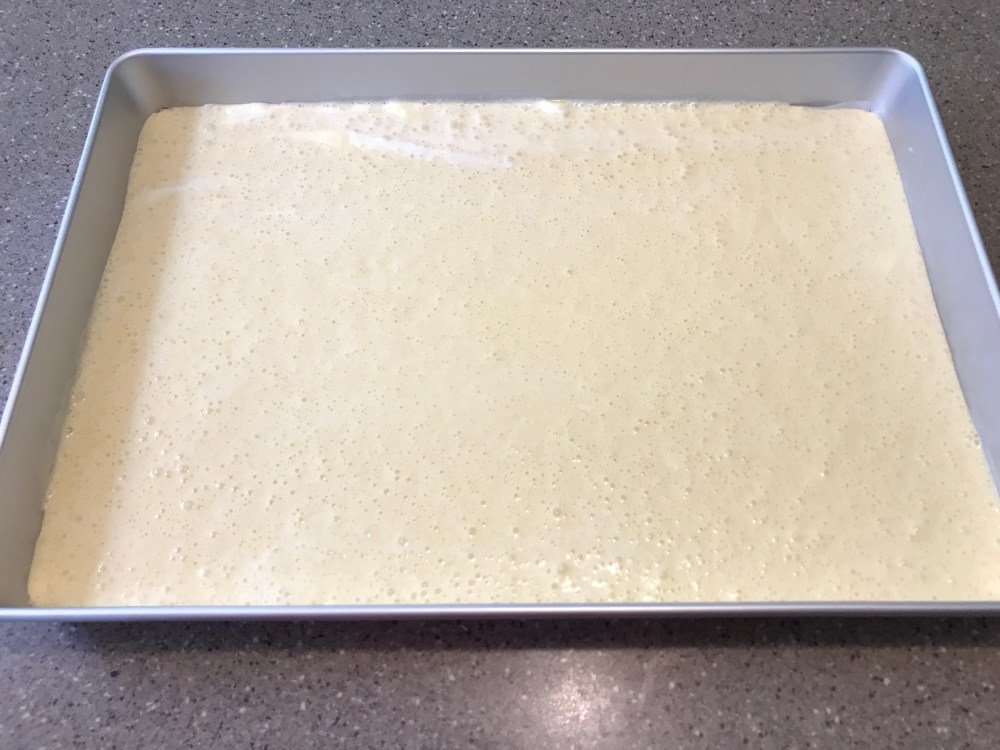
Next, heat the heavy cream in a microwave safe container, until steaming for 1 minute. Add the heavy cream to a large mixing bowl and whisk in the flour, baking powder, and salt. 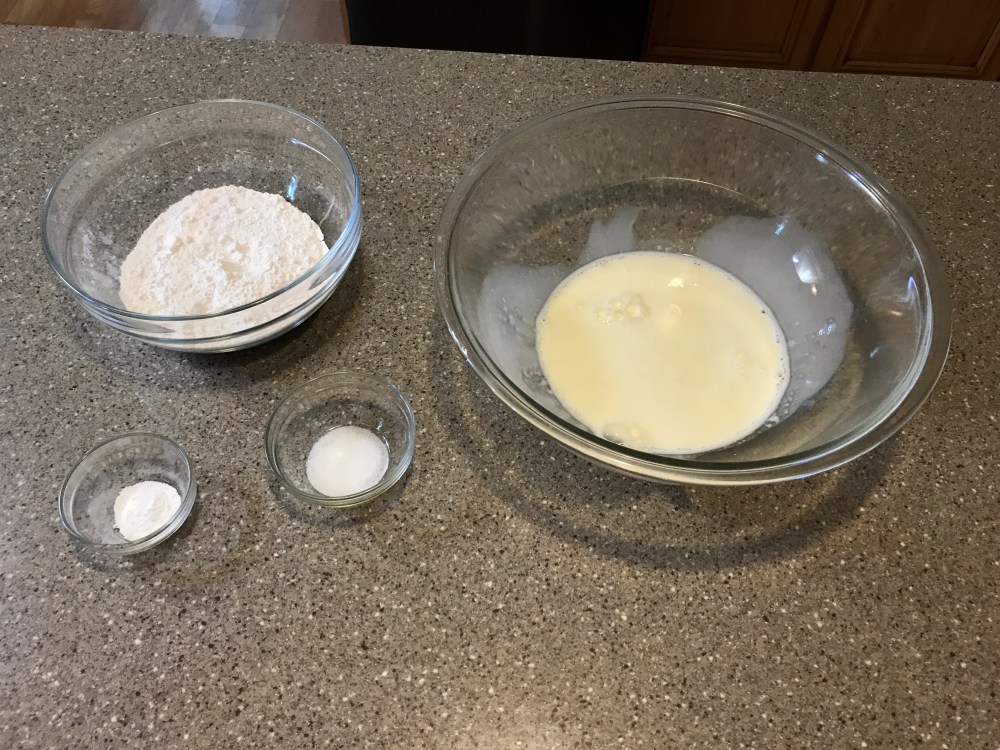
It should look like this at this after you’ve whisked in the dry ingredients:
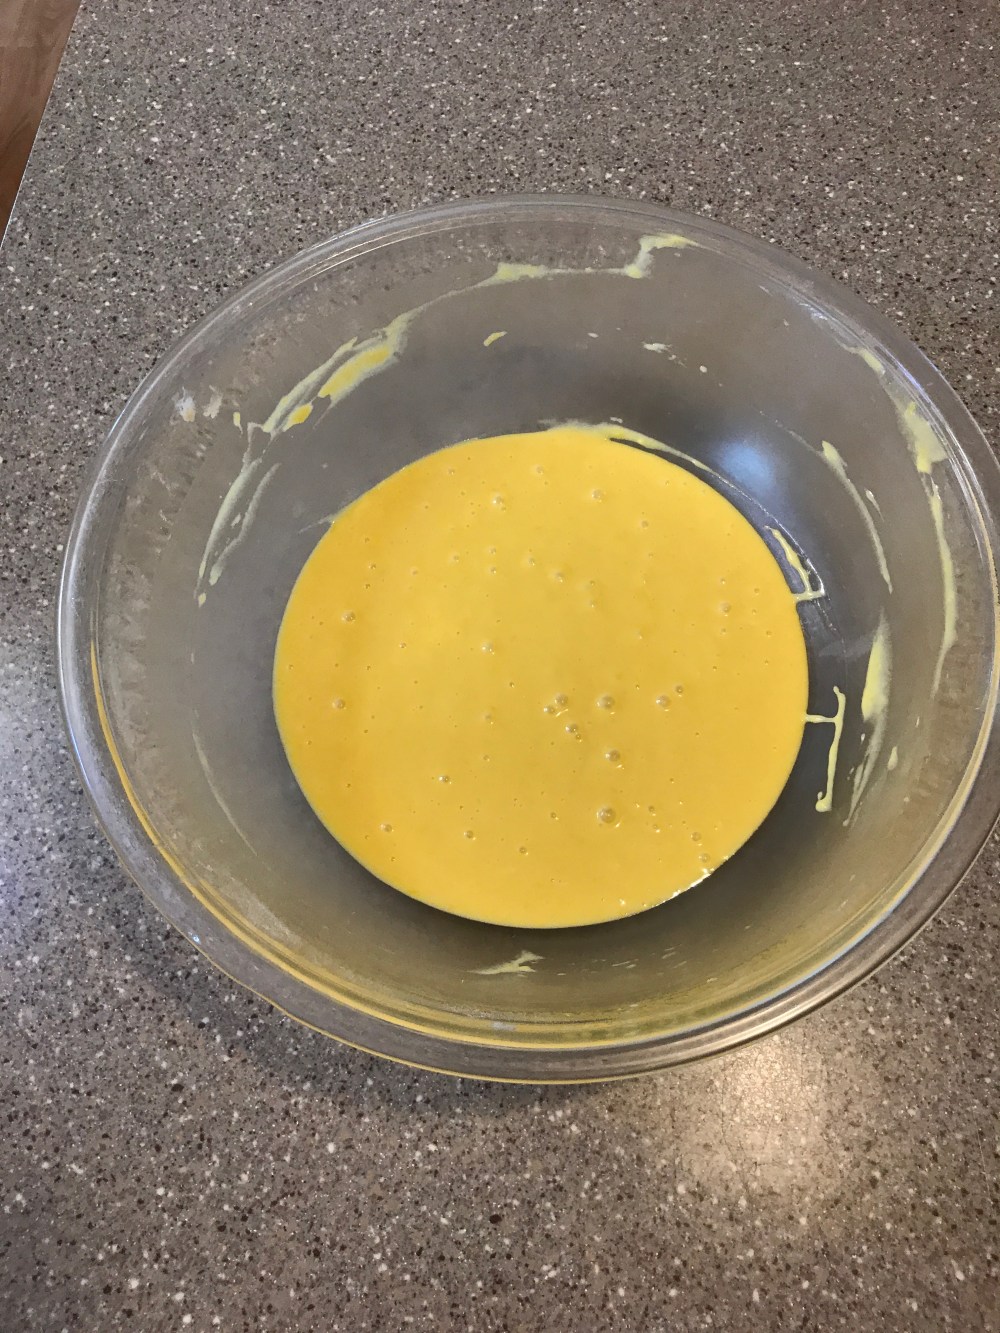
Once you’ve done that it’s time to add in the 10 egg yolks, vanilla, lemon extract, and lemon zest.

Whisk all of this until its completely smooth, then set aside. Here’s the finished egg yolk mixture:
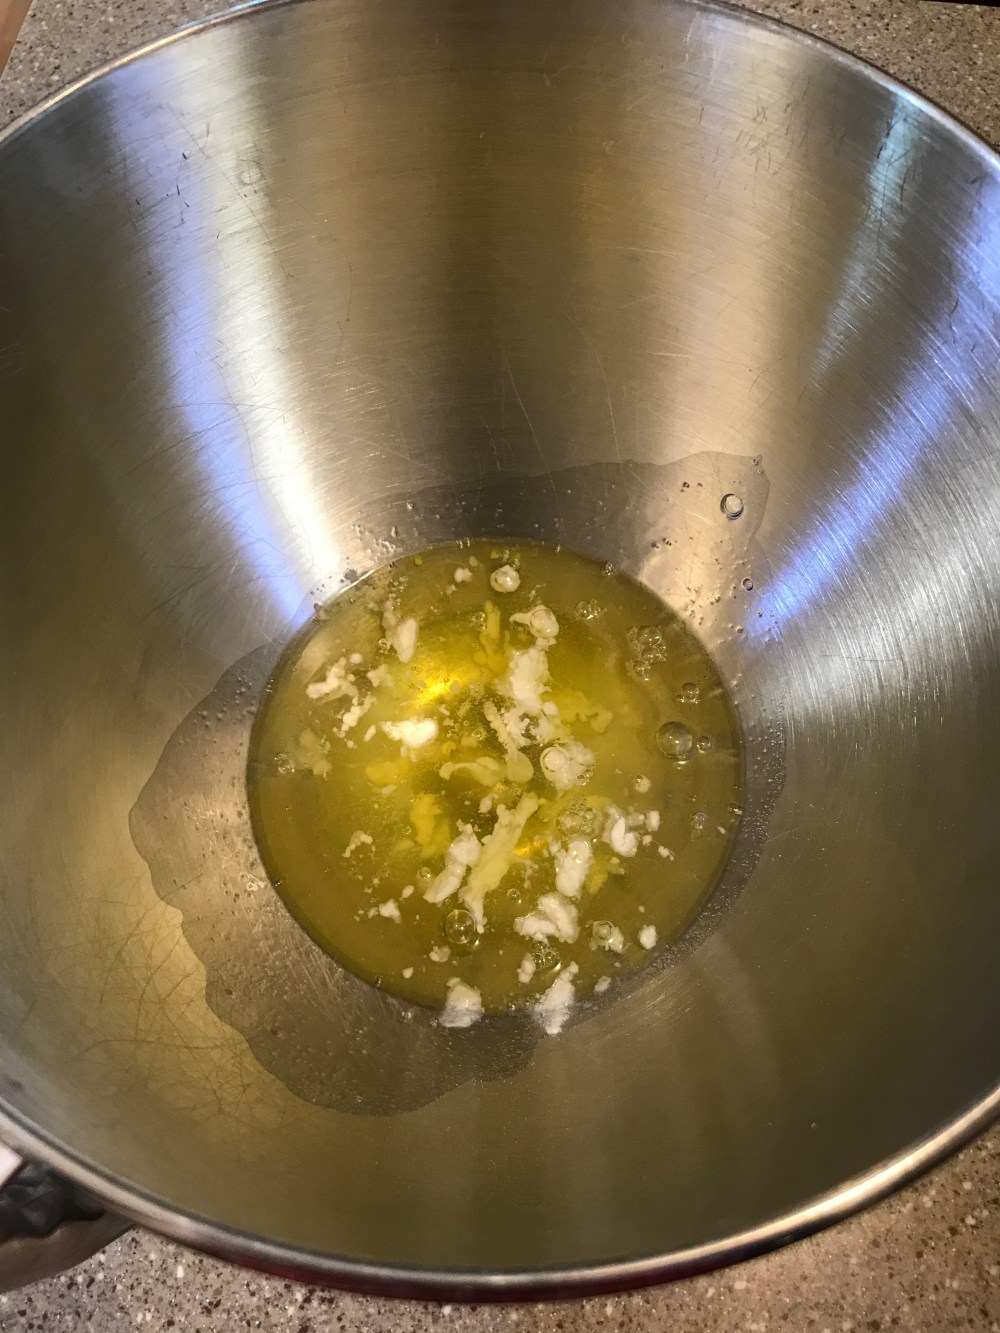
Now onto the meringue. Add the 7 egg whites, and cream of tartar to your trusty stand mixer (as always, an electric hand mixer works just as well).
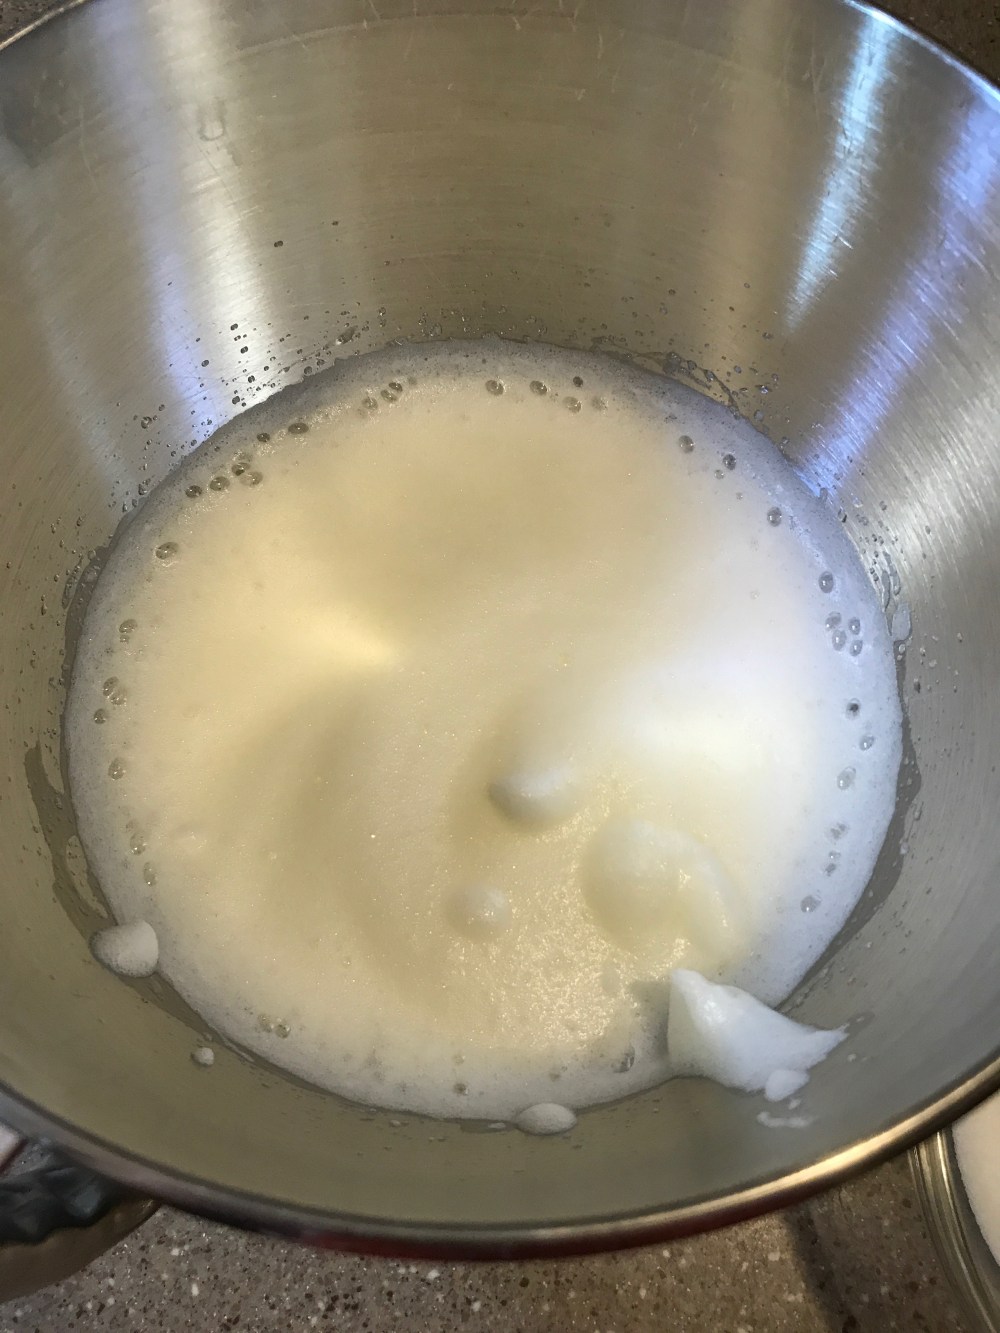
Beat the egg whites at medium speed until they start to get really foamy like this:
Once the egg whites look like this, it’s time to gradually add the sugar. Add the sugar in 10 second intervals, so that each addition has enough time to evenly incorporate into the egg whites, otherwise your meringue will be grainy and you don’t want that. Once all of the sugar has been incorporated, turn the speed up to medium high and beat the egg whites until stiff peaks form. A good way to know if you’ve whipped your egg whites to the right consistency, other than the usual beater test is to turn the bowl upside down. If the meringue doesn’t slide out the bowl then you’ve got it just right. Of course, if you turn the bowl upside down and your meringue slides out, you’ll have to do it all over again. So stick to the beater test.
 Do you see how shiny it looks? This is at the perfect stage. Time to fold this into the egg yolk mixture.
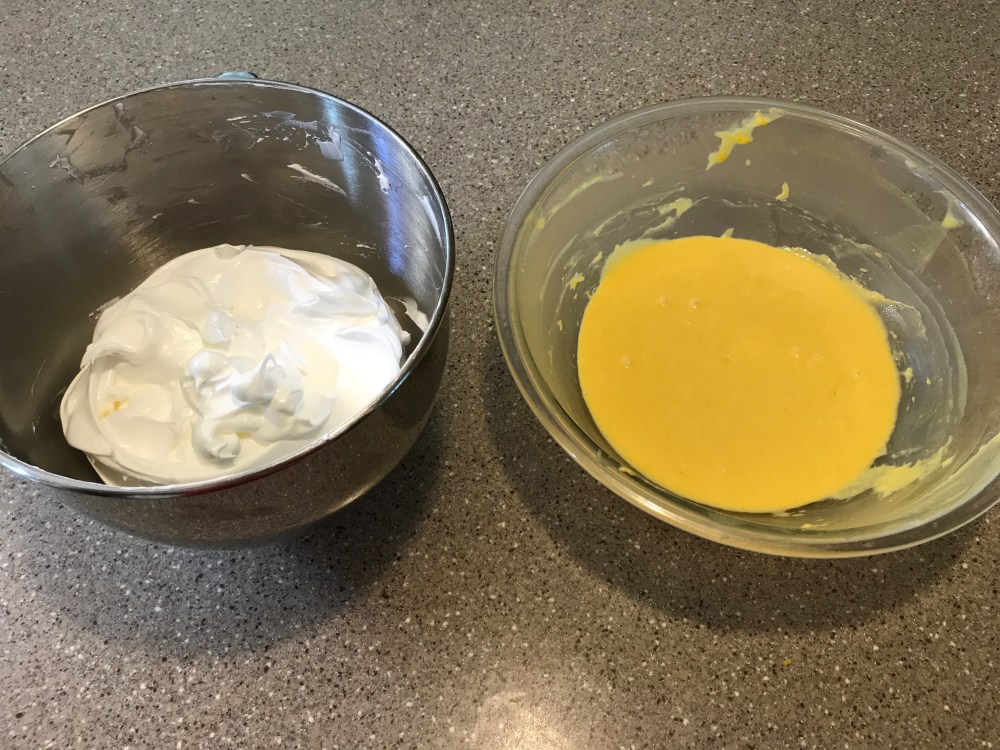 It’s best to fold the meringue into the egg yolk mixture in thirds, the first addition being used to lighten up the batter, then the second and third addition should be folded in gently so you don’t deflate the meringue. I used a metal spoon instead of a spatula, because it doesn’t deflate the meringue like a spatula does. Once that’s done, pour the batter into the prepared pan.
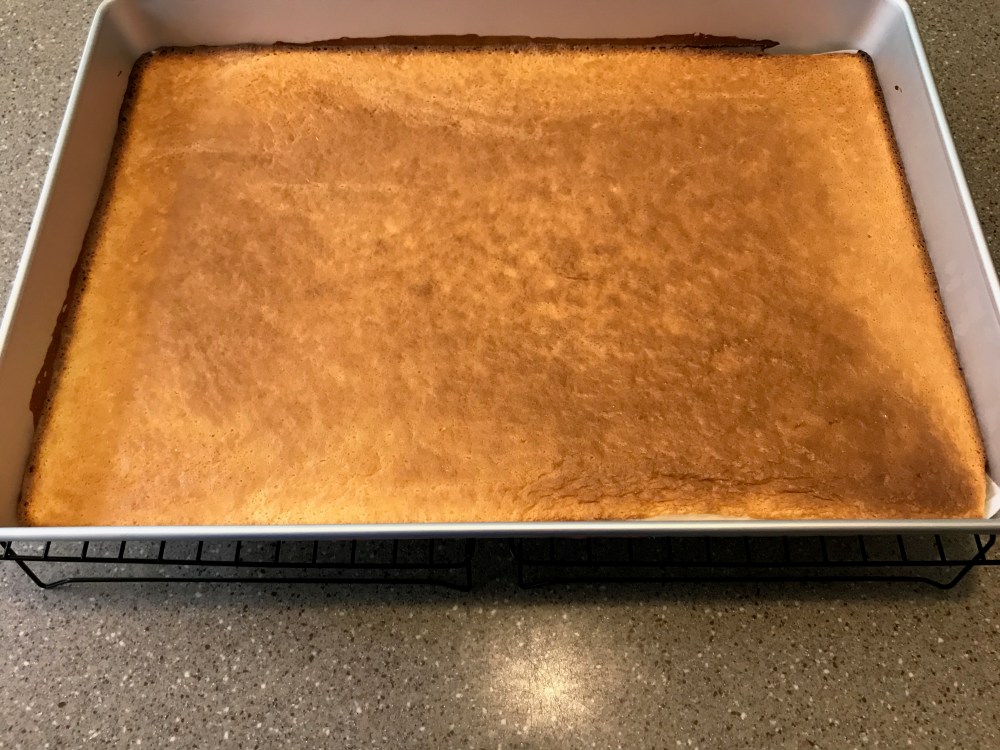
 Bake for 14-16 minutes or until the top springs back when touched. Let the cake cool in the pan for no more than 5 minutes, then run an icing spatula along the edges to loosen the cake from the pan. Place a piece of parchment paper over the top of the cake then using another cooling rack on top of that, flip the cake over and peel the parchment paper off the bottom of the cake, flip the cake back over so it can cool right side up.
 Once the cake has cooled completely, it’s time to cut this cake into strips. The strips should be 4 inches wide and look like this:


I was supposed to cut them into three strips lengthwise. Mine aren’t exactly even but it still looks pretty good to me. Now spread a nice even layer of buttercream on each strip (I used 1 1/2 cups of buttercream for this step) and begin rolling them up. Line the edge of the rolled up layer with the edge of the next strip and continue this process until your cake looks like this:
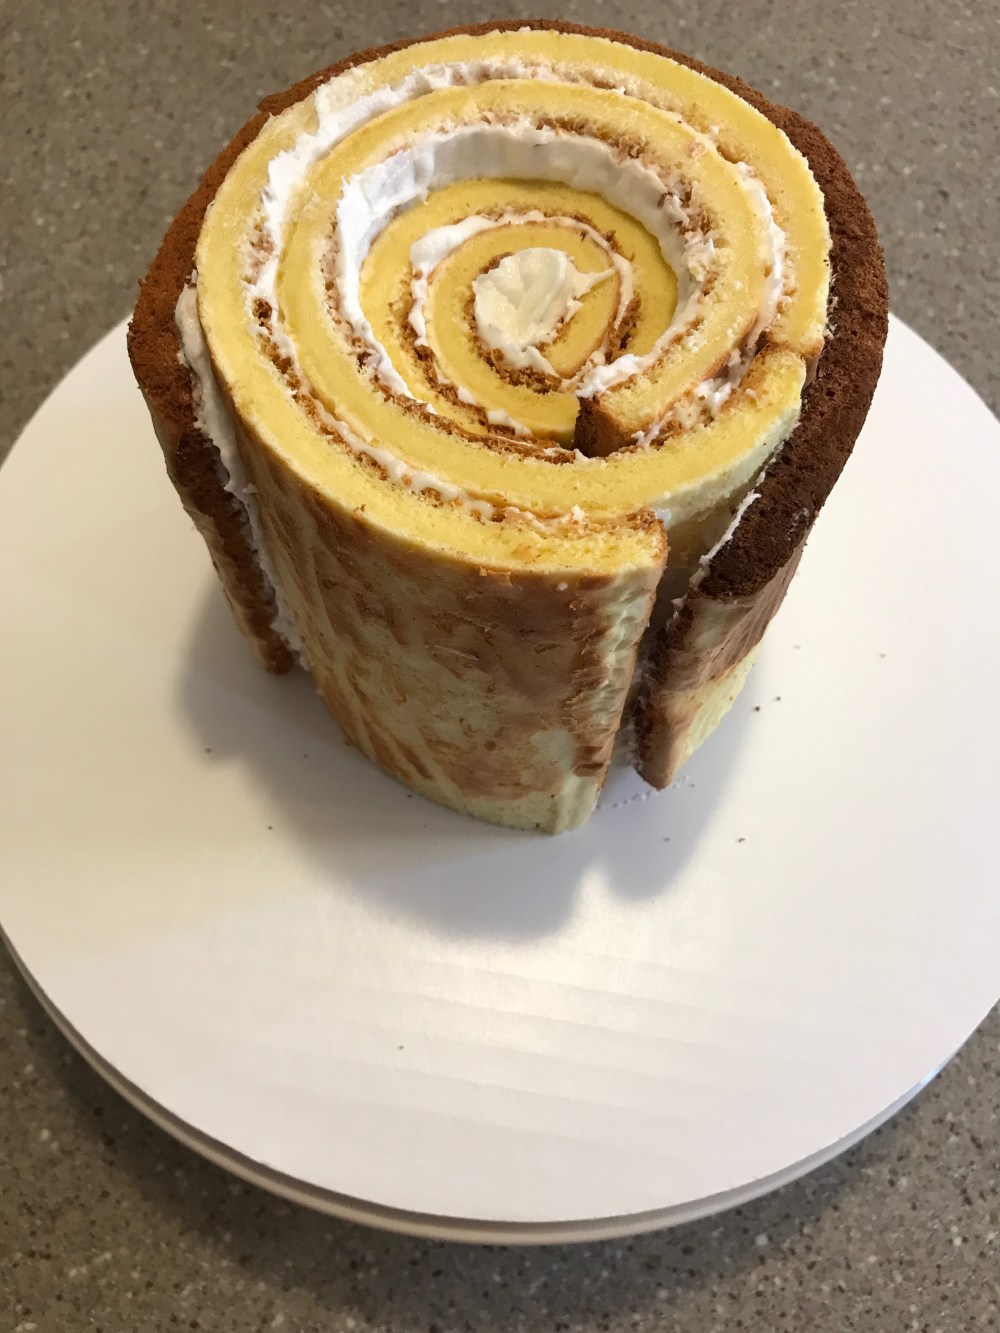
Once it’s all rolled up like this, you can either place it on a cake board like I did or onto whatever you’re going to serve your cake on. I didn’t take any pictures of the rolling process because this was the one step I was the most afraid of messing up on. But I didn’t mess up and I’m so happy that I didn’t. Also, it’s not exactly easy to try to roll up my cake strips and take pictures at the same time. Now, take the rest of your buttercream and frost the outside of the cake. If you have an offset/angled icing spatula that helps tremendously because the angled shape keeps your hands out of the icing which makes frosting a cake so much easier and not as messy.
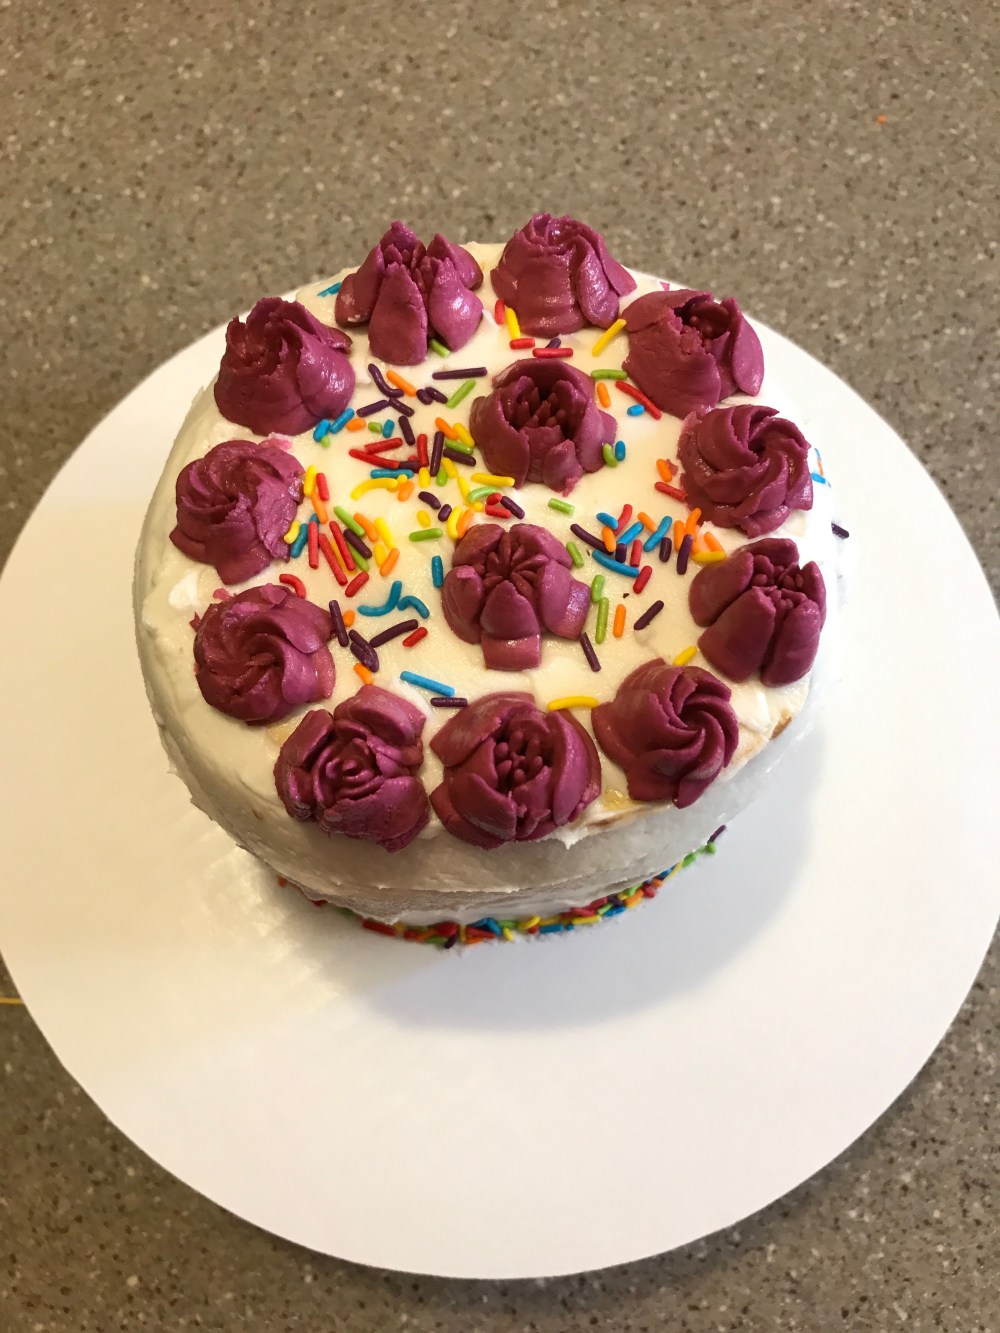
Decorate your cake however you want to. I decided to top mine with a bunch of flowers that I had made while learning how to use this set of Russian piping tips that I have & a bunch of sprinkles that I have everywhere. So the flowers kept their shape better, I piped them out on to a parchment paper lined cookie sheet and put them in the freezer until I was ready to use them. At this point I took them out of the freezer and just very carefully peeled them off the paper then placed them on the cake.
Wait until you see how awesome this cake looks when you cut into it, it really is one of the coolest cake ideas ever!
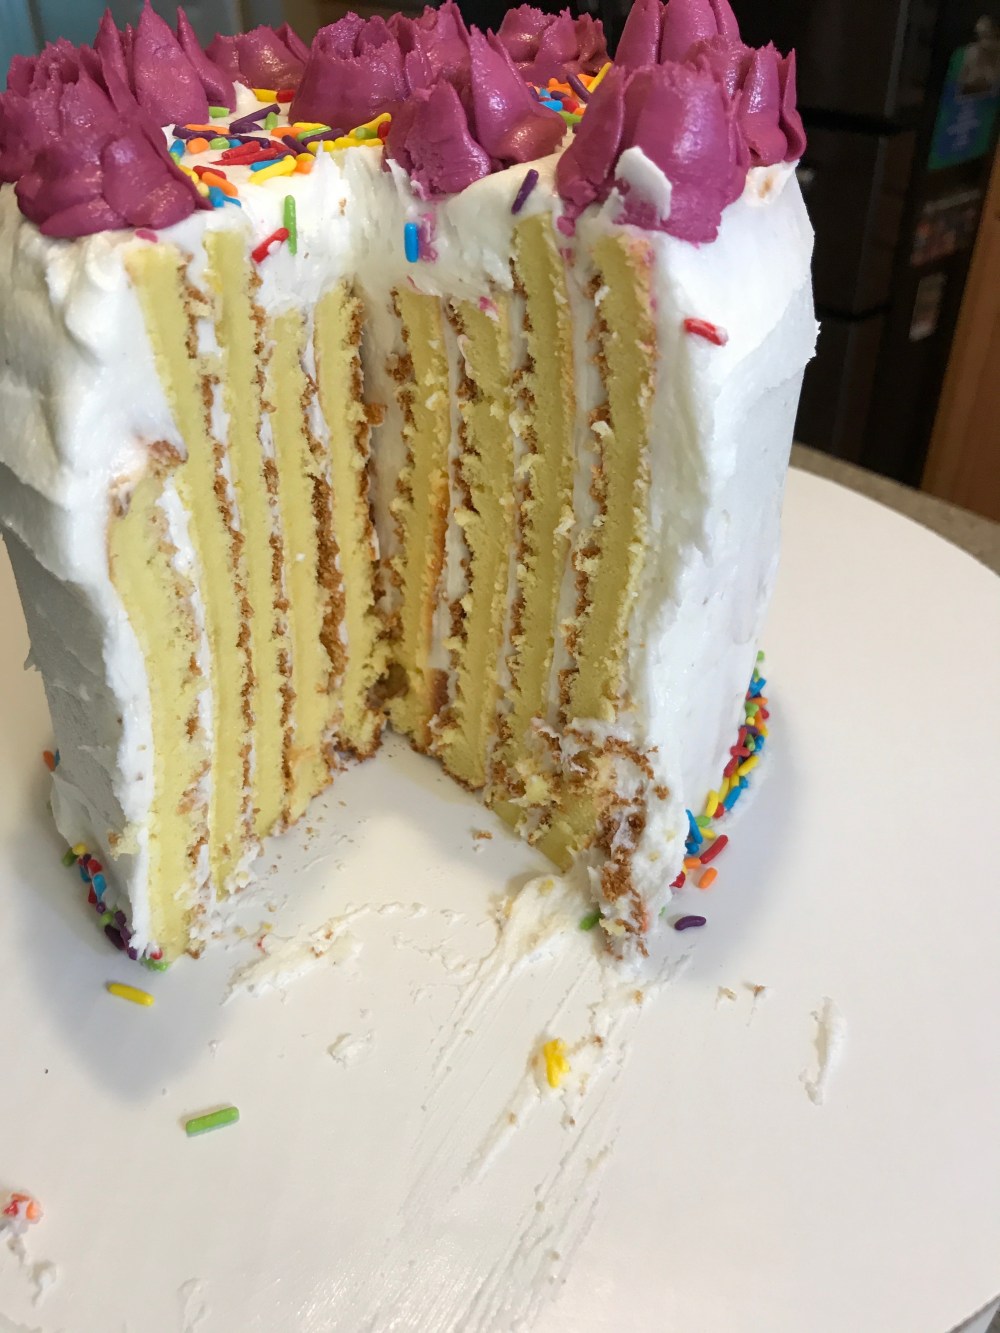
Isn’t this just the coolest sight ever? I love how the layers look when it’s like this. Just a little tip for you though, this cake has a chewier texture than a traditional sponge cake, since all purpose flour was used in place of the usual cake flour. Cake flour has less protein in it, making the cake lighter and fluffier. This cake needs that additional layer of structure though, so that when you go to roll it up the layers don’t crack and fall apart as easily. Still, it’s an amazing looking and very tasty cake.
Peace, Love, and Sugar
Brooke

