
Welcome back to my numerous attempts at perfecting the Japanese Cheesecake. I tried a different recipe, this time from one of my favorite baking blogs, Bigger Bolder Baking. Her recipe is incredible, it just took me two additional tries to get it right. Mistakes were made in my third attempt, but the fourth try just happened to be the one. Here’s the recipe I used this time if you want to give it a try: Japanese Cheesecake Now onto my 3rd attempt!
Attempt #3
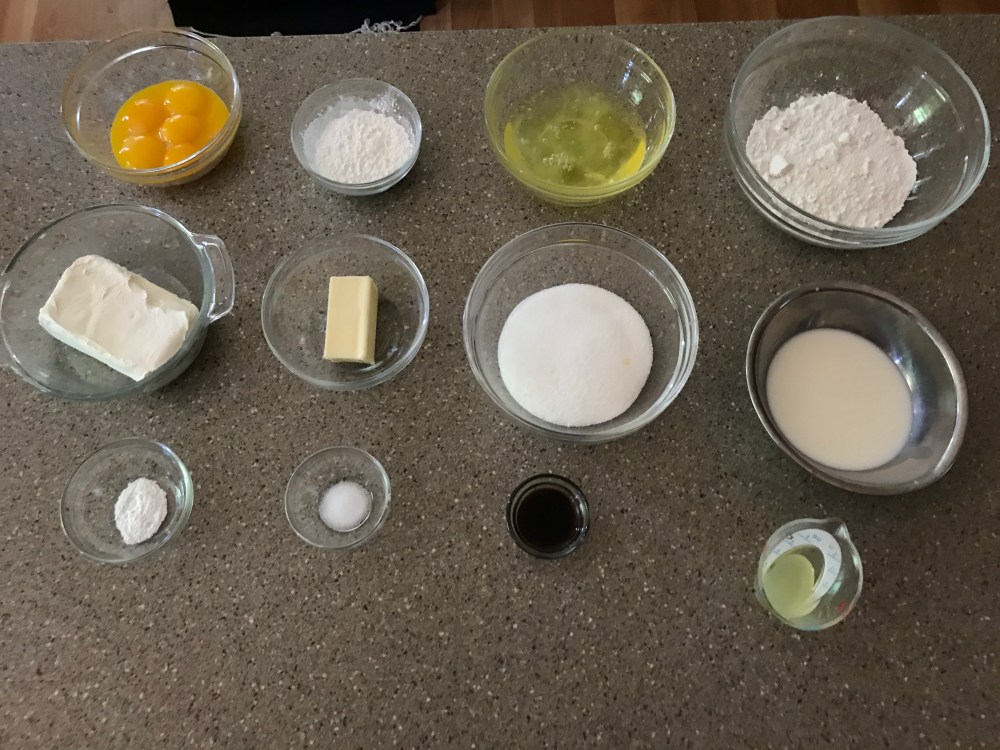
Ingredients:
- 1 8 oz block cream cheese
- 4 tbsp butter
- 7 tbsp milk
- 6 eggs – separated
- 1 1/2 tbsp lemon juice
- 2 tsp vanilla
- 3/4 cup sugar
- 3/4 cup cake flour
- 2 1/2 tbsp corn starch
- 1/4 tsp salt
- 1/4 tsp cream of tartar
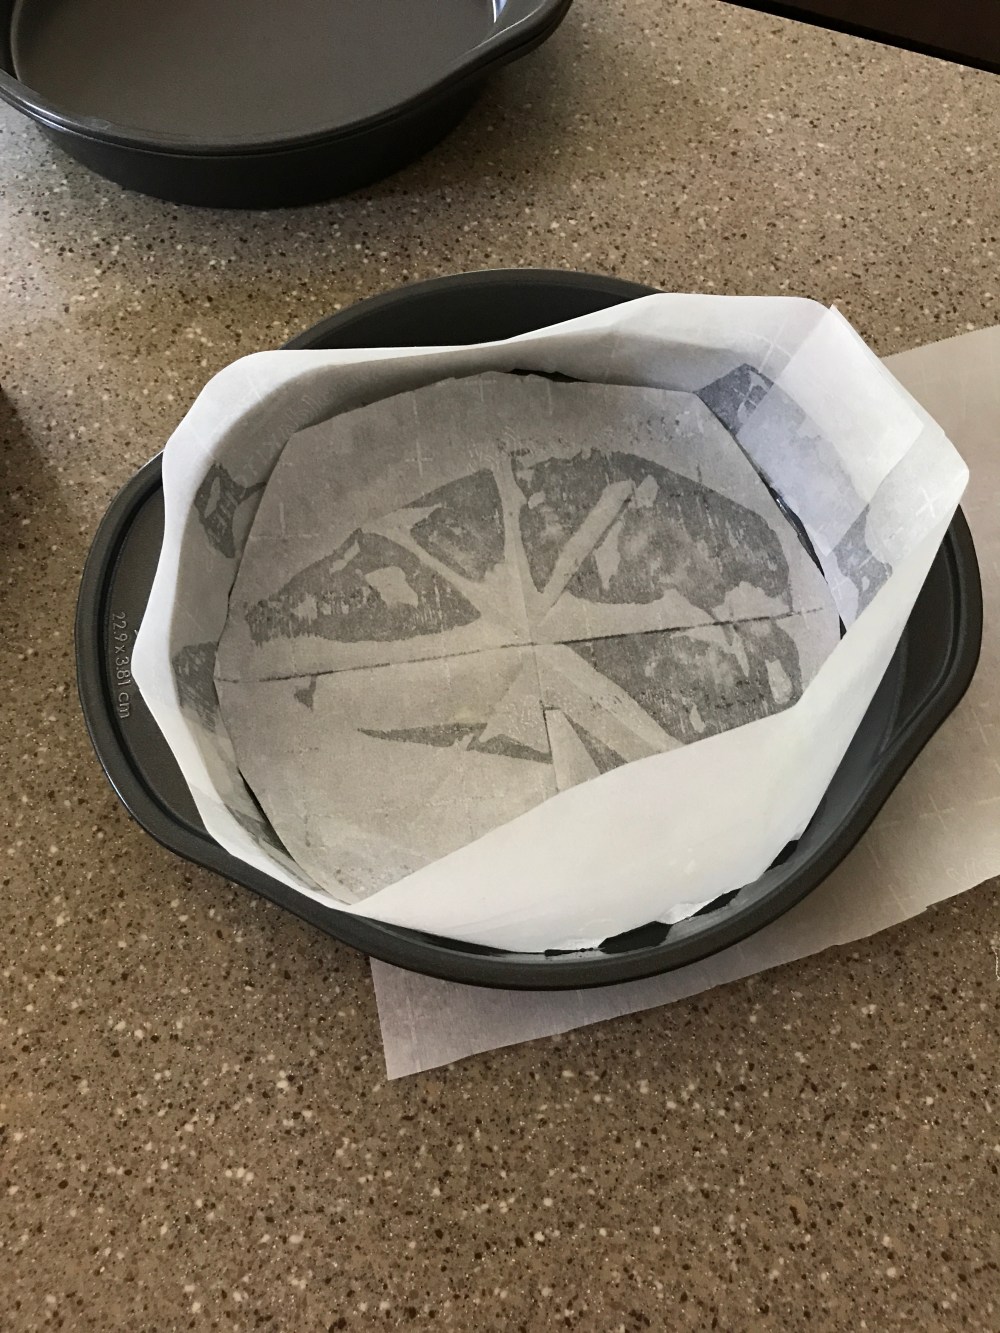
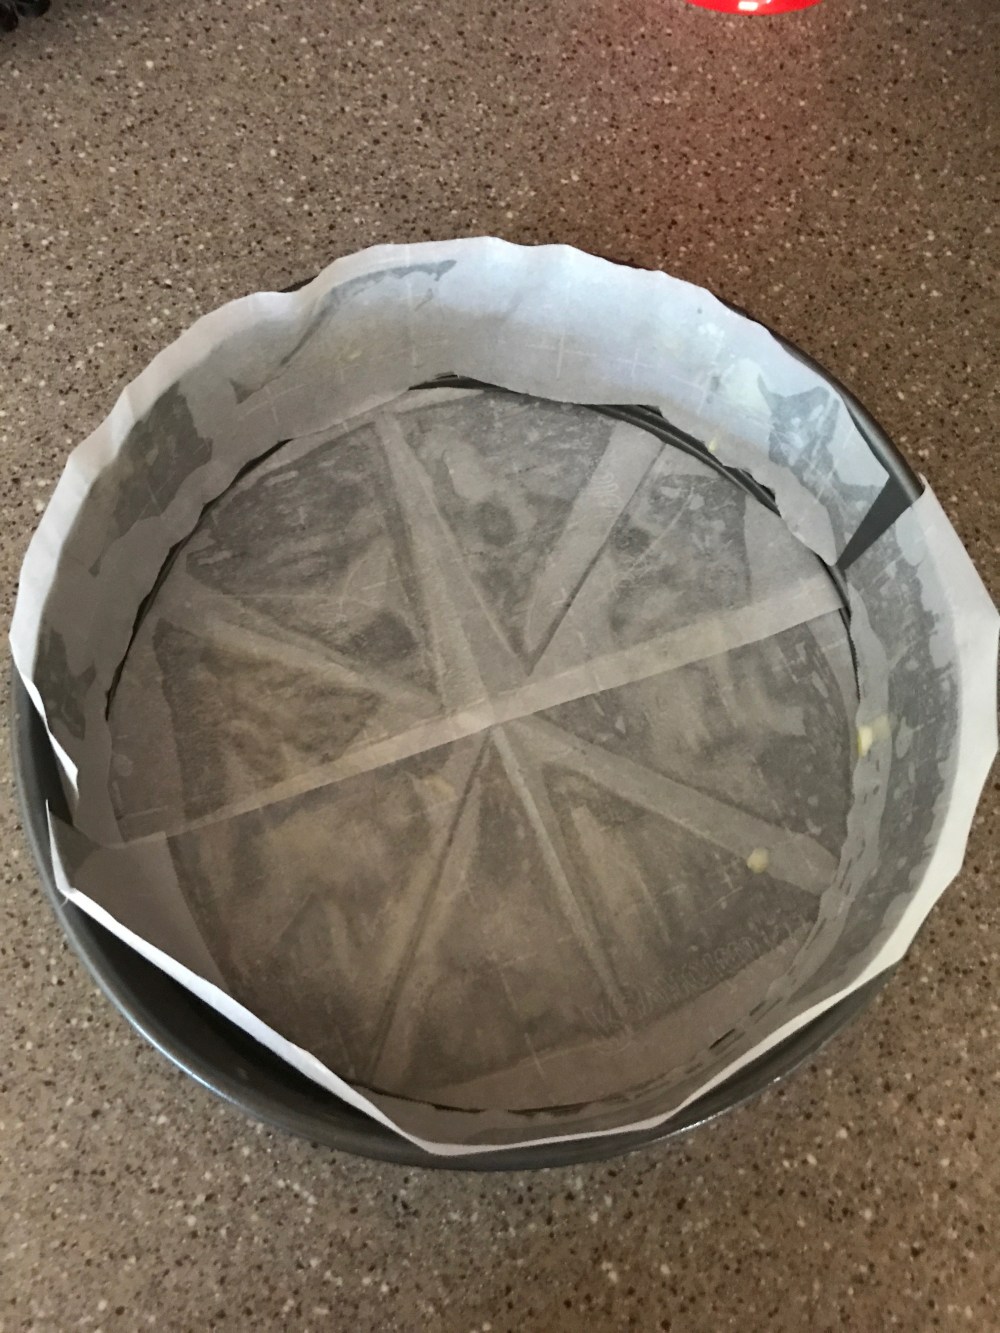
Start by preheating your oven to 400 degrees F (200 degrees C) and line the bottom of either a 9 in round cake pan or an 8 inch springform pan with parchment paper, and be sure to line the sides with parchment paper strips and grease the paper liberally so that the cheesecake doesn’t stick when its time to de-pan your cheesecake.
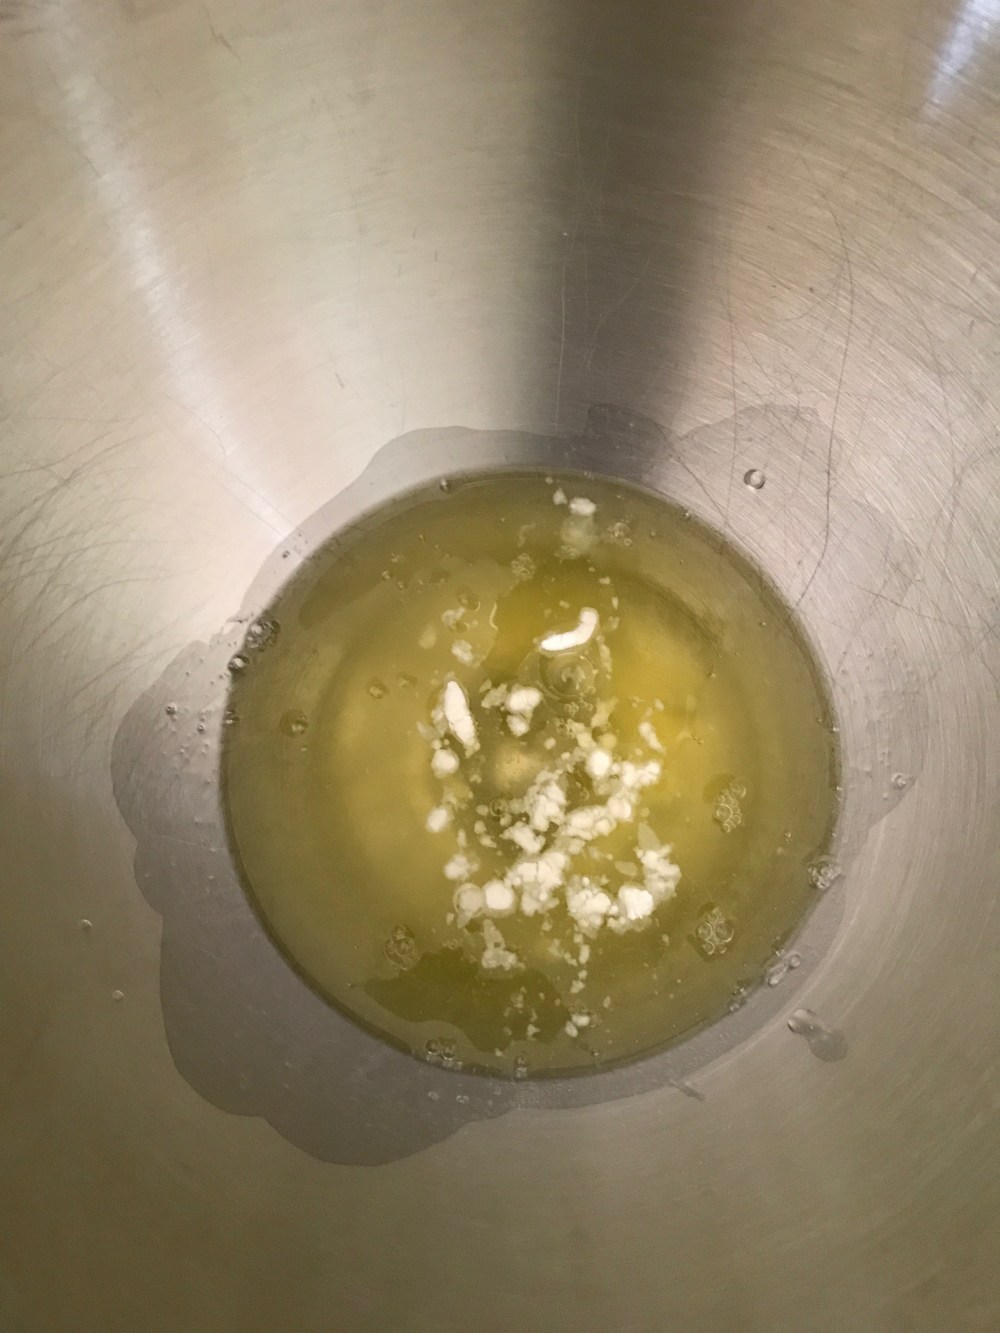
Next, combine the milk, cream cheese, and butter in a big microwave safe bowl and microwave it for 1 1/2 minutes. It should look like this at this point:
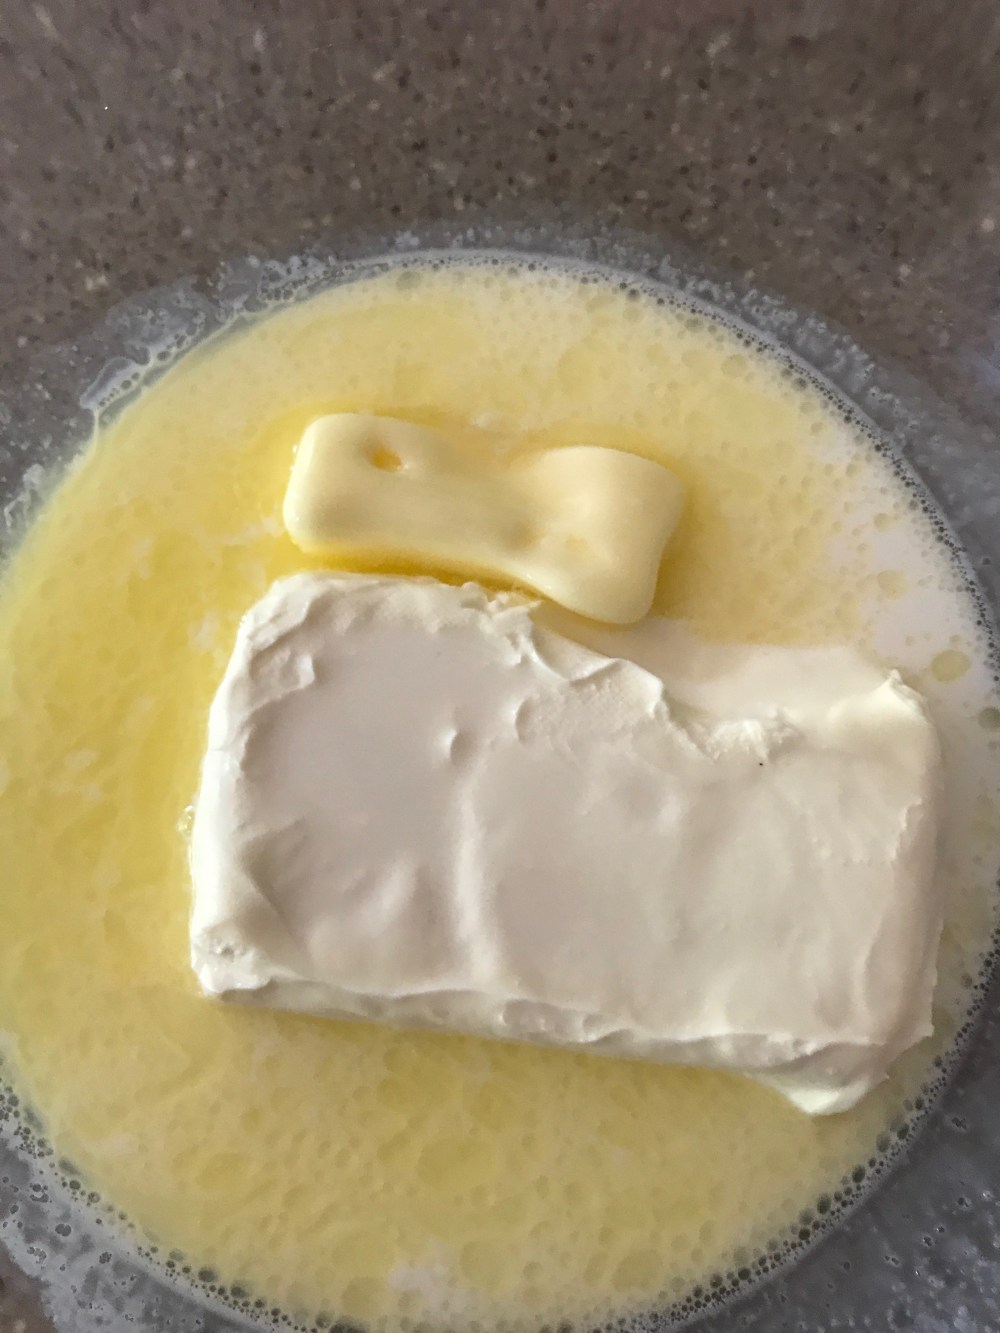
Whisk until there’s no lumps of cream cheese left and everything is well incorporated. When that’s all mixed together, add in the egg yolks, vanilla, lemon juice, and half of the sugar, whisk until well combined, then set aside.
Now it’s time to sift the dry ingredients before adding them to the egg yolk mixture. I did this with my sifter positioned over a piece of parchment paper. It’s easier and less messy than sifting right over the bowl, since you can pick up the parchment and use it as a cone to pour the dry ingredients into the bowl without getting it everywhere.
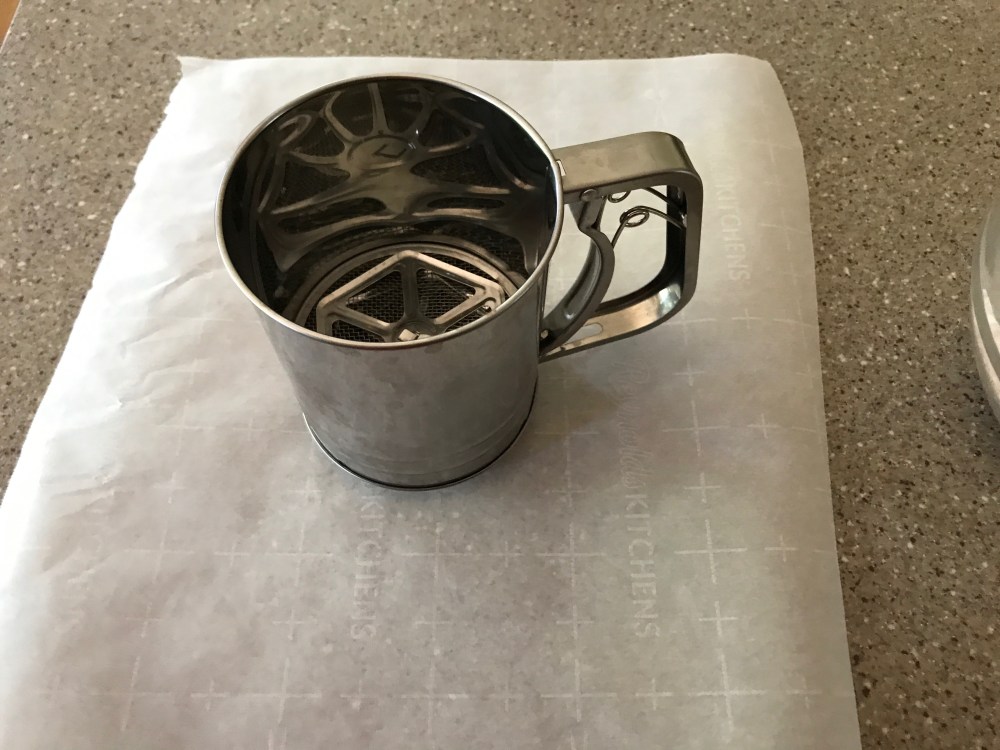
Add the cake flour, corn starch, and salt to the sifter and sift all of it together.


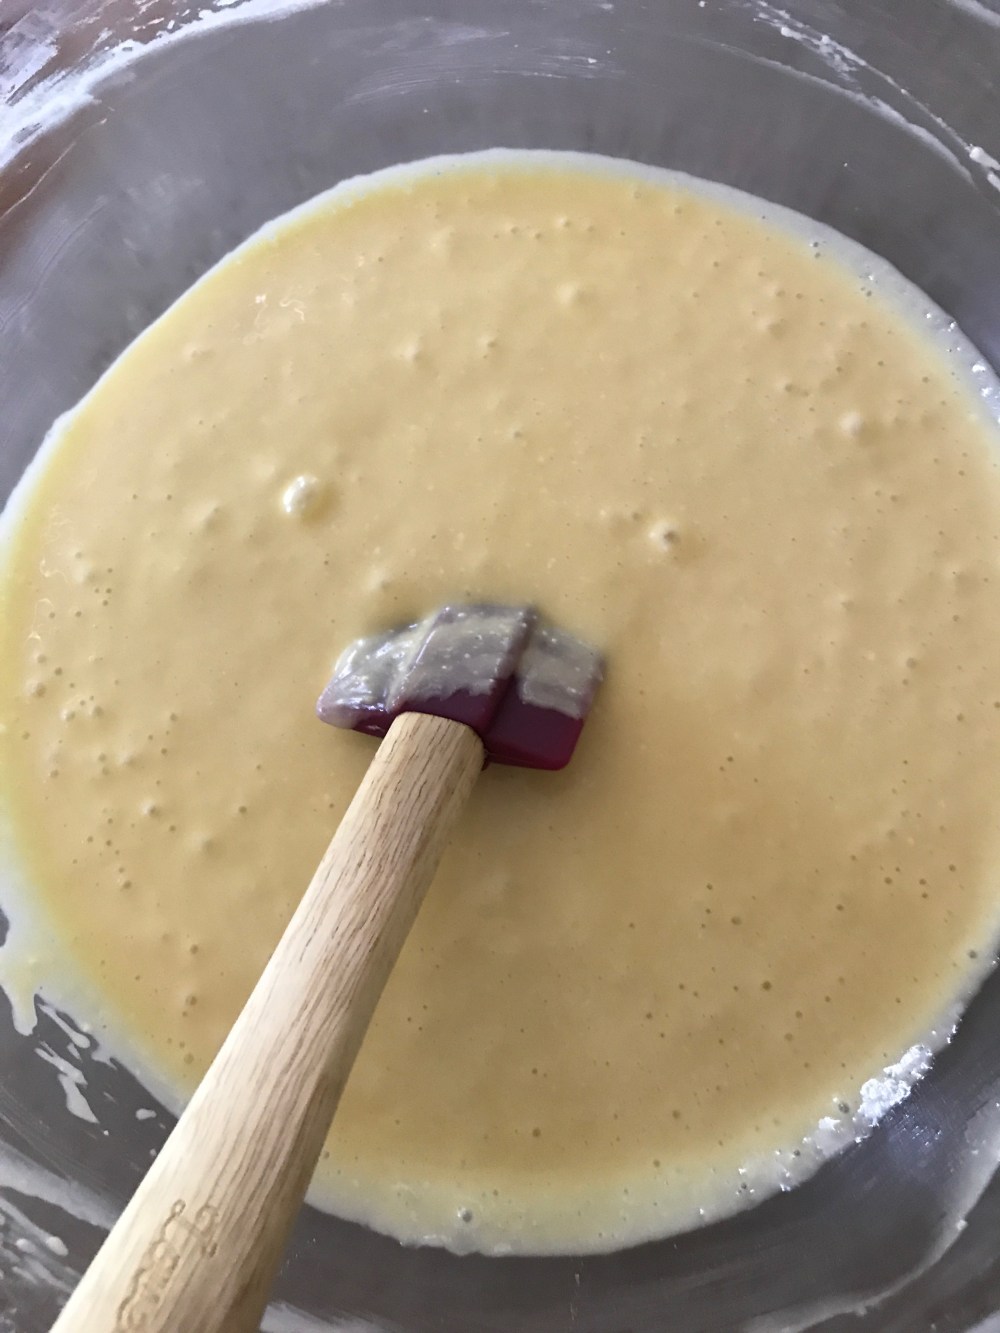
Now, add the dry ingredients to the egg yolk mixture and whisk until there’s no lumps present. It should look like this at this stage:
Next, add the egg whites and cream of tartar to a stand mixer (you can use a hand mixer instead, if you want.) Time for a little science lesson! Adding the cream of tartar before you start whipping the egg whites will help loosen up the proteins in the egg whites, which will help them whip up better, and the acidity of the cream of tartar helps to stabilize the meringue so it will hold up better.
Whip the egg whites until soft peaks form. Soft peaks look like this:
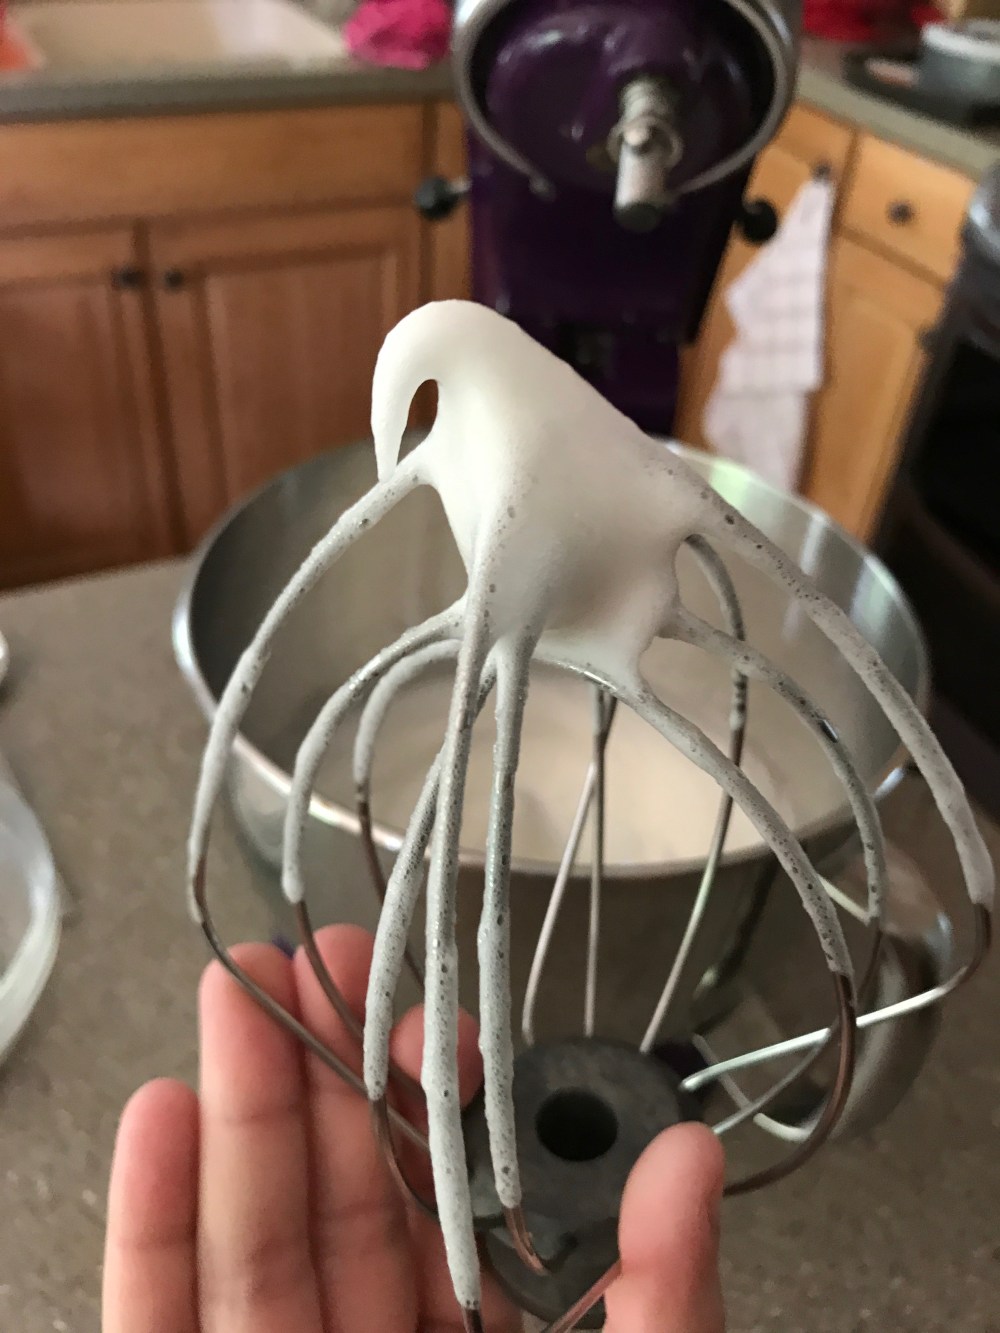
See how they’re starting to look thicker, but the peak falls over? Once you’ve hit this stage, it’s time to gradually start adding the sugar. Turn your mixer to medium speed and add a little bit of the leftover sugar, let that combine with the meringue for 10 seconds before adding the next bit of sugar. Continue this process until all of the sugar has been incorporated, then turn the speed up to a medium high and whip until the meringue is glossy, has increased in volume, and holds a stiff peak which should look like this:
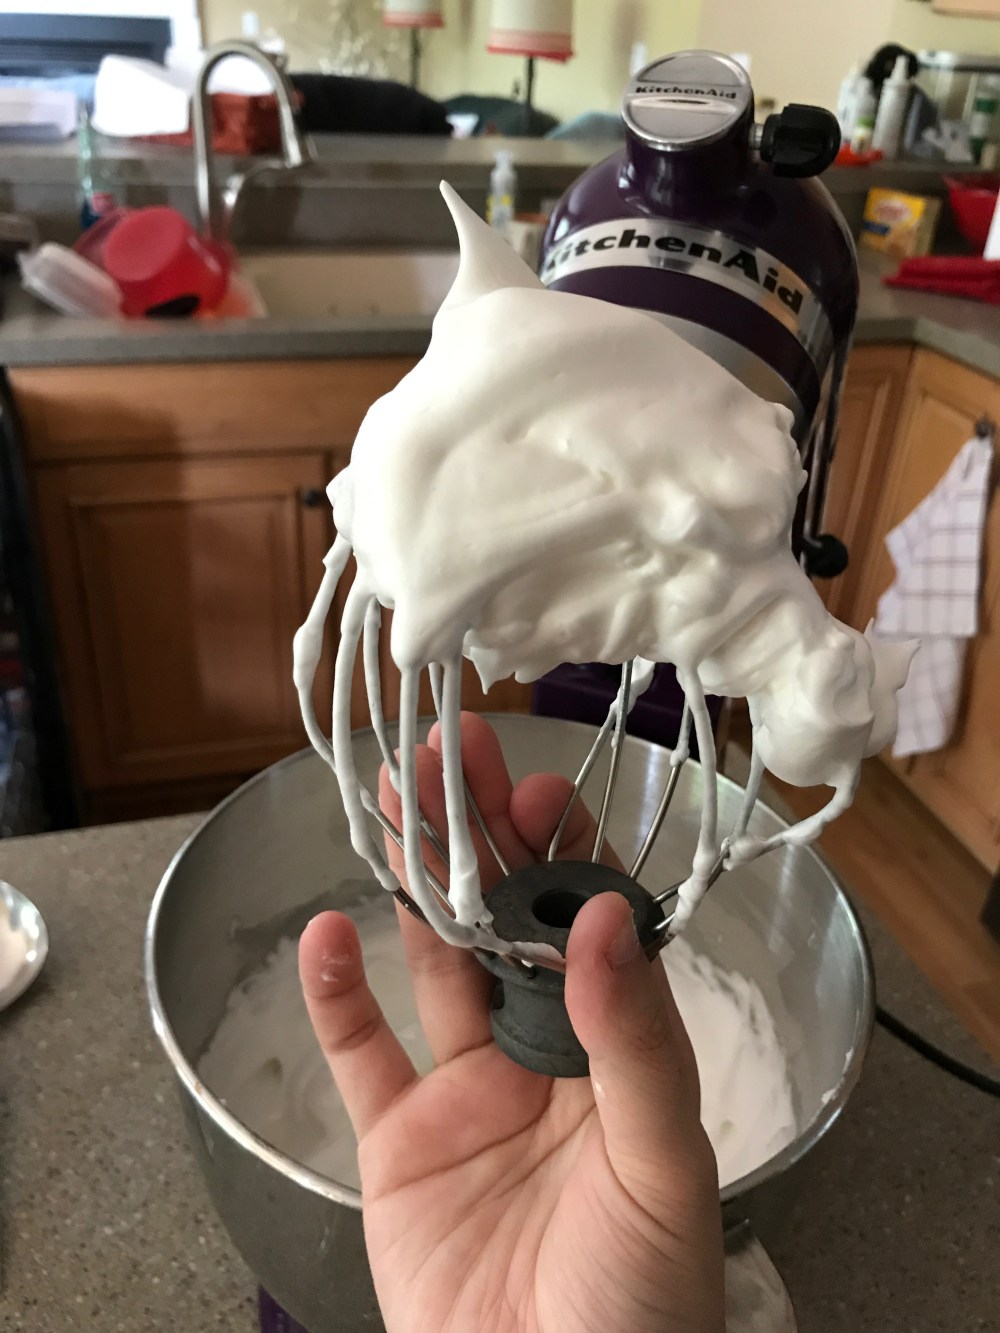
See how the meringue holds it’s shape now and the peak doesn’t fall like soft peaks do? This is what you want, now fold these glorious meringues into the egg yolk mixture.
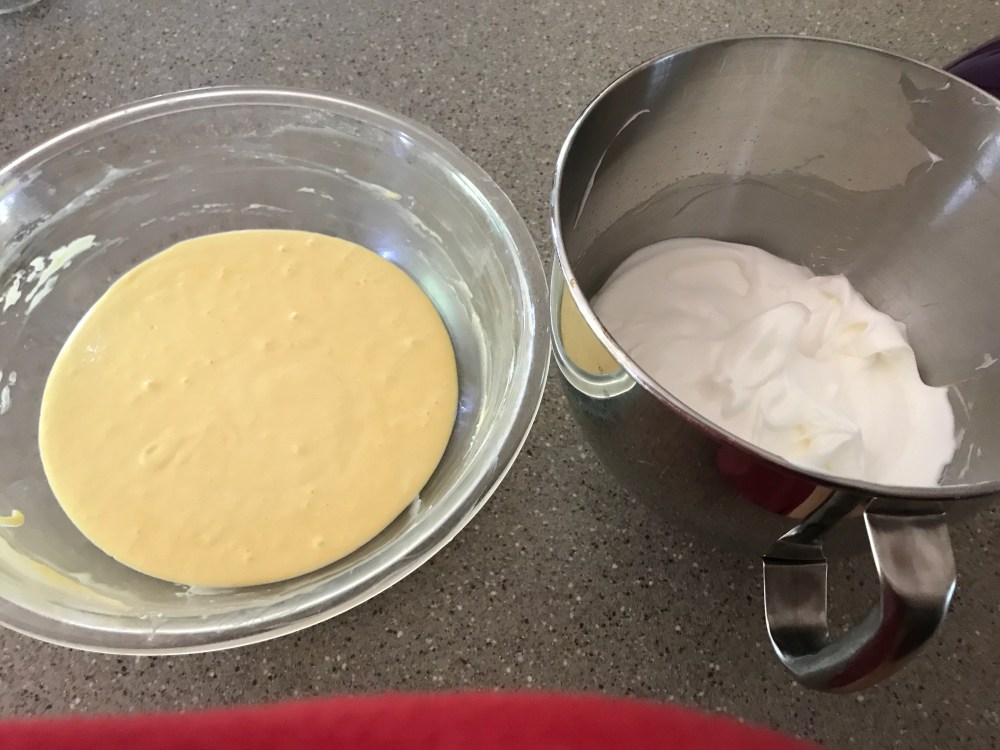
Add the meringue 1/3 at a time and gently fold into the egg yolk mix using a metal spoon. I never thought of this method but the use of the spoon doesn’t damage/deflate the meringue, the way using a spatula would while folding in the meringue.
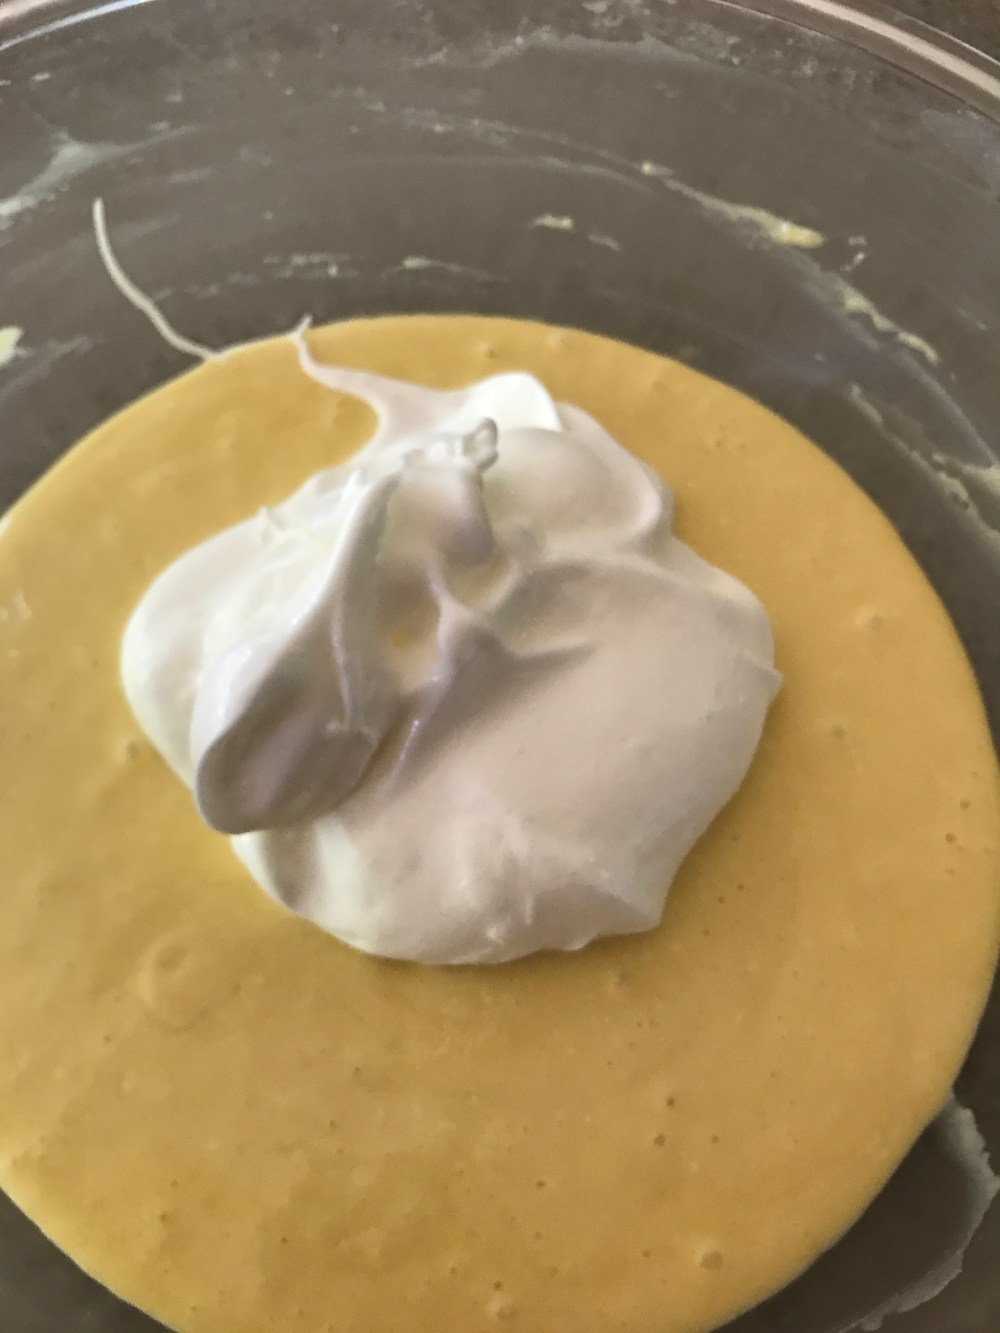
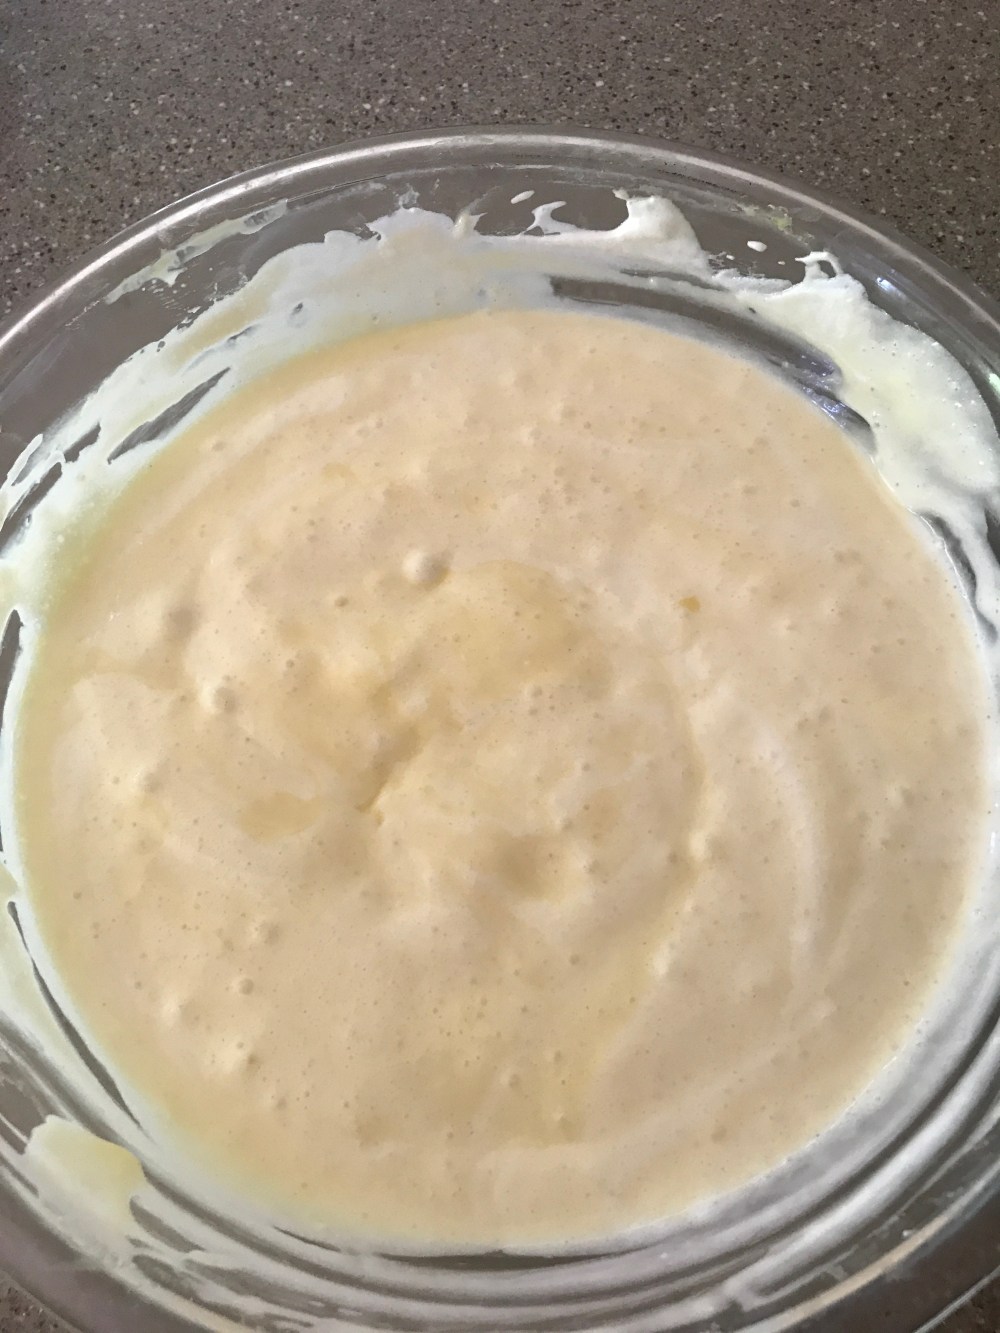
Continue this process until all the meringue has been incorporated and the batter looks light and fluffy. A few streaks of meringue is ok don’t over mix or you’ll risk deflating the meringues and depriving the cheesecake of its fluffy, airy texture.
Now, it’s time to pour this into a prepared pan. Don’t be afraid to fill the pan all the way to the top, you don’t want to waste any of the batter. Then place your pan into a bigger pan filled with HOT water. This is where I messed up, since I just used room temperature water and stuck the cheesecake into the oven.
Bake it at 400 degrees for 18 minutes, then when the 18 minutes are up lower the temperature to 320 degrees for 12 minutes. Right when the 12 minutes are up, turn the oven off and prop the door open and let the cheesecake sit in there for 30 minutes. This helps the outside finish baking and makes sure that the top doesn’t crack from the shock of the temperature change that comes from pulling it out of the oven directly after baking. I had read that a little jiggle was ok and would be solved as the cheesecake set during cooling.
After the 30 minutes are up, carefully take the cheesecake out of the water bath and set on a cooling rack to cool completely.


This is what mine looked like and from some of the pictures I saw of other cheesecakes, I thought I had it, until I went to take mine out of the pan. Let’s just say that I found out the hard way that mine was still pretty raw in the middle. It was just nothing but unbaked cheesecake batter in the middle but the bottom and sides were baked how they should be, which was irritating but also confusing. As I said previously, I had read that a little jiggle was ok and would be solved as the cheesecake set during cooling but it never did.
Which leads us to my fourth and final attempt.
Attempt #4, The final try!
Same ingredients were used and the same recipe was used but this time a few changes were made. I chose to use a 9 inch springform pan instead of a 9 inch round pan like before and corrected my mistake of not using hot water for the water bath in the previous try. Here’s how it went (spoiler alert, it was a whole lot better than the third try). Apparently four is my lucky number, that’s all I’m gonna say until you see the pictures of this one!
Let me just say, using a springform pan for this attempt was a lot easier when it came to de-panning my cheesecake than using a standard cake pan and having to try flipping it over just to get it out of the pan, then flipping it again to get it right side up! I lined and greased the pan just as before, preheated the oven to the same starting temperature, made the batter the same way and put it in a water bath just as before. Except this time, I remembered to use HOT water for the water bath and to make sure the center baked completely this time, I increased the initial bake time by 5 minutes. Instead of 18 minutes, I baked mine the first time for 23 minutes at 400 degrees, then baked it the second time for 12 minutes at 320 degrees just like the last time. Then came time for the crucial step, leaving the cheesecake in the oven for 30 minutes just like before. You can’t forget this step, it’s very important to let the cheesecake slowly cool down as the oven cools off, then transferring it to a cooling rack to completely cool. Here’s the finished product of attempt #4:
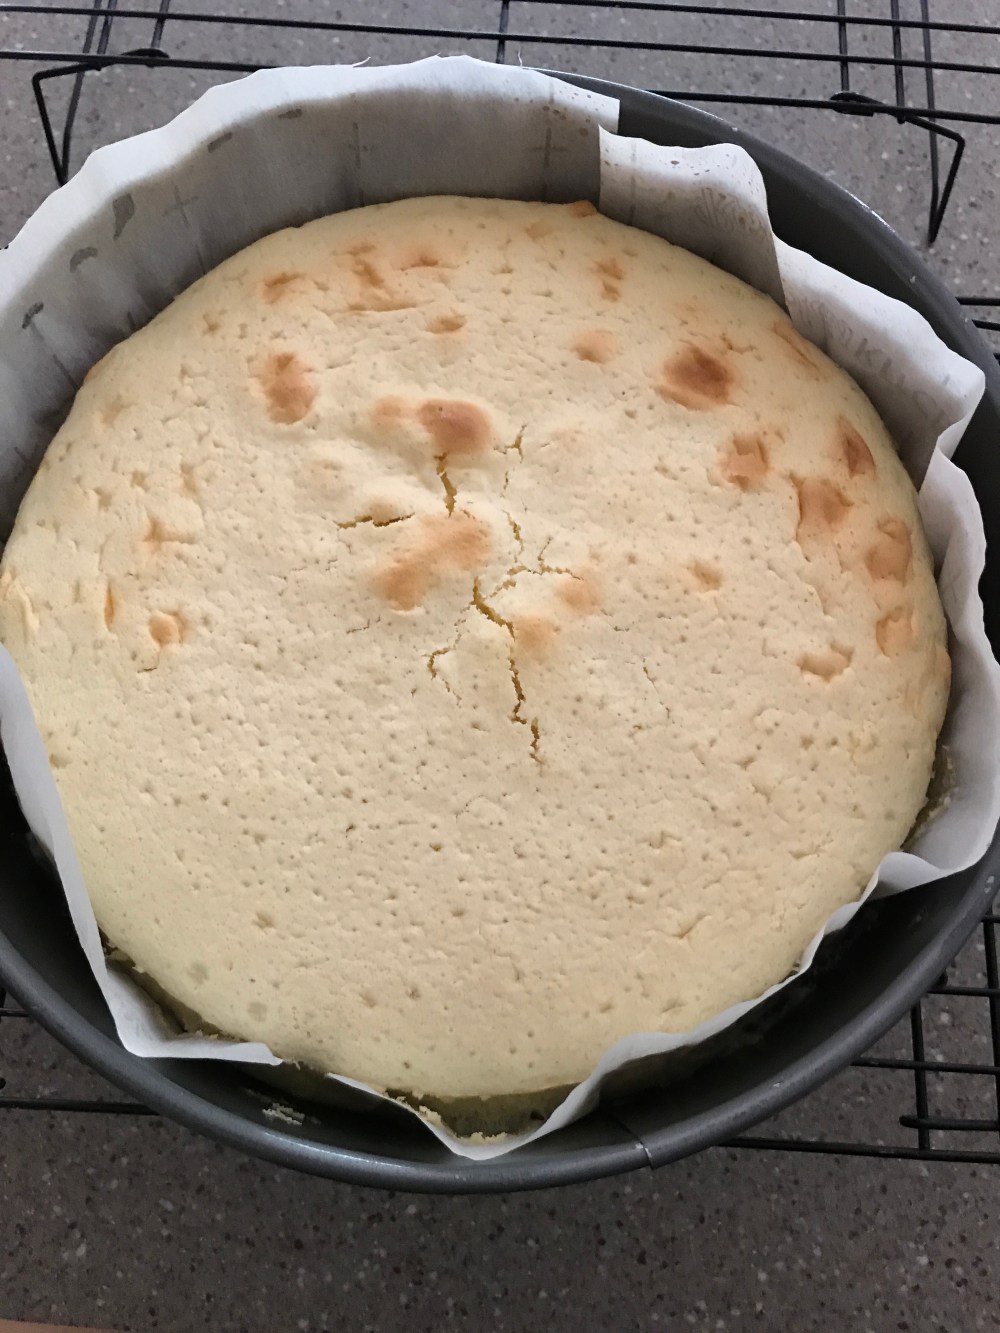
Now, this made me extremely excited, yet a nervous wreck at the same time, because this one definitely looked a lot better than the last one and it didn’t jiggle like the other one did. This one was the exact opposite, so taking it out of the pan was extremely nerve wracking but VOILA! I finally got it right and was, to say the least, over the moon with excitement. I finally made a perfect Japanese Cheesecake. Four tries, plenty of temper tantrums, and a lot of mistakes later I finally got it. See what happens when you don’t give up and just keep correcting your mistakes and trying again? The only thing I would do different is line the outside of my springform pan with foil; some water seeped in and made some spots a bit soggy.
Here’s some pictures of what the inside looks like once you cut into this delicious cheesecake.


Now this isn’t as tall and jiggly as attempt #3, but it does not have that eggy layer or taste! Look at how fluffy it looks in there. It has a cheesecake flavor with a sponge cake texture. It literally, melts in your mouth and it’s so delicious!
Peace, Love, & Sugar
Brooke

