
I’ve been seeing videos and recipes everywhere for Japanese cheesecake, so I decided to try my hand at it. So I did, and it didn’t look too pretty either time! Granted, the first time I made this, a lot of mistakes were made. The recipe I used both times was from the Buzzfeed Tasty page. Nothing against them, but the recipe didn’t turn out for me either time and the second time I followed the recipe exactly. They make this look a lot easier than it really is. Now onto my first attempt.
Attempt #1
Ingredients:
- 1/2 cup milk
- 4 oz cream cheese
- 7 tbsp butter
- 8 egg yolks
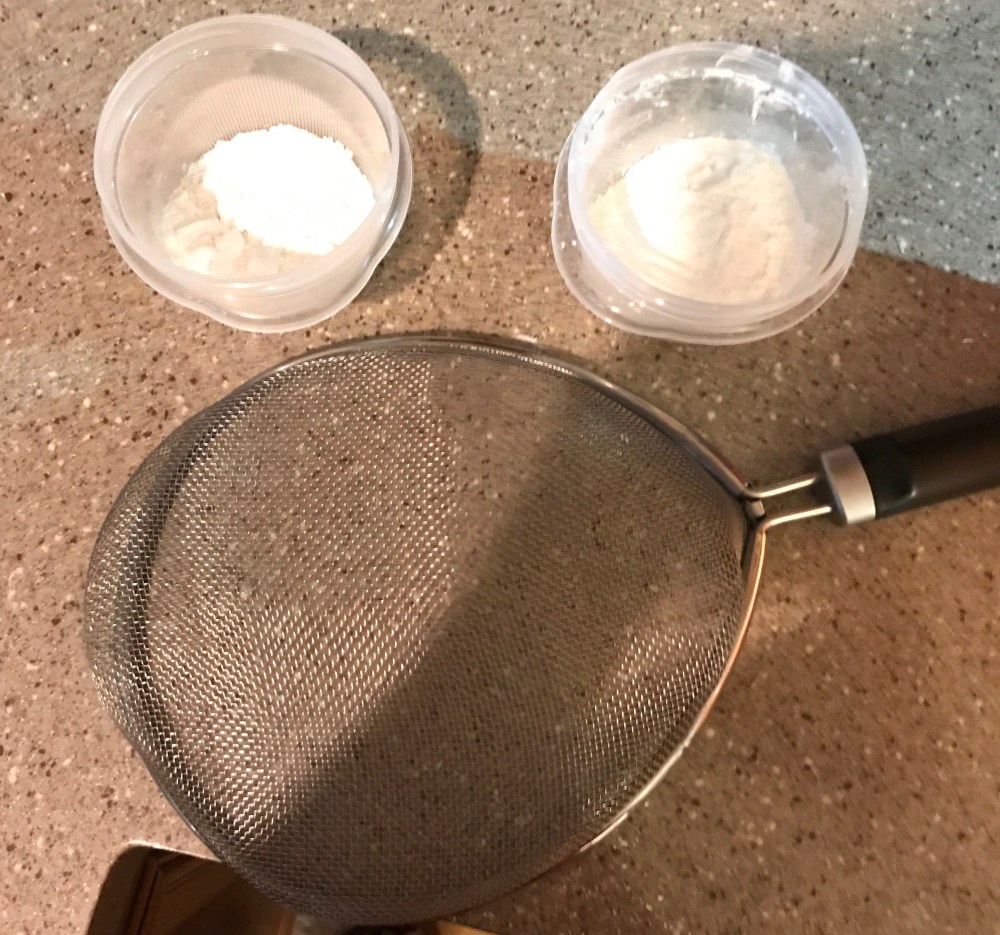
- 1/4 cup flour
- 1/4 cup cornstarch
- 13 egg whites
- 2/3 cup granulated sugar
Preheat the oven to 320 degrees F
Now for my first mistake. Prepare a 9 inch pan (I used two 8 inch pans because I didn’t have a 9 inch, not a smart move). Line the bottom of the pans with nonstick spray and a parchment paper circle so that the cake doesn’t stick when its time to de-pan the cheesecake and use two strips of parchment paper to line the edges of the pans. I was so eager to get started, I went right to the recipe. ALWAYS PREPARE YOUR PANS FIRST!

Next, in a small sauce pot over medium heat, whisk together the milk, cream cheese, and butter until everything is smooth and well combined.

Once the mixture looks like this, pull the pot from the heat and let it cool to room temperature. I put mine in a bowl, so it would cool down faster.
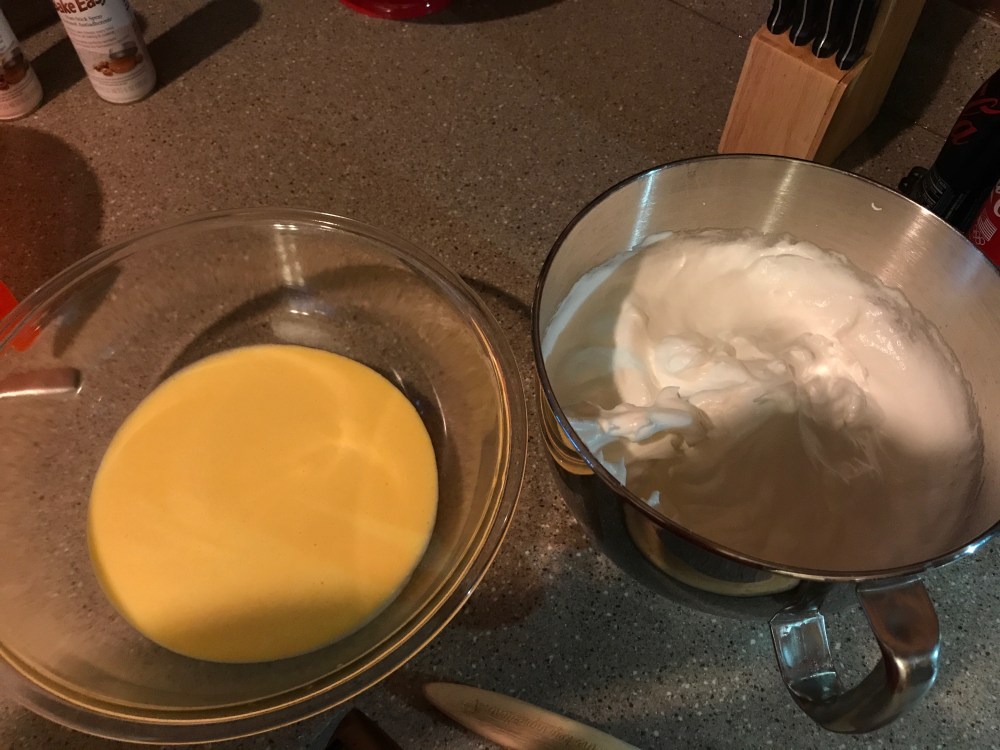
In a large bowl, add the egg yolks and whisk until smooth.

Once you reach this stage, slowly begin to drizzle in the cream cheese mixture and whisk until evenly combined.
Then sift in the flour & cornstarch making sure to whisk throughly so no lumps form.
Now for the egg whites. Put them into the bowl of your trusty stand mixer, if you don’t have one of those, a hand mixer will work just as well, but it might take a little longer. Whip the egg whites until you see soft peaks form. It’ll look like this:
 if you see this when you pull your mixer up then it’s time to start very gradually adding the sugar and continuing to whip the egg whites until you get what’s called stiff peaks when you pull the mixer up. Those look like this:

Now take the egg yolk mixture and the egg white mixture,
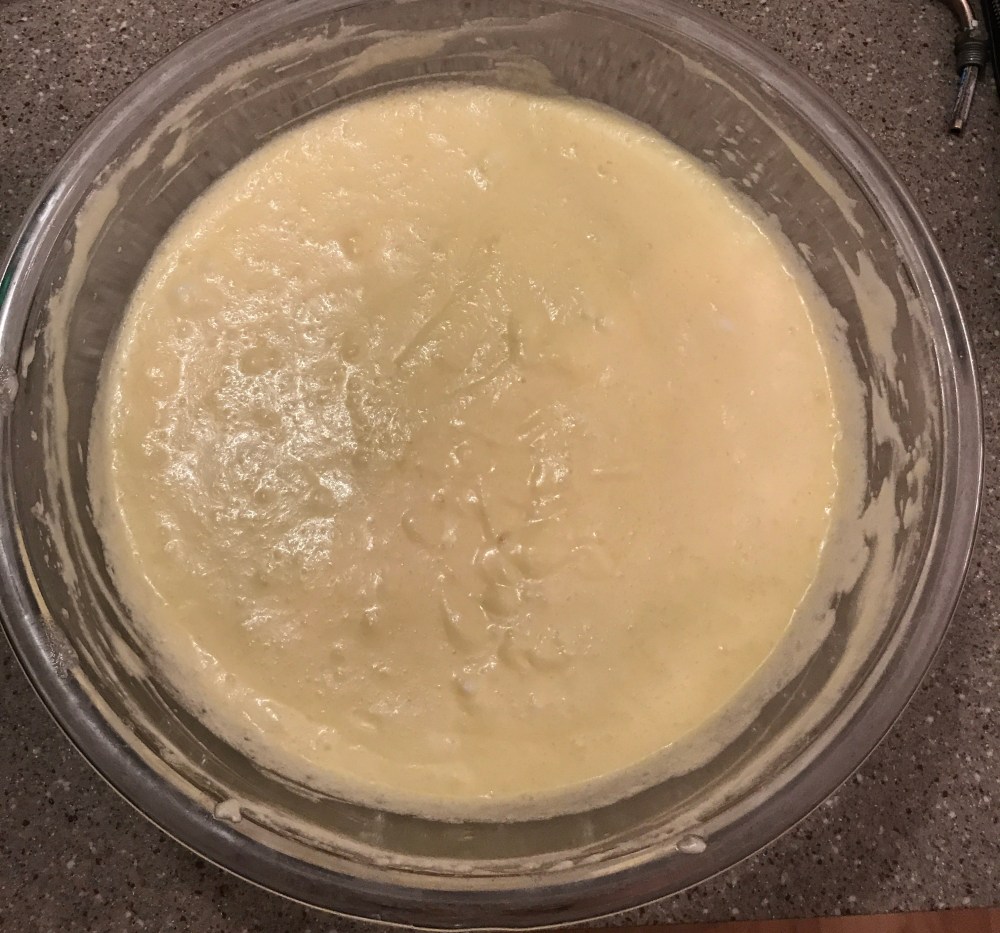
Add 1/4 of the egg whites to the egg yolk mixture and FOLD, not stir them in. You’ll deflate the meringue and deprive the cheesecake of its fluffy texture. To fold you start by scraping along the edges, making sure to get everything at the bottom of the bowl and folding the mixture onto itself then turning the bowl a 1/4 turn. Repeat this step until all of the meringue is incorporated. It should look like this when all of your meringue is fully incorporated.
This next step is where my final mistake with this recipe happened. I let the batter sit out while I was preparing the pans. Let that be a mistake you can learn from, when a recipe says to prepare your pan(s) first, do it. I was so freaked out that I was going to mess up making the batter itself, that I completely skipped that step until I was ready to put the pans in the oven and realized that I didn’t have my pans ready to go.
Pour the batter into the pan, or as I did it in two pans.


Then set the pan(s) in larger pans lined with two paper towels each on the bottom of the bigger pans. The paper towels help make sure the heat is evenly distributed along the bottom of the pans. Fill the bigger pans with enough water to come up the sides of the filled ones no more than 1 inch. Bake these for 25 minutes at 320 degrees then drop the temperature to 280 degrees and bake for another 55 minutes, until the cake has risen to almost double it’s height. This part is where letting my batter sit out while I prepared my pans backfired on me. Letting the batter sit out so long deflated the meringue, which in turn didn’t give these the chance to rise like they should have.
Once out of the oven, carefully flip the cake out onto your dominant hand and peel off the paper on the bottom, then flip the cake right side up and peel off the paper around the edges. Mine had a really eggy bottom layer, you’ll see what I mean when you look at the pictures below. The tops didn’t look too great either.


Attempt #2
Same process as the first try, except for the fact that I prepared my pan first and used a 9 inch pan like the recipe calls for.
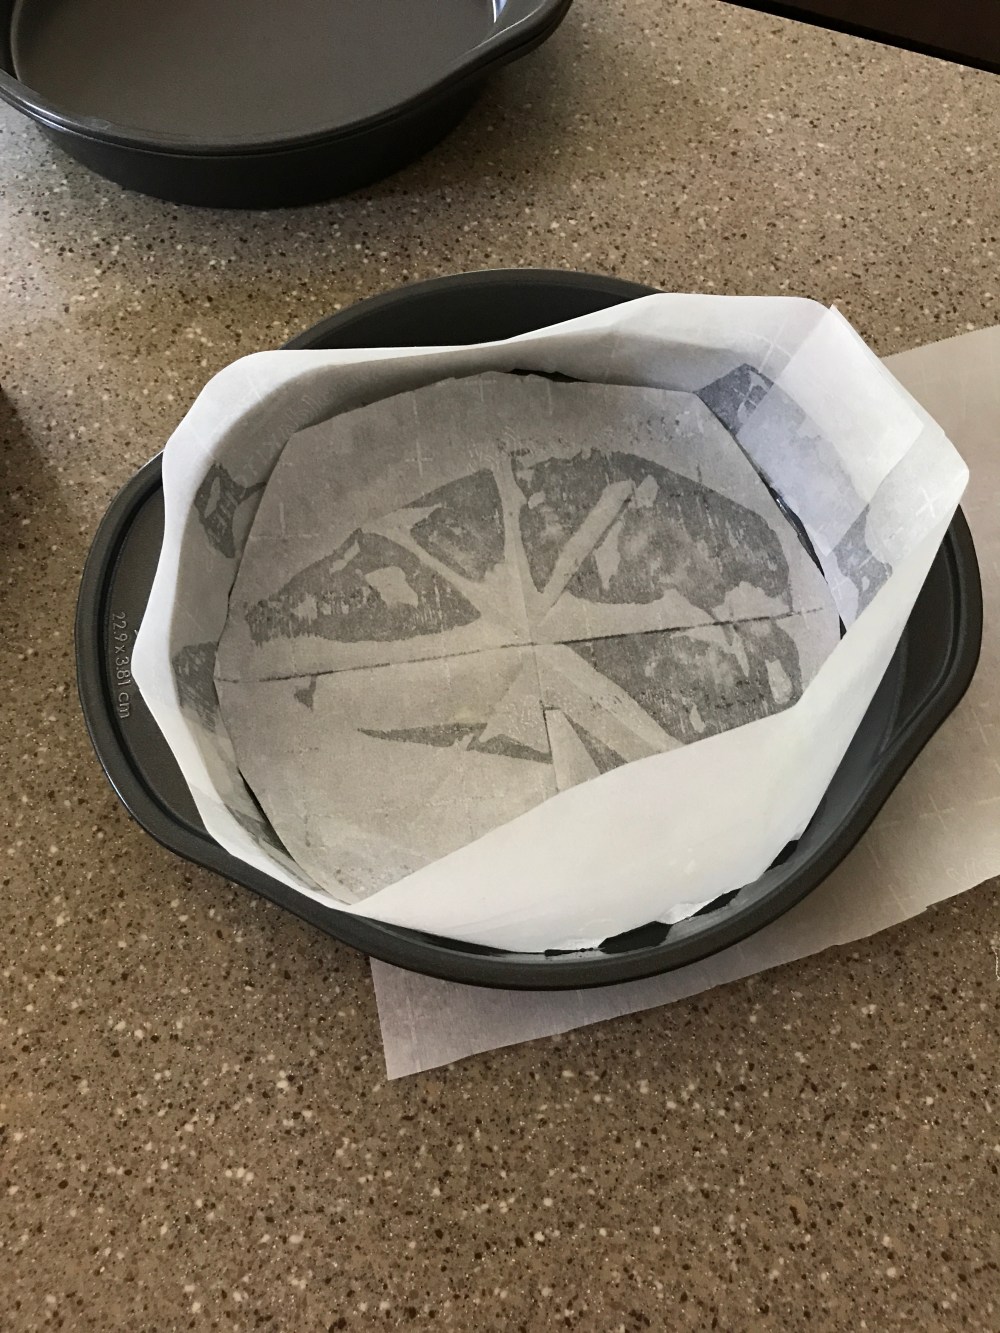
Same process and supplies were used to line the pan. I also followed the recipe to a T and straight from the oven it looked like I did it right this time, but there was still the same eggy bottom layer on the cake. It did double in height this time, but it still didn’t come out like the recipe said it would.
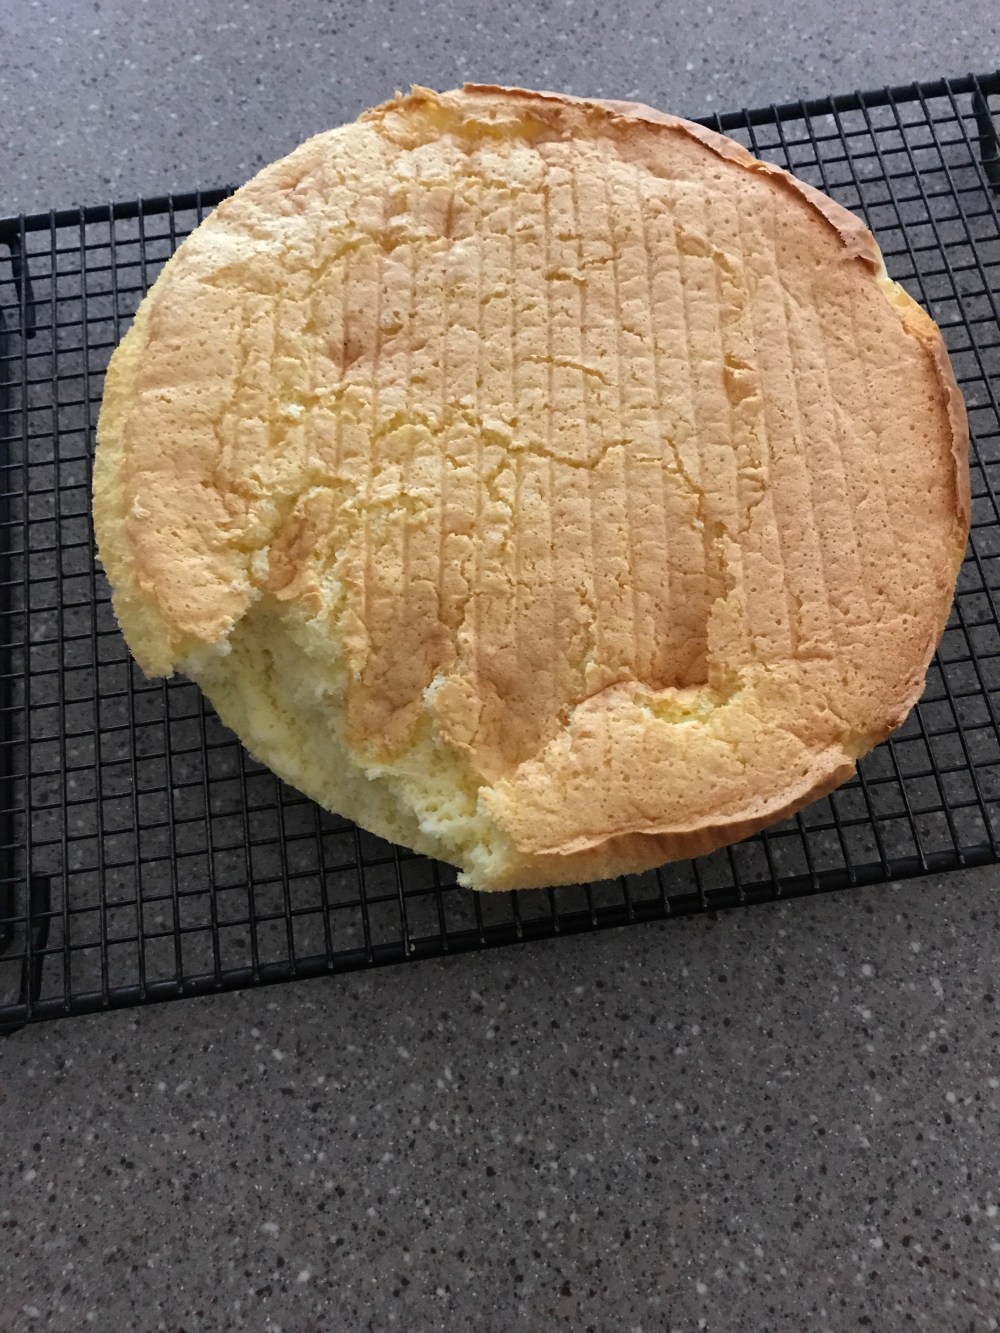
If you look closely, you can see the eggy layer.
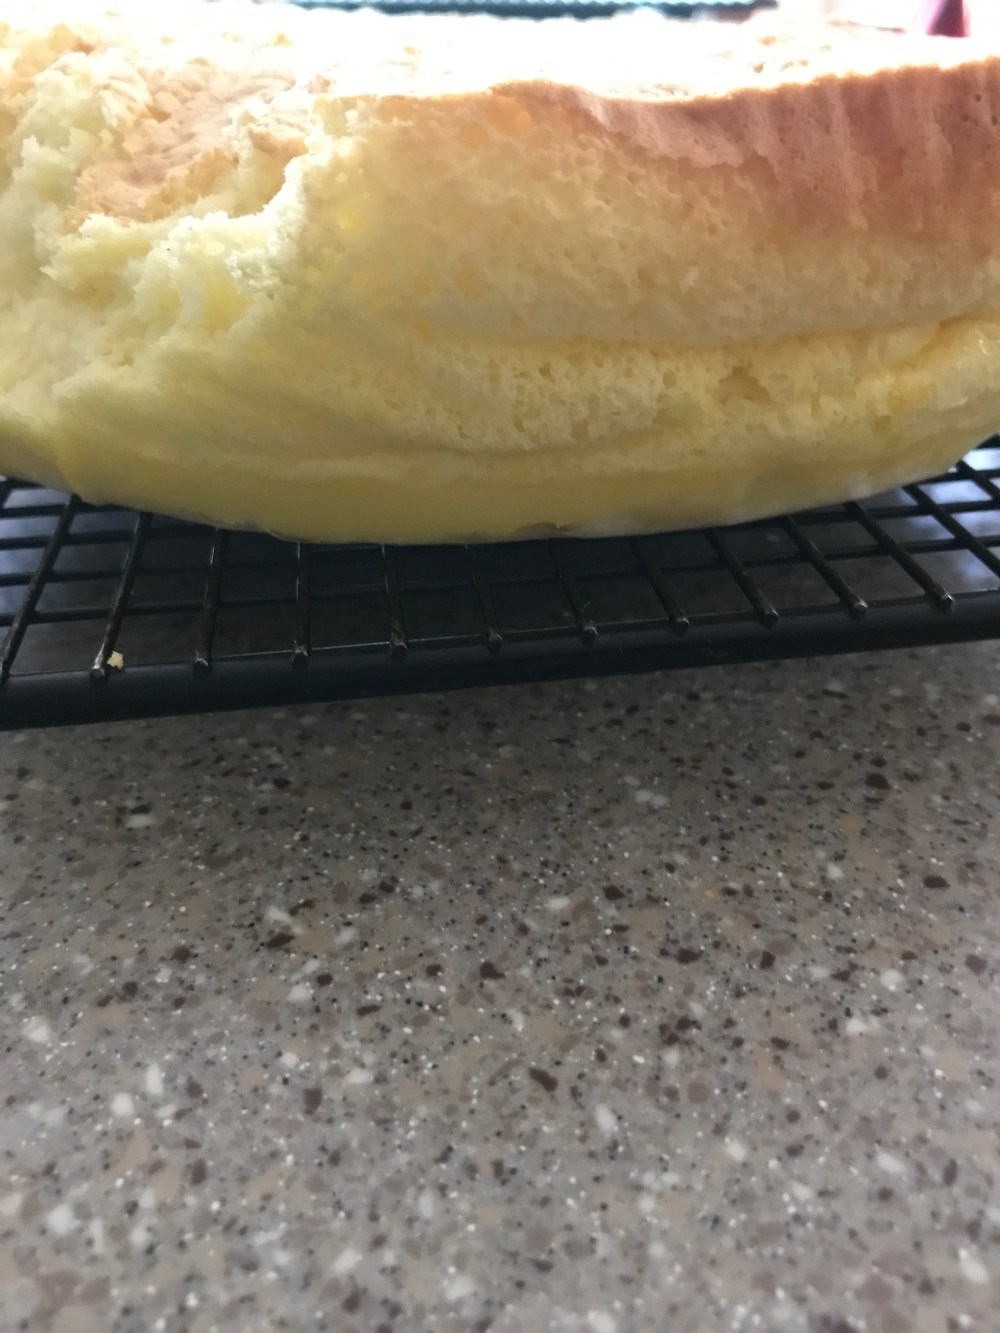
The egg layer made another appearance, even after I corrected all of my mistakes from the first try. I did some research and found out that a lot of people did not have the same success as Buzzfeed/Tasty with that recipe, so now I’m going to try a another recipe. I found a different recipe, so I will try that and see if it’s the recipe and not me! Stay tuned for Attempt #3. Third time’s a charm, right?
Peace, Love & Sugar,
Brooke

