
I’ve seen these awesome cakes all over the internet, so I decided it was time that I tried one of these cakes myself. When you slice into the finished cake, whatever you chose to fill your cake with, whether its M&M’s, like I used, or sprinkles, like I’ve seen in a lot of these cakes, will spill out just like when a piñata breaks open. Now, mine didn’t spill M&M’s everywhere like I thought it would, but that’s mostly because I frosted the entire top of the bottom layer, when I should’ve only made a little bit of a border on the edges of the cake, just so the layer above it would sit on top easily. But now I know for next time. You can learn from my mistakes and not make them, since I already did it for you. I didn’t come up with this recipe on my own, I actually used a recipe from Honest Cooking. It is a really good cake recipe. I love it and will definitely use it again. This cake was so much fun to make, and even more fun to cut open and watch the m&m’s spill out. For this cake, I decided to try a DIY cake release recipe, which is amazing and a heck of a lot cheaper than buying a can of nonstick spray or Baker’s Joy. The recipe for this stuff is so easy to make and requires so few ingredients that a lot of people probably have in their pantry at home. All you need is 1/2 cup each of flour, shortening, and vegetable oil. Put into a bowl and whisk until well combined. Once its all mixed up and ready to go, you can dip a pastry brush in and brush your pans with a thin layer. Give it a little stir each time you use it if its been sitting in its container for a while in between uses. Store this in your pantry for up to a month. Now onto the cake itself!
For the cake you’ll need:
- 4 egg whites
- 1/2 tsp of vanilla extract
- 3 cups cake flour
- 1 1/2 cups sugar
- 4 tsp baking powder
- 1/2 tsp salt
- 4 tbsp butter at room temperature
- 8 tbsp shortening
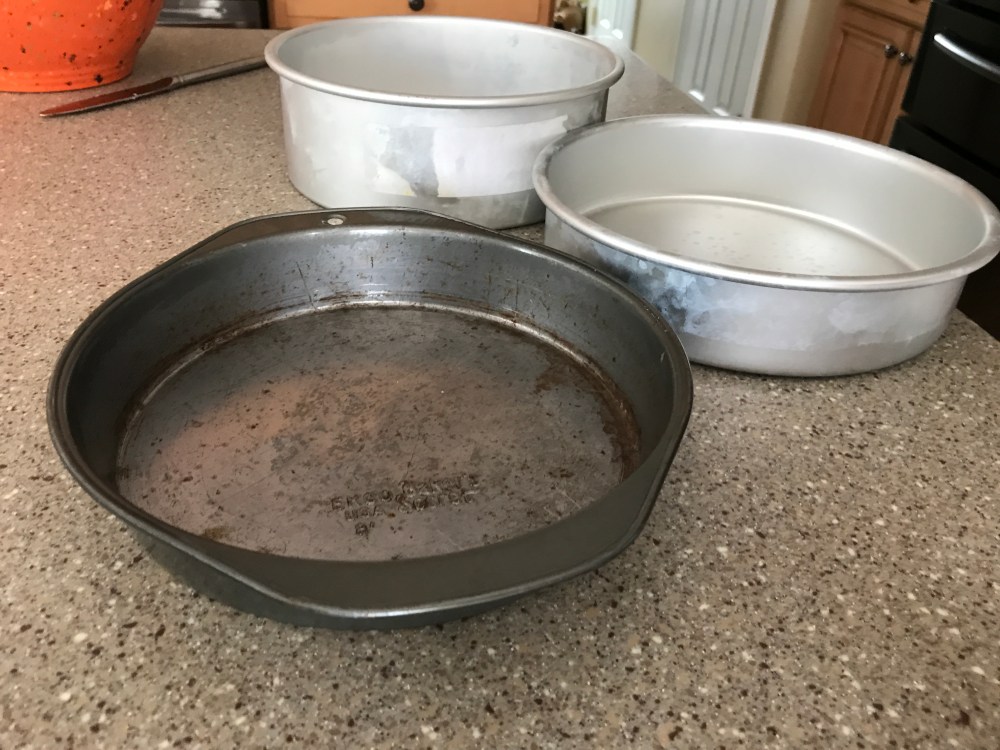
Start by preheating your oven to 350 degrees, then grease and flour three cake pans.
Now in a small bowl, combine the egg whites, 1/4 cup milk (we’ll be adding the rest later), and vanilla and set aside.

In the bowl of a stand mixer, combine the cake flour, sugar, baking powder and salt on low speed until evenly mixed. Use the paddle attachment or else your cake won’t rise properly.

Once all of the dry ingredients are throughly combined, add the butter, which again should be at room temperature, and the shortening. Start out on low speed and gradually increase the speed as the fats become more mixed in with the dry ingredients, or else you’ll have flour everywhere and that’s not a fun mess to clean up after. Trust me. Keep mixing until everything is well combined, you’ll know it’s done mixing when you can’t see any traces of any of the dry ingredients. Next add the remaining 3/4 cup of milk and continue to mix on medium speed for exactly 3 minutes (no more, no less) and be sure to scrape down the sides at least twice during this time to make sure that everything gets mixed in properly.
Now add the egg white mixture in 3 increments, mixing for 30 seconds each time. After all of the egg white mixture has been added, mix again for another minute. Don’t forget to scrape down the sides of the bowl to be sure that everything got mixed in properly.
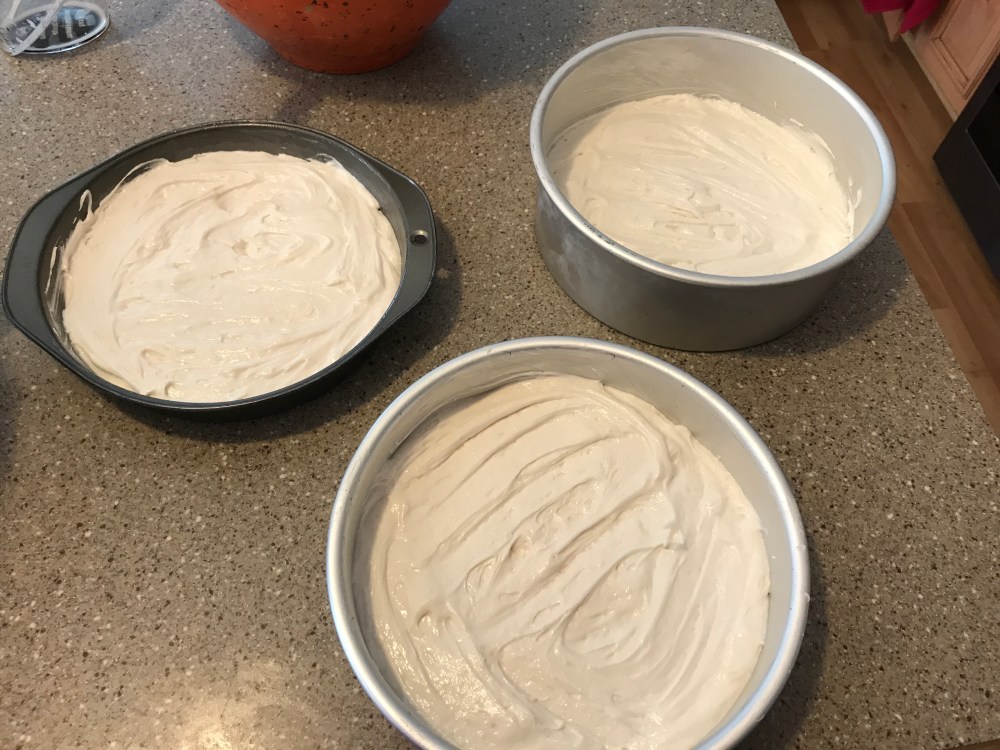
Divide the batter evenly among the pans and bake for 25-30 minutes or until a toothpick inserted right into the center of the cake comes out clean.
Once the cakes have come out of the oven put them on a wire rack (still in the pans) and let them cool for 10 minutes. No touching these until the 10 minutes are up or else your cakes will fall apart from being too warm; as they cool, the cakes will slowly pull away from the sides of the pan, making them easier to de-pan. If they need a little nudge, use a butter knife or an icing spatula and run it all along the edges then you should be able to de-pan no problem. While the cakes are cooling it’s time to make the frosting. I used a buttercream recipe that I found on Wilton’s website but I added a little bit of cocoa powder to make mine a chocolate buttercream. Here’s what you’ll need for the frosting:
- 1 tsp vanilla extract
- 1/2 cup vegetable shortening
- 1/2 cup (1 stick) butter softened
- 4 cups powdered sugar, also called confectioner’s sugar, sifted
- 3 tbsp milk
- 3/4 cup cocoa powder
In the bowl of a stand mixer add the shortening and butter and beat on high speed until pale yellow and fluffy. Then add the vanilla and the cocoa powder and mix until thoroughly combined. Be sure to scrape down the sides of the bowl before you add anything else.
Now, add the powdered sugar one cup at a time and mix until you don’t see any of it before adding more. Continue this process until all of the sugar has been added and mixed in, scraping down the sides of the bowl in between each addition. It will look dry once all the sugar has been added, but don’t worry, it’s supposed to look like that.
Now add the milk gradually and beat the frosting on high until it’s light and fluffy.
This recipe makes 2 cups of frosting. If you don’t use all of it at one time, put the leftover frosting in an airtight container in the fridge and it will last for 2 weeks. Be sure to bring it back to room temperature and re-whip for a few minutes to regain its consistency. Don’t use buttercream straight from the fridge, the consistency will be off and it doesn’t spread as nicely.
Now onto the fun part, assembling the cake!
First of all, level your cakes. As they bake, sometimes cakes develop what the pros call a dome. Use either a serrated knife (which is what I used) or a cake leveler if you have one. I got one after I baked this cake, and it is AWESOME. I highly recommend it. Once the cakes have been leveled, take the middle layer and cut out the middle, I used a 3″ cake pan turned upside down as a guide because it wouldn’t look as pretty as it did if I free-handed it. Only do this to the middle layer.
Next, place the bottom layer on either a plate or a turntable, then using either a piping bag or a ziplock bag with one of the corners cut off, pipe a thin layer around the edge and smooth it out with an icing spatula. Then place the layer with the middle cut out on top and fill the center 3/4 of the way full with whatever candy you want, I chose M&M’s because they’re one of my favorites. Next, put another thin layer of frosting around the edges of the candy filled layer and put the top layer on. A cool trick here is to take the cake that you want to be the top and flip it over so that the bottom of the cake is now the top. Now you have a perfectly flat surface to frost. Pipe frosting on the top, gently squeezing a layer over the top, letting the extra hang off the edges, we’ll get to that in just a minute. Spread the frosting that’s on the top of the cake all the way to the edge. Now onto the sides, spread a layer on the sides and smooth it out with a spatula. This is where having a turntable comes in handy because you can hold the spatula in place and just slowly spin the turntable. If you don’t have one that’s ok, you don’t need one, having one just makes this part a little bit easier. Once the edges are frosted it’s time to take care of that frosting hanging off the edges of your cake, take your spatula and push the frosting towards the center of the cake giving the edges that perfectly smooth finish. (I’m still practicing that. It’s not as easy as it sounds). You could sprinkle some of the leftover candy on top like I did if you want to, I just thought it looked cute on top. Voila, now you have an awesome piñata cake!


Here’s the links to the recipes I used if you want to use them!
As you can see, I still need a little practice on frosting a cake. Practice makes perfect!
Peace, love and sugar,
Brooke

